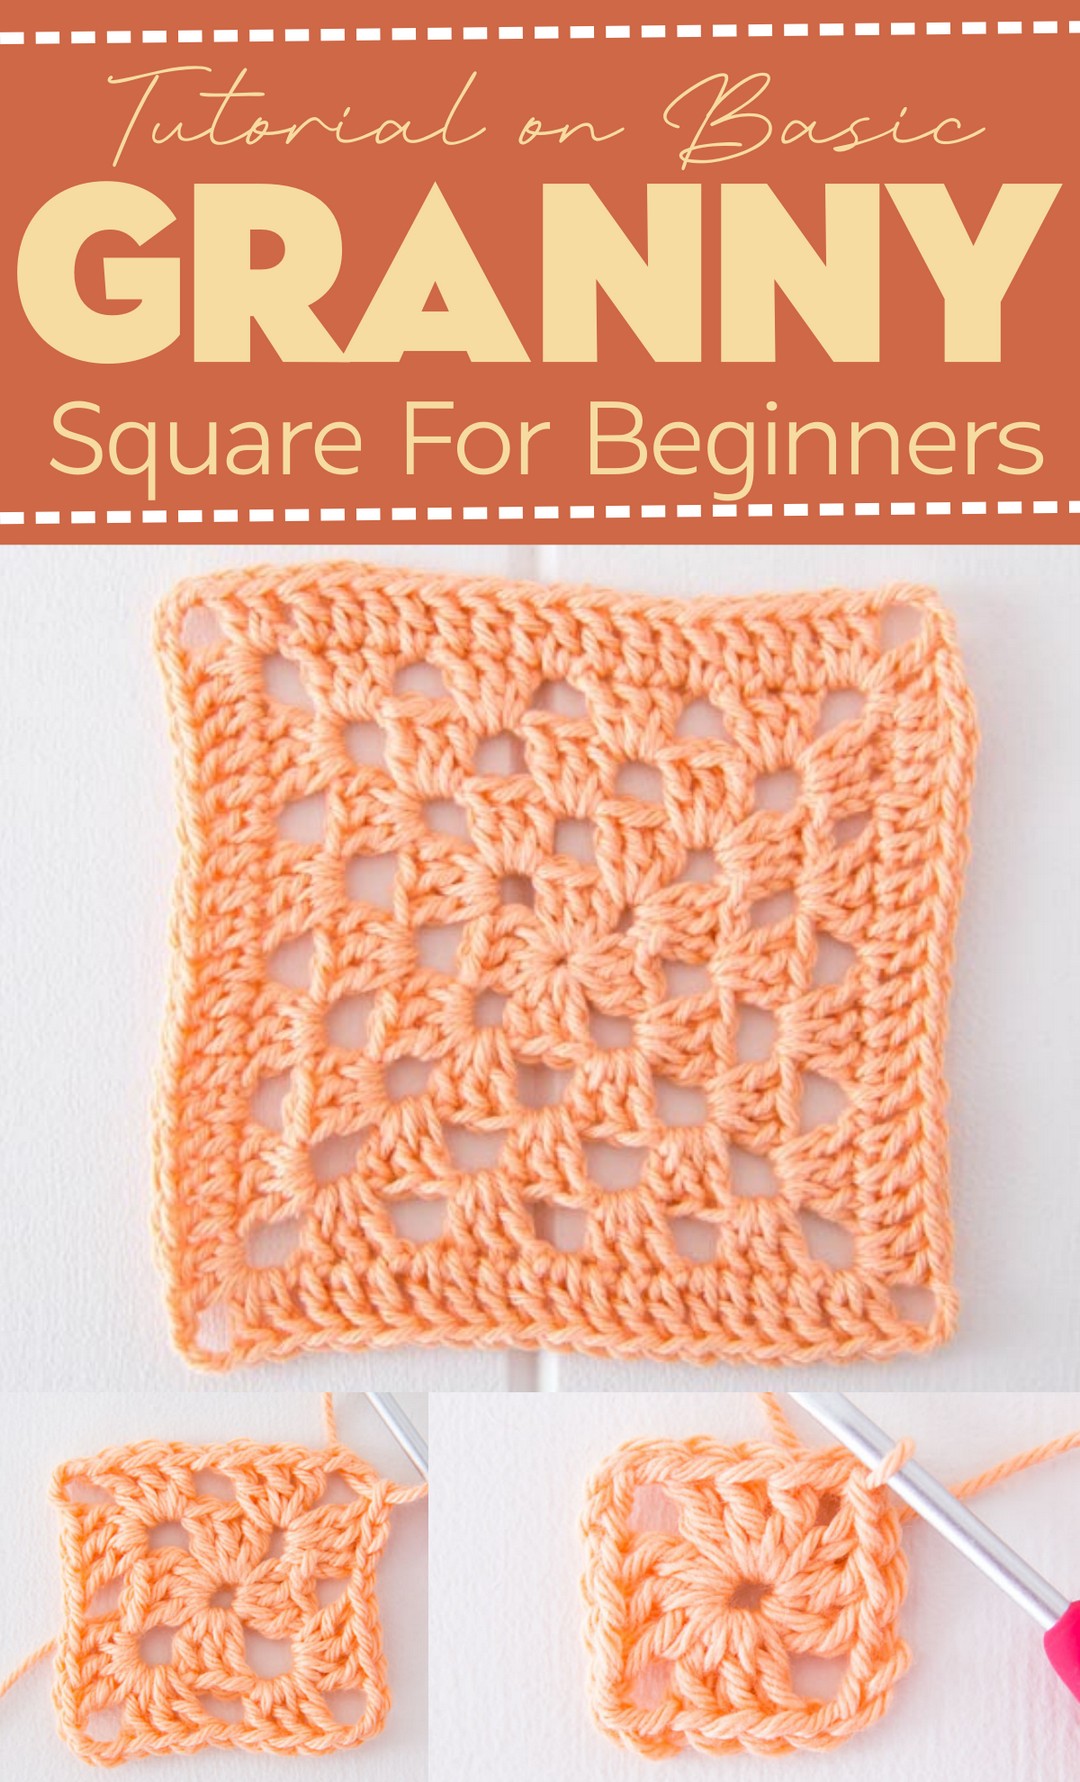
How to Crochet Basic Granny Square For Beginners (US & UK Terms)

The granny square is not as difficult as it looks. You can start with a basic granny square if you are a beginner crocheter, which I will teach you in this step-by-step tutorial. Luckily, you only need to repeat basic stitches in a particular sequence. I shall provide a symbol chart, guides for blocking and attaching them, and more. So, let’s get started!
What the heck is Granny Square?
The granny square is a classic crochet motif with a lace texture created by chain spaces and double crochet or half-double clusters. Many consider any crocheted square shape granny, but they are actually the variations produced in it.
Today, we shall learn the most basic, classic, and real granny that is pure from any additions and great for beginners.
It will be small, and you can assemble a handful of them in a large item.
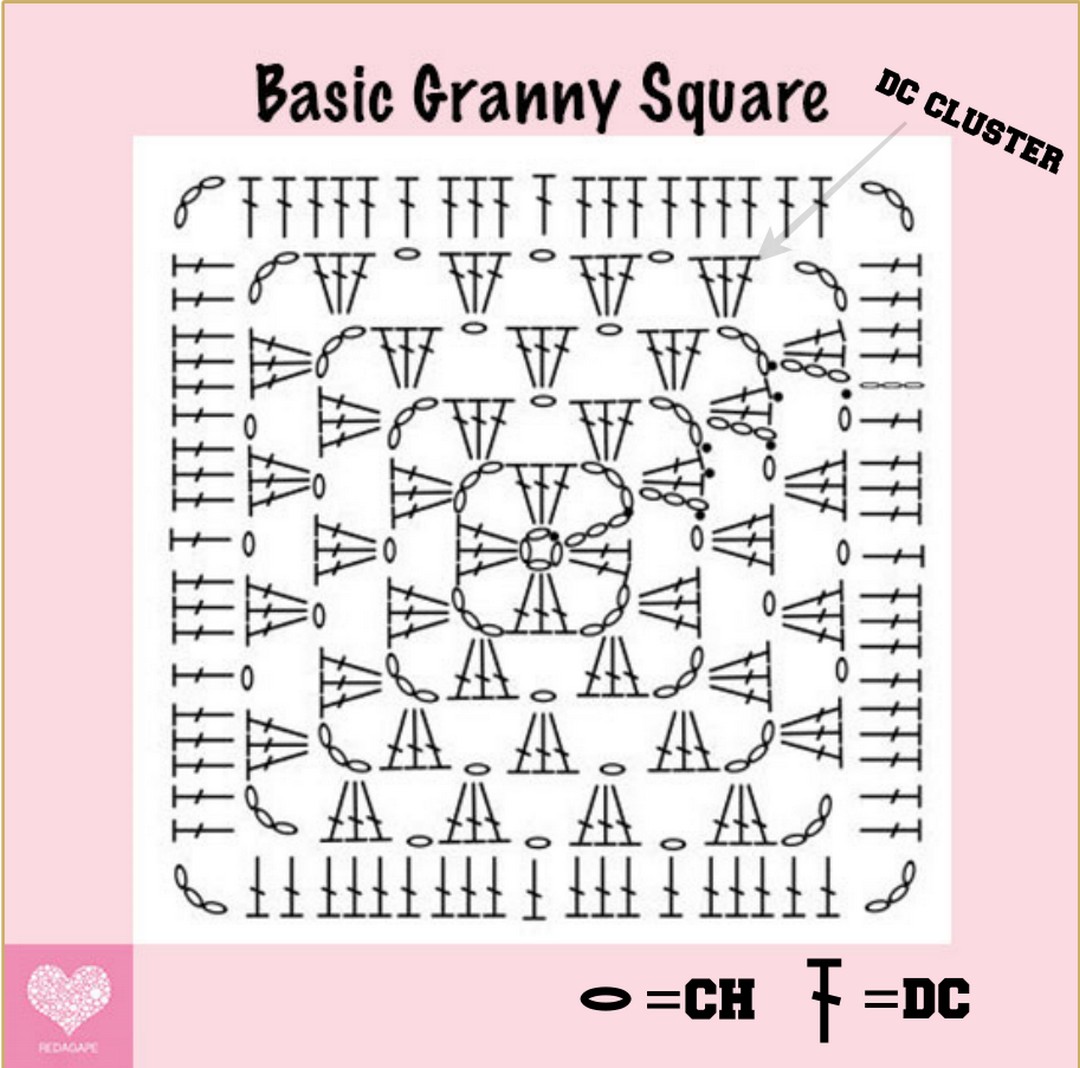
Learning from Granny Chart
In the granny square chart, you can see the granny is crocheted from the center to outward in rounds with a repeating pattern of alternating granny clusters (each consisting of 3 DC stitches) and chain spaces.
3 Turning chains here also count as one double crochet. To crochet the corner, you will crochet 3 chains, skip three stitches, and insert the hook into 4th stitch.
One chain spacing will only be used when you want to attach two clusters together (it starts from 3rd row). Was not that simple?
You can Also See Important Guides.
How to join grannies? In this tutorial, I shall teach the lace join method that looks so beautiful and attractive.
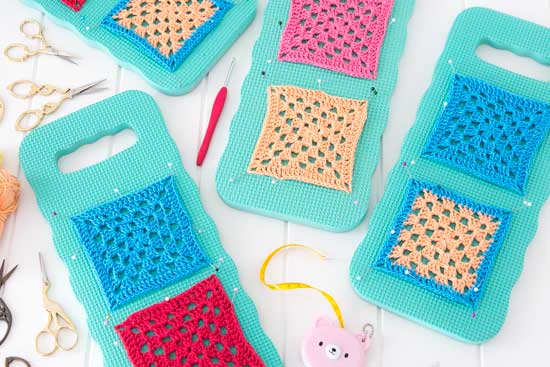
How to Block Grannies? In this tutorial, I have taught three different ways to block any item. It is an important step to get the squares back in the regular shape.
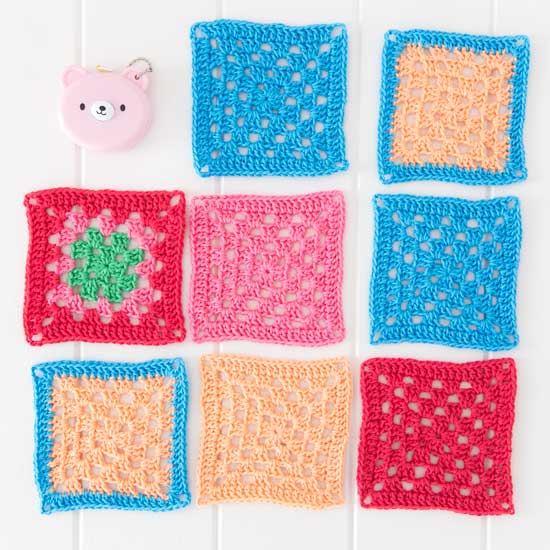
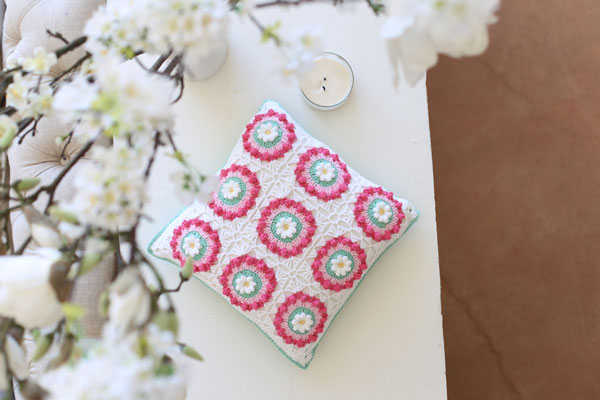
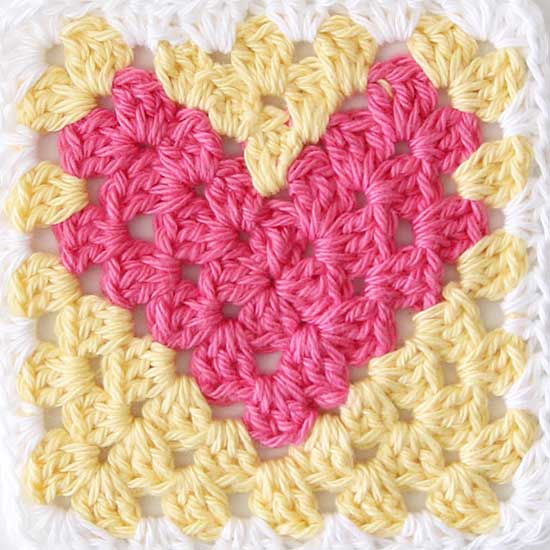
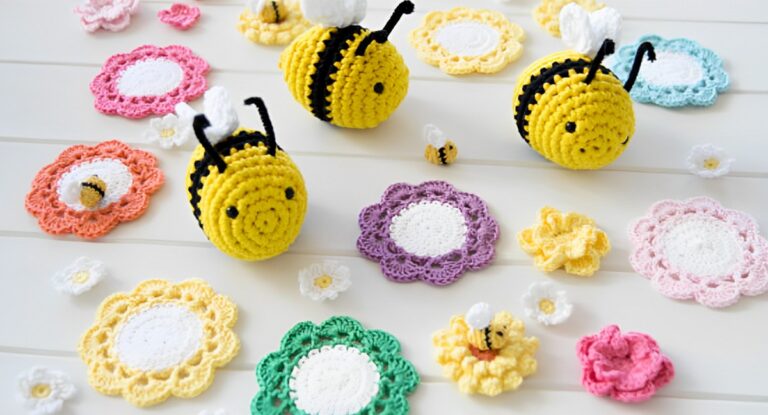
What are the variations in the granny square?
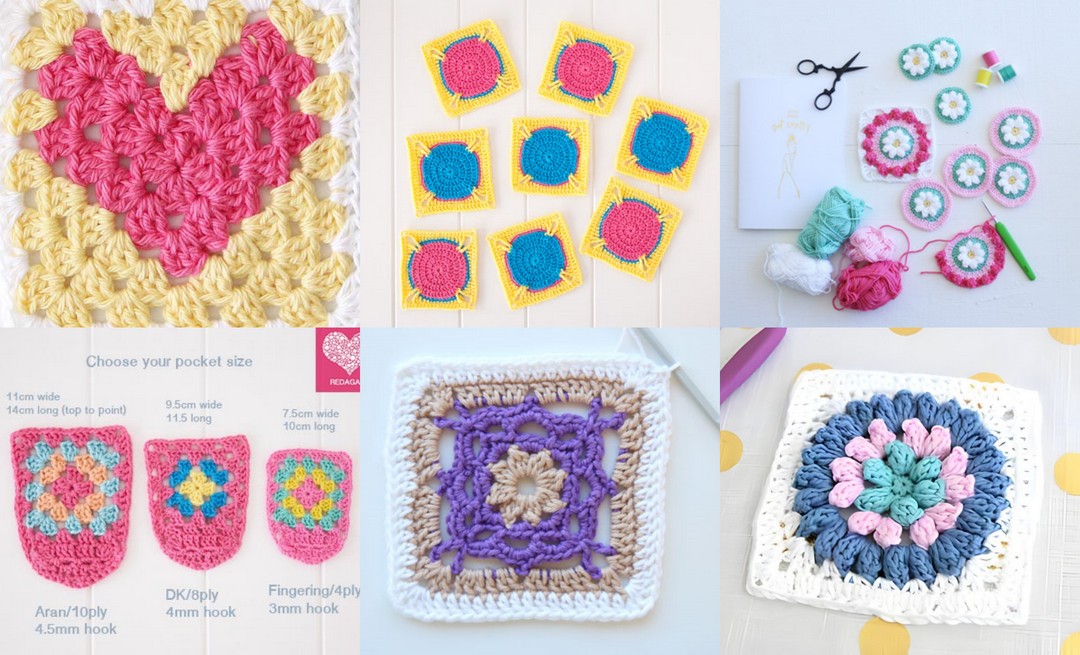
There are hundreds of variations in which you can crochet grannies showing creativity. See 18 of them in the list of granny square patterns.
For example, solid grannies, one which uses other stitches like popcorn, floral squares, various shapes like hearts, and many more. In this tutorial, however, you will only learn the basic granny.
How to Use Grannies?
You can use granny square in the following ways:
- Use as coasters.
- Make many crochet blankets.
- Make them crochet pockets.
- Scarves and much more.
How To Crochet Granny Square?
In this section, I shall give you the step-by-step instructions for crocheting a basic granny square:
Materials Needed
- Yarn – I am using Paintbox Yarns Cotton DK, 100% Cotton
- 3.5mm crochet hook (you might prefer to use a size 4mm)
- Yarn Needle
- Scissors
Finished Size
Approximately 12 x 12cm (5 x 5 inches)
Abbreviations UK (US) terms in brackets
- St(s) = stitch(es)
- Sp(s) = space(s)
- ch = chain
- ch-sp = chain space
- slst = slip stitch
- tr = treble (dc)
- rep = repeat
- beg = beginning
Instruction for Crochet Granny Square
Step-by-step images accompany the pattern in UK terms below. There are US instructions written at the end. You will also find a universal chart towards the end of the post.
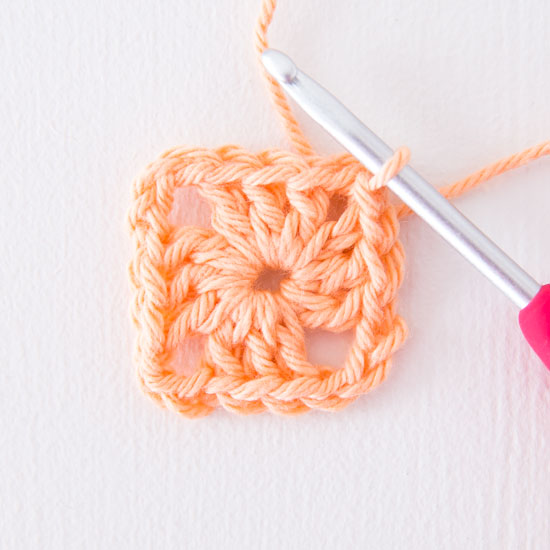
Rnd 1
ch 4, sl st in first ch to form circle, ch 6 (counts as tr, ch 3), * 3 tr, ch 3 in ring, rep from * 2 more times, 2 tr in ring, sl st into ch 3 of initial ch 6. [12 tr, 12 ch]
Rnd 2
sl st into corner sp, ch 3 (counts as tr), (2 tr, ch 3, 3 tr, ch 1) in same corner sp, *(3 tr, ch 3, 3 tr, ch 1) in next corner sp, rep from * 2 more times, sl st in to top of initial ch 3. [24 tr, 16 ch]
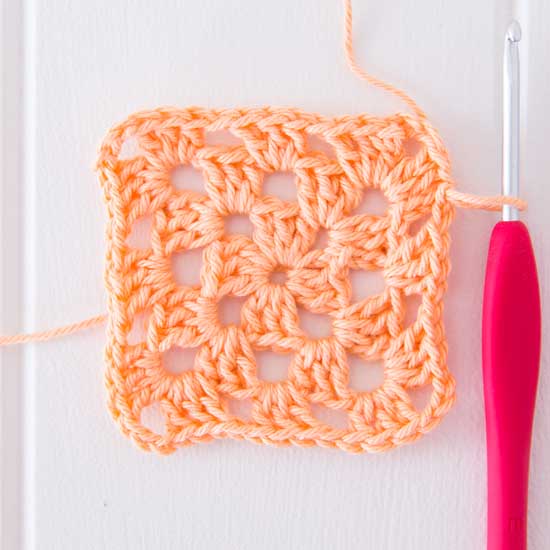
Rnd 3
sl st through next two stitches into corner sp, ch 3 (counts as tr), (2 tr, ch 3, 3 tr, ch 1) in same corner sp, (3tr, ch 1) in next ch-sp, * (3 tr, ch 3, 3 tr, ch 1) in next corner, (3tr, ch 1) in next ch-sp, rep from * 2 more times, sl st into top of initial ch 3. [36 tr, 20 ch]
Rnd 4
sl st through next two stitches into corner sp, ch 3 (counts as tr), (2 tr, ch 3, 3 tr, ch 1) in same corner sp, (3tr, ch 1) in next 2 ch-sp, * (3 tr, ch 3, 3 tr, ch 1) in next corner, (3tr, ch 1) in next 2 ch-sp, rep from * 2 more times, sl st into top of initial ch 3 [48 tr, 24 ch]
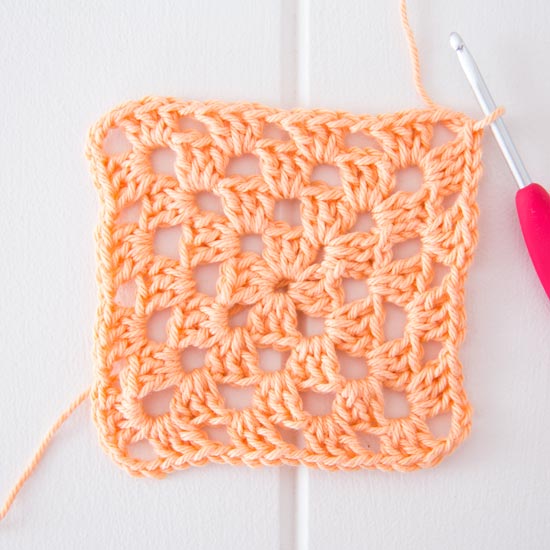
Rnd 5
ch 3 (counts as tr), tr in the next 2 st, (2 tr, ch 3, 2 tr) in the corner sp,* tr in each st and ch-sp along side, (2 tr, ch 3, 2 tr) in the corner sp, rep from * 2 more times, **tr in next 3 st, tr in next ch-sp, rep from ** 2 more times, sl st to top of initial ch-3, fasten off. [19 tr each side, 12 ch]
Basic Granny Square – US Terms
Rnd 1
ch 4, sl st in first ch to form circle, ch 6 (counts as dc, ch 3), * 3 dc, ch 3 in ring, rep from * 2 more times, 2 dc in ring, sl st into ch 3 of initial ch 6. [12 dc, 12 ch]
Rnd 2
sl st into corner sp, ch 3 (counts as dc), (2 dc, ch 3, 3 dc, ch 1) in same corner sp, *(3 dc, ch 3, 3 dc, ch 1) in next corner sp, rep from * 2 more times, sl st in to top of initial ch 3. [24 dc, 16 ch]
Rnd 3
sl st through next two stitches into corner sp, ch 3 (counts as dc), (2 dc, ch 3, 3 dc, ch 1) in same corner sp, (3dc, ch 1) in next ch-sp, * (3 dc, ch 3, 3 dc, ch 1) in next corner, (3dc, ch 1) in next ch-sp, rep from * 2 more times, sl st into top of initial ch 3. [36 dc, 20 ch]
Rnd 4
sl st through next two stitches into corner sp, ch 3 (counts as dc), (2 dc, ch 3, 3 dc, ch 1) in same corner sp, (3 dc, ch 1) in next 2 ch-sp, * (3 dc, ch 3, 3 dc, ch 1) in next corner, (3dc, ch 1) in next 2 ch-sp, rep from * 2 more times, sl st into top of initial ch 3 [48 dc, 24 ch]
Rnd 5
ch 3 (counts as dc), dc in the next 2 st, (2 dc, ch 3, 2 dc) in the corner sp,* dc in each st and ch-sp along side, (2 dc, ch 3, 2 dc) in the corner sp, rep from * 2 more times, **dc in next 3 st, dc in next ch-sp, rep from ** 2 more times, sl st to top of initial ch-3, fasten off. [19 dc each side, 12 ch]
Block