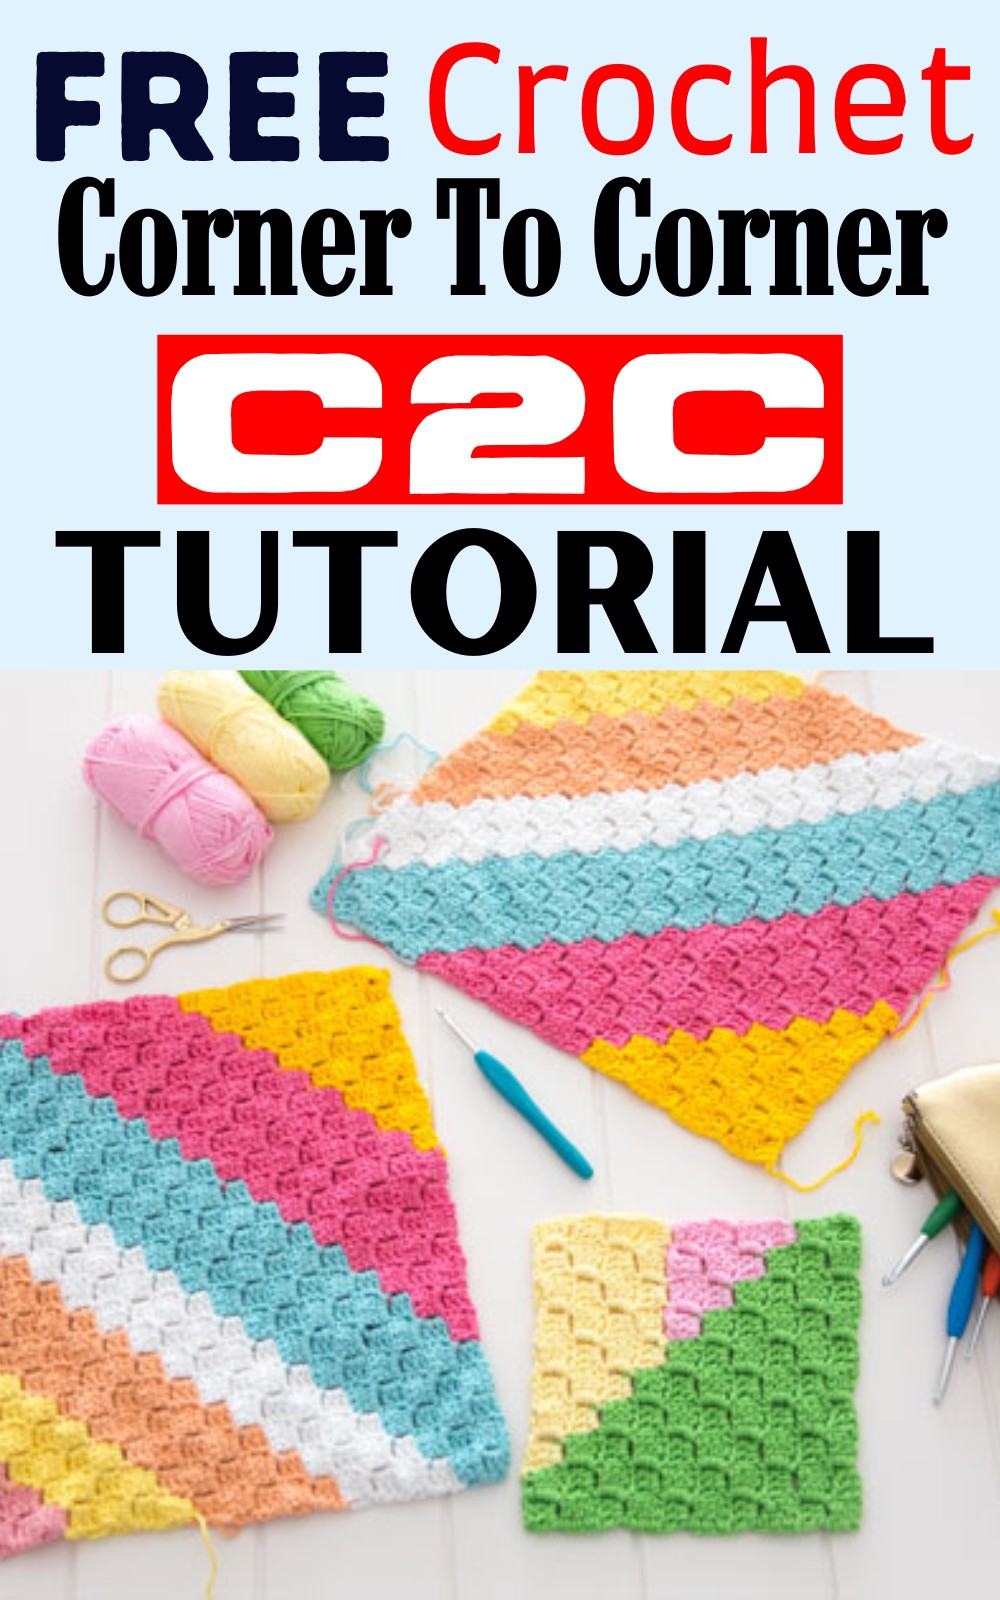
C2C Crochet Tutorial – Learn Corner-To-Corner Stitch In Minutes
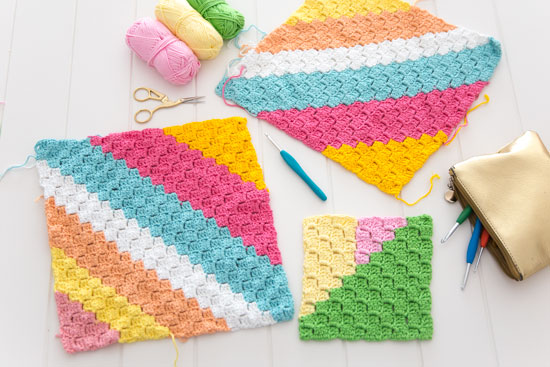
C2C crochet is a super useful technique to make fast, pixelated, and beautifully textured crochet items. If you want to learn how to C2C crochet, I have brought a corner-to-corner tutorial and stitch pattern to teach you the basics of C2C crochet, the right sequence of using the stitches, the basics of following a chart, how to color-change, and a colorful Dishcloth pattern in addition as an example. You can make anything from ombre blankets, placements, wall hangings, and more after learning from this step-by-step C2C crochet tutorial.
Follow along with this (corner-to-corner) C2C crochet tutorial and guide that I designed, especially considering the beginner’s needs. With helpful tips, a guide for each raw technique that will be used, material suggestions, increase and decrease guides and how to change colors everybody will find it pleasing to learn C2C crochet in minutes. But before getting started, some things need to clear:
What is C2C Crochet, & How is it Different?
As beginners usually head over heels for basic crochet techniques, many don’t know what C2C is.
First, it is not a technique to fear as mostly uses the same basic techniques you have learned already; Second, as C2C stands for Corner-to-Corner crochet, it means unlike traditional crochet, which works in horizontal rows back and forth or round, it is done by working diagonally from one corner to the other (in square or rectangle!), mostly from bottom to top.
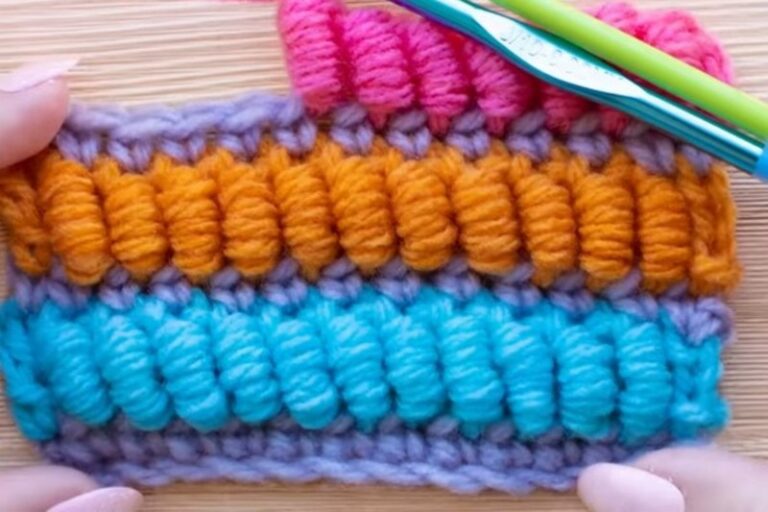
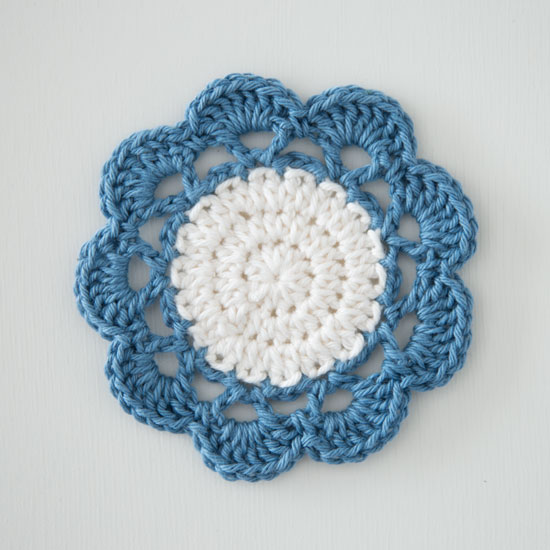
In this way, the first half is for decreasing and then decreasing. Many people try the Corner to Corner technique to quickly and beautifully complete blankets or afghans, but you can make anything like dishcloths, placements, etc.
Basic summary For the C2C technique?
For the C2C crochet, you will create the diagonal rows of blocks or squares (tiles!), each consisting of 3 double or half double crochet clusters and their (equal!) mixed chains (also 3!) until you reach the other corner (of square or rectangle!).
You will also need to turn the work or tiles several times from the Wrong Side to the Right Side and then chain space joining. Working with a specific sequence of these, when you reach the center of work by increasing, you start decreasing it to reach the top-left corner and the last row or tile.
I know it looks mind-ruining, so I have added the video tutorial. Also, only the two rows may need to remember a formula.
What is the Wrong Side And Right?
While following a chart or making your own, it is necessary to learn about the Wrong and Right Sides. The Odd rows are usually Wrong Sides, while Even ones are Right. Some tiles that start on the odd rows must be put on the even sides to correctly follow the color chart.
When Use the Corner To Corner Stitch?
As you make squares in rows that look a bit like pixels, you can follow a color chart easily to convert any pixelated pic (fewer pixels should be!) into a crochet flatwork.
So, the best option is to make decorative items that, in other cases, would be only functional. You can include text, graphics, tiles, symbols, and much more for special events and regular use too.
Stitches Required, Guides And Their Abbreviations:
For the beginners, here are the quick guides for the symbols we shall use in the crochet C2C tutorial and pattern and reasons and locations where you can use them for the C2C:
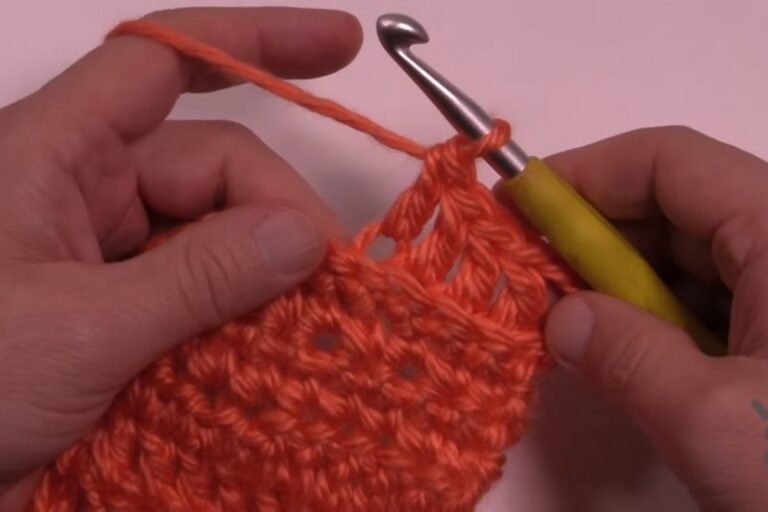
Chain(ch): To make a chain, you will need to yarn over and pull through the loop. This will be helpful in making the turning chain, where you will use the double crochet inside. Usually, 6 chains will be needed at the start of the tile, and 3 chains will be needed when slip stitch is used before.
Slip Stitch(sl st): To make the slip stitch, insert the hook into the chain space of the tile, yarn over, and pull up a loop and then through both loops. You will turn the first tile where you will need to turn to Wrong side to the Right (both tiles will be aligned in the same direction and place!) and join them using a slip stitch on chain space so that the new tile may be started from the right side.
Double Crochet(dc): To make, you will yarn over and insert the hook to the 3rd chain, if 6 but 1st if 3, and then yarn over and pull up a loop. You will have three loops, yarn over again, and pull through two loops, yarn over and pull through two loops. You will do the same on all three chains.
Chain Three Space(ch-3 sp): Where you will need to use the 6 stitches, you have to skip some chains before double crochet, and this will make a little space where you can easily attach a slip stitch.
Additional Stitch:
Although not much recommended, you can also use the half-double crochet for the C2C, especially when you want a smaller item but more pixelated details to add. But I used the double crochet throughout because more common. However, here is a quick guide for this:
To half-double crochet, yo, insert the hook, yo, pull up a loop, now three loops on the hook. Yarn over and pull through all these.
Double Crochet or Half-Double Crochet?
Using double crochet has the benefit of completing the larger items like blankets faster but maybe a little less detailed.
Half-double crochet may be a little time-consuming, but better to display the detailed pixel art on smaller items.
Materials You Will Need:
Here are the general materials that will be helpful for you mainly to follow along the crochet C2C tutorial:
- Yarn: Usually, when practicing a new skill, professionals recommend the worsted weight yarn in one color, but it should be light as easy to work and to see the stitches well (I used many to teach color change technique!).
- Crochet Hook: You will need a hook size you are comfortable with and the size according to the yarn weight you choose.
- Stitch Markers: You will need the stitch markers most importantly because you have to understand the row you are working on and whether it is right or not.
- Scissors
Additional But Optional Tool
Many other materials will be beneficial:
- Ruler
- Clip Board
- Pins
- Tapestry Needles
How To Crochet C2C:
Now let’s start. The crochet C2C tutorial and pattern is written in both the UK/US terms and is perfect for beginners if you read the previous details. If you prefer video tutorials, I highly recommend you check out Bella Coco on YouTube.
Let’s Start
Row 1: (RS) ch 6, dc in the 4thch from the hook (3 ch missed counts as dc), dc in each of the next 2 ch [1 block of 4 dc complete]
Row 2:
(WS) turn, ch 6, dc in the 4thch from the hook (3 ch missed counts as dc), dc in each of the next 2 ch (1 block made), sl st into 3 ch-sp from prev row, ch 3 (counts as dc), 3 dc in ch-3 sp from prev row [2 blocks of 4 dc]
Row 3:
(RS) turn, ch 6, dc into 4thch from the hook, dc in each of the next 2 ch, *sl st into ch-3 sp from prev row, ch 3, 3 dc in ch-3 sp of block in prev row * [3 blocks of 4 dc]
Follow The Increase:
Work as in Row 3, repeating between * and * as many times as needed in the row. The rows will increase by 1 block of 4 dc each time. C2C increases this way until the desired width is reached, and then decreasing will begin.
Decreasing Rows:
After the desired width is reached, turn sl st in each of the first 3 dc, and in the first ch-3 sp, ch 3, 3 dc in the same ch-3 sp, continue to make dc blocks as normal.
Colour Changes
To do this, make your last DC (UK tr) as usual, pull up yarn, pull a loop of Yellow through Pink loop, and pull to secure. Now drop the Pink yarn (do not cut), using the Pink yarn slst in the top of the next ch-3 sp, and continue the C2C stitch as usual.
These balls remain attached throughout the blanket, adding a fresh ball as each runs out. Keep the balls attached where you can, and simply pick them up when needed.
Carrying Yarn
Note: when dropping and picking up yarn, slst into the correct position if the yarn does not naturally fall where required. Sometimes the yarn you need to pick up will sit further away, and you must carry it across to the right position.
Never try to carry the yarn more than one block, as it gets too messy. There are some instances where you will need to cut and reattach your yarn.
Working C2C Stitch UK
Row 1:
(RS) ch 6, tr in the 4thch from the hook (3 ch missed counts as tr), tr in each of the next 2 ch [1 block of 4 tr complete]
Row 2:
(WS) turn, ch 6, tr in the 4thch from the hook (3 ch missed counts as tr), tr in each of the next 2 ch (1 block made), sl st into 3 ch-sp from prev row, ch 3 (counts as tr), 3 tr in ch-3 sp from prev row [2 blocks of 4 tr]
Row 3:
(RS) turn, ch 6, tr into 4thch from the hook, tr in each of the next 2 ch, *sl st into ch-3 sp from prev row, ch 3, 3 tr in ch-3 sp of block in prev row * [3 blocks of 4 tr]
Following Rows: work as in Row 3, repeating between * and * as many times as needed in the row. The rows will increase by 1 block of 4 tr each time. C2C increases in this way until the desired width is reached and then decreasing will begin.
Decreasing Rows: When you reach the desired width, turn, sl st in each of the first 3 tr and in the first ch-3 sp, ch 3, 3 tr in the same ch-3 sp, continue to make tr blocks as normal.
C2C Chart – A Simple Washcloth
A washcloth is a simple project to get you started. Each colored block in the chart below represents 1 block of 4 trebles. Start at the bottom right and move up to the top left corner.
How to read the pattern
Each letter in the written pattern represents 1 block (4 trebles) in the colour indicated. When it is followed by a number, the number indicates how many of each block should be made in that color. I.e.; “Row 12: Y4, P4” would mean work 4 blocks in the color Yellow and then 4 blocks in the color Pink. Turn your work at the end of each row.
← Row 1 [RS]: G
→ Row 2 [WS]: G2
← Row 3 [RS]: G3
→ Row 4 [WS]: G4
← Row 5 [RS]: G5
→ Row 6 [WS]: G6
← Row 7 [RS]: G7
→ Row 8 [WS]: G8
← Row 9 [RS]: G9
→ Row 10 [WS]: G10
Corner (start decreasing)
← Row 11 [RS]: G9
→ Row 12 [WS]: Y4, P4
← Row 13 [RS]: P3, Y4
→ Row 14 [WS]: Y4, P2
← Row 15 [RS]: P, Y4
→ Row 16 [WS]: Y4
← Row 17 [RS]: Y3
→ Row 18 [WS]: Y2
← Row 19 [RS]: Y