Crochet Lace Join Method For Squares Tutorial For Beginners
Crochet Lace Join Tutorial
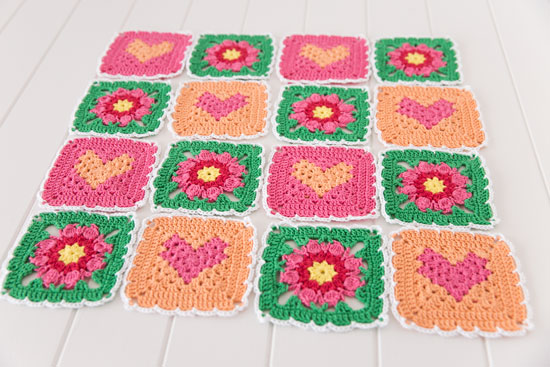
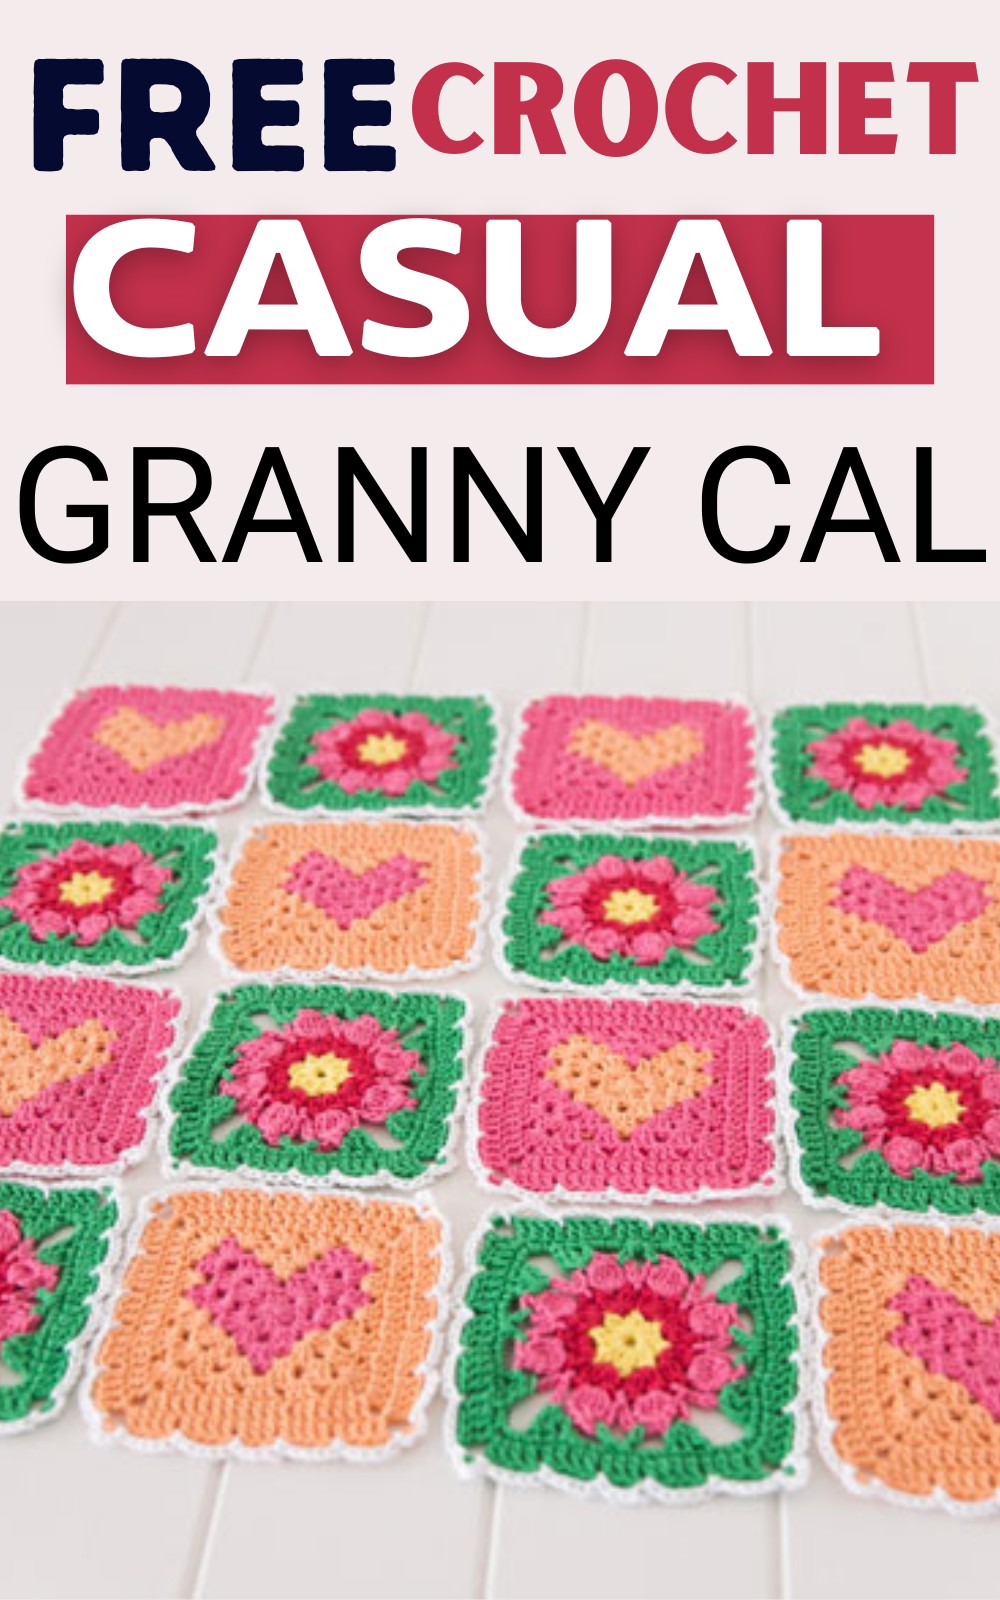
We all love grannies because they divide our larger projects into smaller panels that can be made with different appearances and look even more beautiful. However, finding the right crochet join method is very important. You can follow this Crochet Lace Join Method For Squares, where I will provide a step-by-step guide.
Why Crochet Lace Join Method Is Special?
You will find the lace join crochet method much more special because even if your squares are in slightly different sizes, it won’t matter in the end, and the blanket or placement will have the right shape. This join is quite relaxed and flexible. Using a flexible joint is particularly important for newbie crocheters, who sometimes have irregular tension.
Also, it looks so gorgeous. Irregular tension can mean different-sized squares even when using the same crochet pattern. That’s why I have included this tutorial so you can display a professionally finished item at CAL.
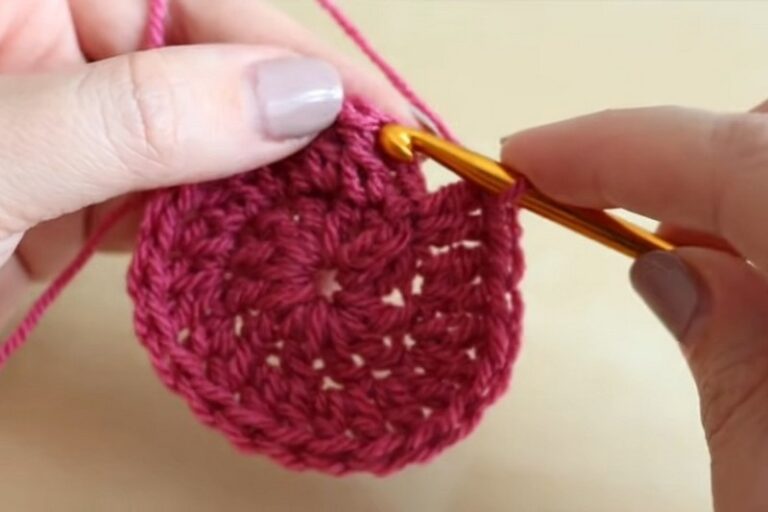
There will be two stages For joining:
Here is a quick summary of how you will do lace crochet join of granny square:
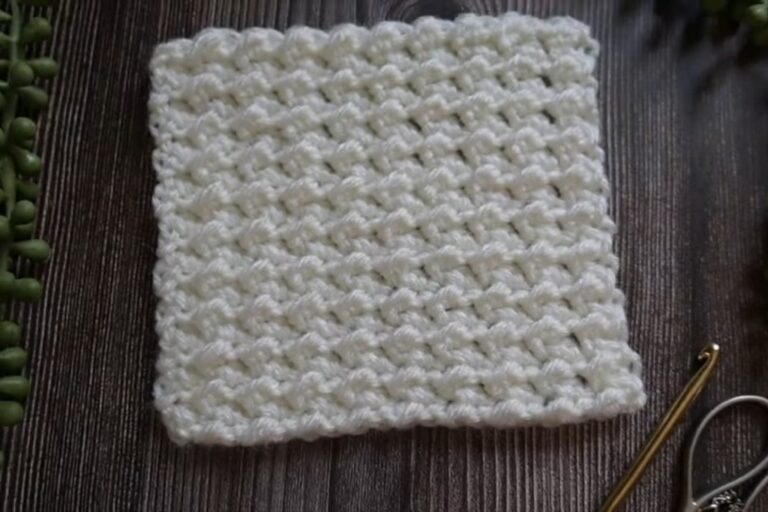
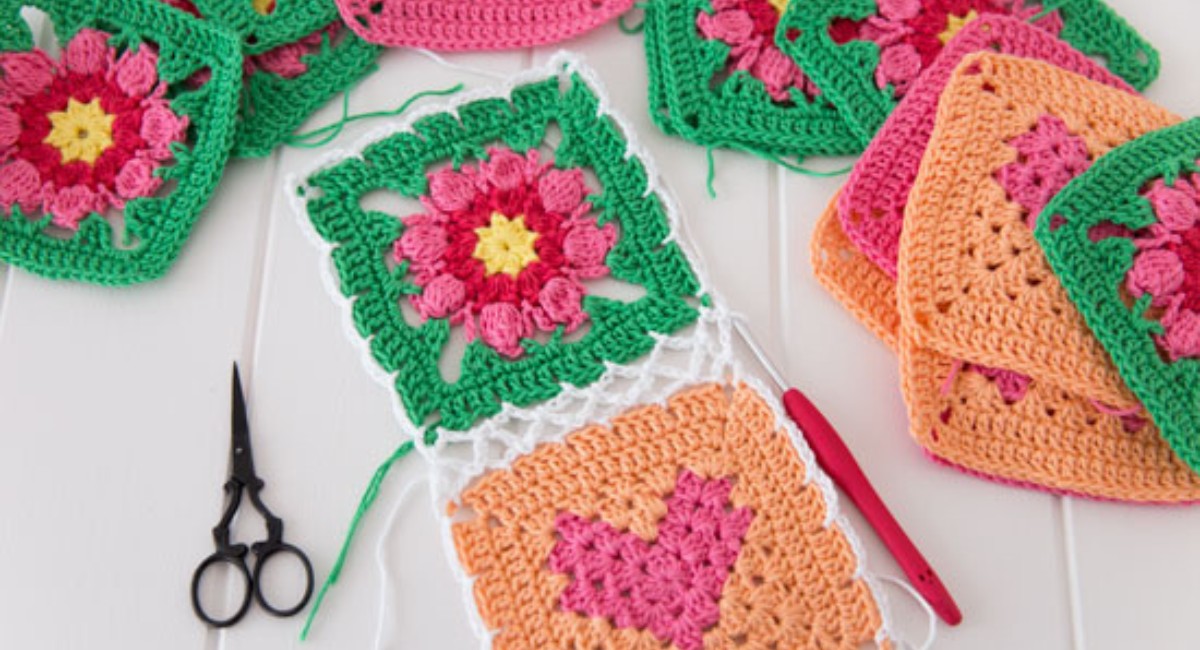
Part A – This will involve adding a border of chains and slip stitches in the white yarn (or your choice of color).
Part B – (shown below) will involve working a series of chains in and out of the chains made in Part A to create a lacy effect.
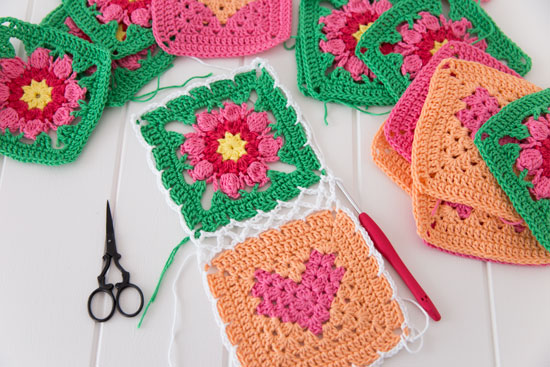
Looking at the squares above, you can see the pretty lacy join I have planned for our squares. That said, the second square IS slightly smaller than the heart square, but this won’t matter when joining. All the squares will have the same number of stitches around the outside. Having the same stitch count means Part A of the joining method will disguise any size discrepancies. Hooray!
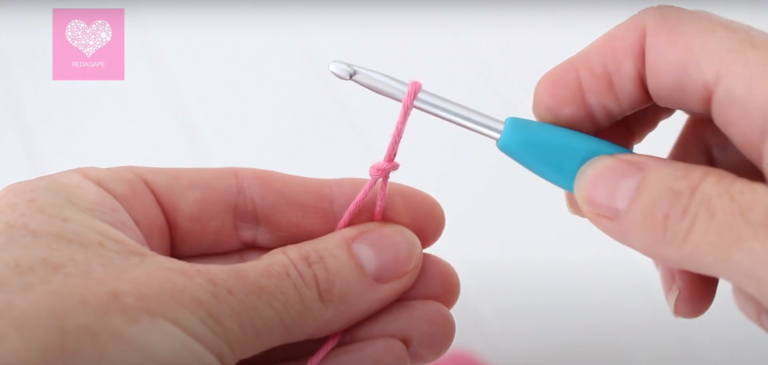
Abbreviations:
- sl st (slip stitch!)
- sp (space – a lace created by skipping stitches!)
- Rp (Repeat)
- * (to repeat an instruction that start with this symbol)
Joining Square Crochet Tutorial
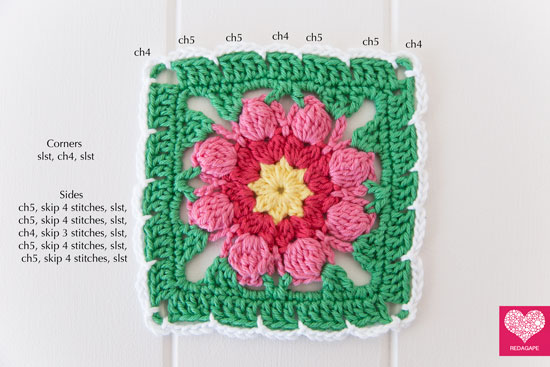
Using Paper White (or your choice of color), *slst into corner space, ch4, slst in the same sp, ch5, skip 4 sts, slst in between the next two sts, ch5, skip 4 sts, slst in between the next two sts, ch4, skip 3 sts, slst in between the next two sts, ch5, skip 4 stitches, slst in between the next two sts, ch5 – Rep from * 3 more times and join to the initial slst.