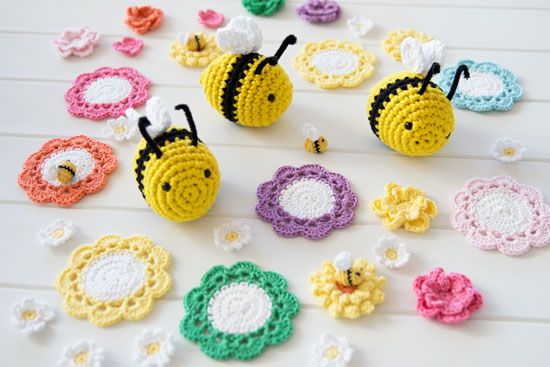
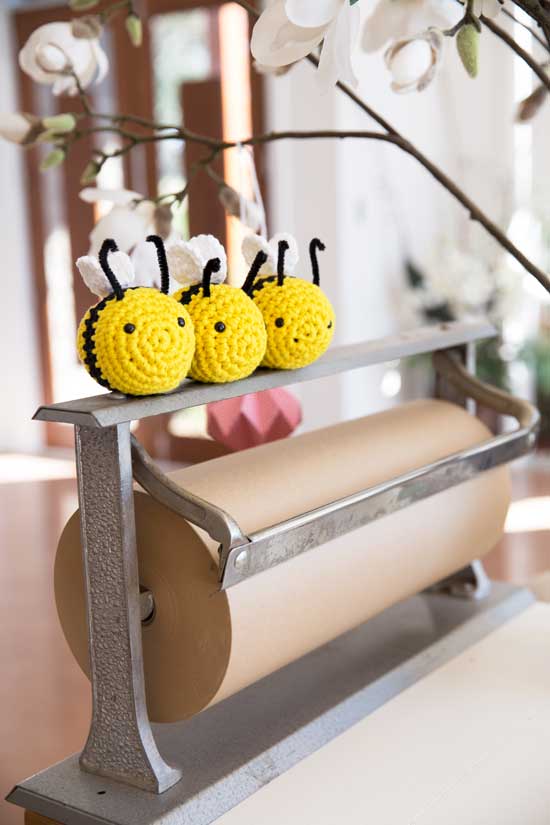
Crochet Amigurumi Bee Free Pattern For Beginners

Are you a beginner to amigurumi like me and looking for a simple crochet bee pattern? Your search will end here in this amazing pattern guide. It will help you find the best amigurumi bee pattern you have ever tried, and the easier stitches combination plus the simplest-to-understand details will surely end up making this bee pattern your heatedly favorite.
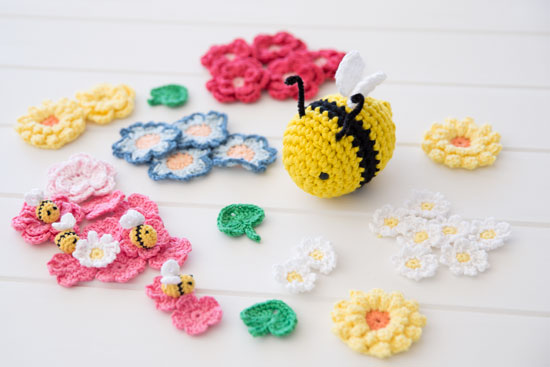
Crochet Amigurumi Bee Pattern
I was sitting on the porch of my house with a cup of coffee in hand, enjoying the beautiful sunrise in front of me, then I realized that leaves were turning yellow now, so it the time to call off those drier winds and huge yellower shades covering all the trees around. But definitely, there’s the season of spring welcomed on the other side of our beautiful planet, which will readily be in my hometown after a few months from now. To engage my readers and welcome the spring before its arrival officially, I try to spread the sound of buzz with this super cute and exciting crochet bee pattern free.
I’ve written the pattern in UK terms, but there are some US shorthand patterns at the end of the tutorial. Please tag your bees with #buzzycrochetbees if you would like to share your creations.
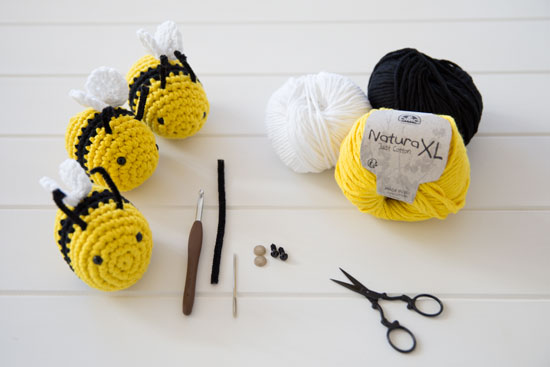
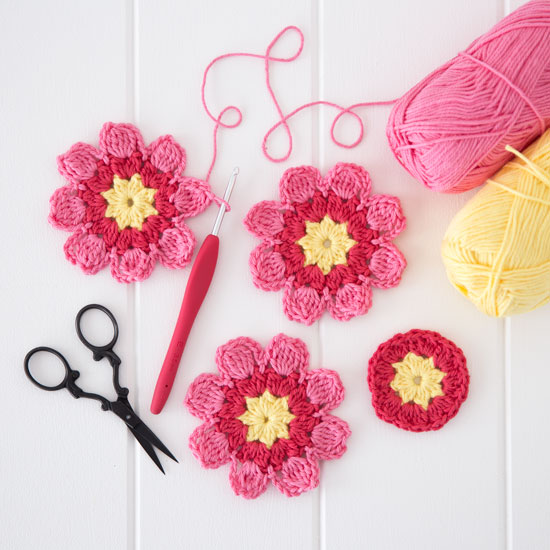
You will need –
- DMC Natural Just Cotton XL in Yellow, Black, and White. This should be (pun intended) enough for three bees with lots of black and white left. If you get an extra ball of Yellow, you’ll be able to make six bees. Does that make sense?
- 1x Pair of teddy bear eyes
- pipe cleaner
- stuffing
- 1x 6mm hook
- scissors
- yarn needle
Ok, Let’s start
Abbreviations
- ss – slip stitch
- st – stitch
- dc – double crochet
- prev – previous
- rep – repeat
Before your start
- Please remember that Note: eyes and pipe cleaners should be attached at round 8 or 9
- And Stuffing should be added at round 11 or 12.
Body Of Your Amigurumi Bee
Procedure
- Starting with Yellow, 6dc in a magic ring, ss to initial dc. [6dc]
- 2dc into each dc from prev round, ss into the initial dc. [12dc]
- *1dc into st, 2dc into the following st, rep from * 5 more times, ss into initial dc. [18dc]
- *1dc into st, 1dc in the next st, 2dc into the following, rep from * 5 more times, ss into initial dc. [24dc]
- 1dc into each st from prev round, ss into the initial dc. [24dc]
- 1dc into each st from prev round, ss into initial dc [24dc]
- 1dc into each st from prev round, ss into the initial dc. [24dc]
- Attach the Black yarn through the top loop of the last yellow st, cut Yellow yarn 1dc into each st from prev round, and ss into the initial dc. [24dc]
- 1dc into each st from prev round, ss into initial dc [24dc]
- Attach the Yellow yarn through the top loop of the last black st, cut black yarn, 1dc into each st from prev round, and ss into the initial dc. [24dc]
- 1dc into each st from prev round, ss into the initial dc. [24dc]
- Start decreasing – *dc in each of the next two st, dc2tog over the following two st, rep from * 5 more times, ss into initial dc [18dc]
- *dc in each of the next 4 st, dc2tog over the following 2st, rep from * 2 more times, ss into intial dc [15dc]
- *dc in st, dc2tog over the next 2st, rep from * 4 more times, ss into intial dc [10dc]
- dc2tog over 2st around [5dc]
- 1dc in each st, cut tail leaving a good length. Thread tail through yarn needle and weave through all 5 dc, pull tight, and fasten off.
- Wings – (make 2)
- work 7dc into a magic ring, ss into initial dc
- 2dc into each dc from the previous round, ss into the initial dc, and cut tail, leaving a good length
Attaching wings
Whip the two wings together using the long tail of one wing, fasten off, and weave in. Using the remaining tail, stitch the wings to the top of the bee. Ta-da!!
Shorthand UK
- With Y, 6dc in a magic ring [6dc]
- 2dc into each dc [12dc]
- 1dc into st, 2dc into the following st, rep around [18dc]
- 1dc into st, 1dc in the next st, 2dc into the following, rep around [24dc]
- 1dc into each st [24dc]
- 1dc into each st [24dc]
- 1dc into each st [24dc]
- With B, 1dc into each st [24dc]
- 1dc into each st [24dc]
- With Y, 1dc into each st [24dc]
- 1dc into each st [24dc]
- Decrease – dc in each of the next two st, dc2tog over the following two st, rep around [18dc]
- dc in each of the next 4 st, dc2tog over the following 2st, rep around [15dc]
- dc in st, dc2tog over the next 2st, rep around [10dc]
- dc2tog over 2st around [5dc]
- 1dc in each st, fasten off.
Wings – (Make 2)
- 7dc into a magic ring
- 2dc into each dc, fasten off.
Shorthand US
- With Y, 6sc in a magic ring [6sc]
- 2sc into each sc [12sc]
- 1sc into st, 2sc into the following st, rep around [18sc]
- 1sc into st, 1sc in the next st, 2sc into the following, rep around [24sc]
- 1sc into each st [24sc]
- 1sc into each st [24sc]
- 1sc into each st [24sc]
- With B, 1sc into each st [24sc]
- 1sc into each st [24sc]
- With Y, 1sc into each st [24sc]
- 1sc into each st [24sc]
- Decrease – sc in each of the next two st, sc2tog over the following two st, rep around [18sc]
- sc in each of the next 4 st, sc2tog over the following 2st, rep around [15sc]
- sc in st, sc2tog over the next 2st, rep around [10sc]
- sc2tog over 2st around [5sc]
- 1sc in each st, fasten off.
Wings – (make 2)
- 7sc into a magic ring
- 2sc into each sc, fasten off.