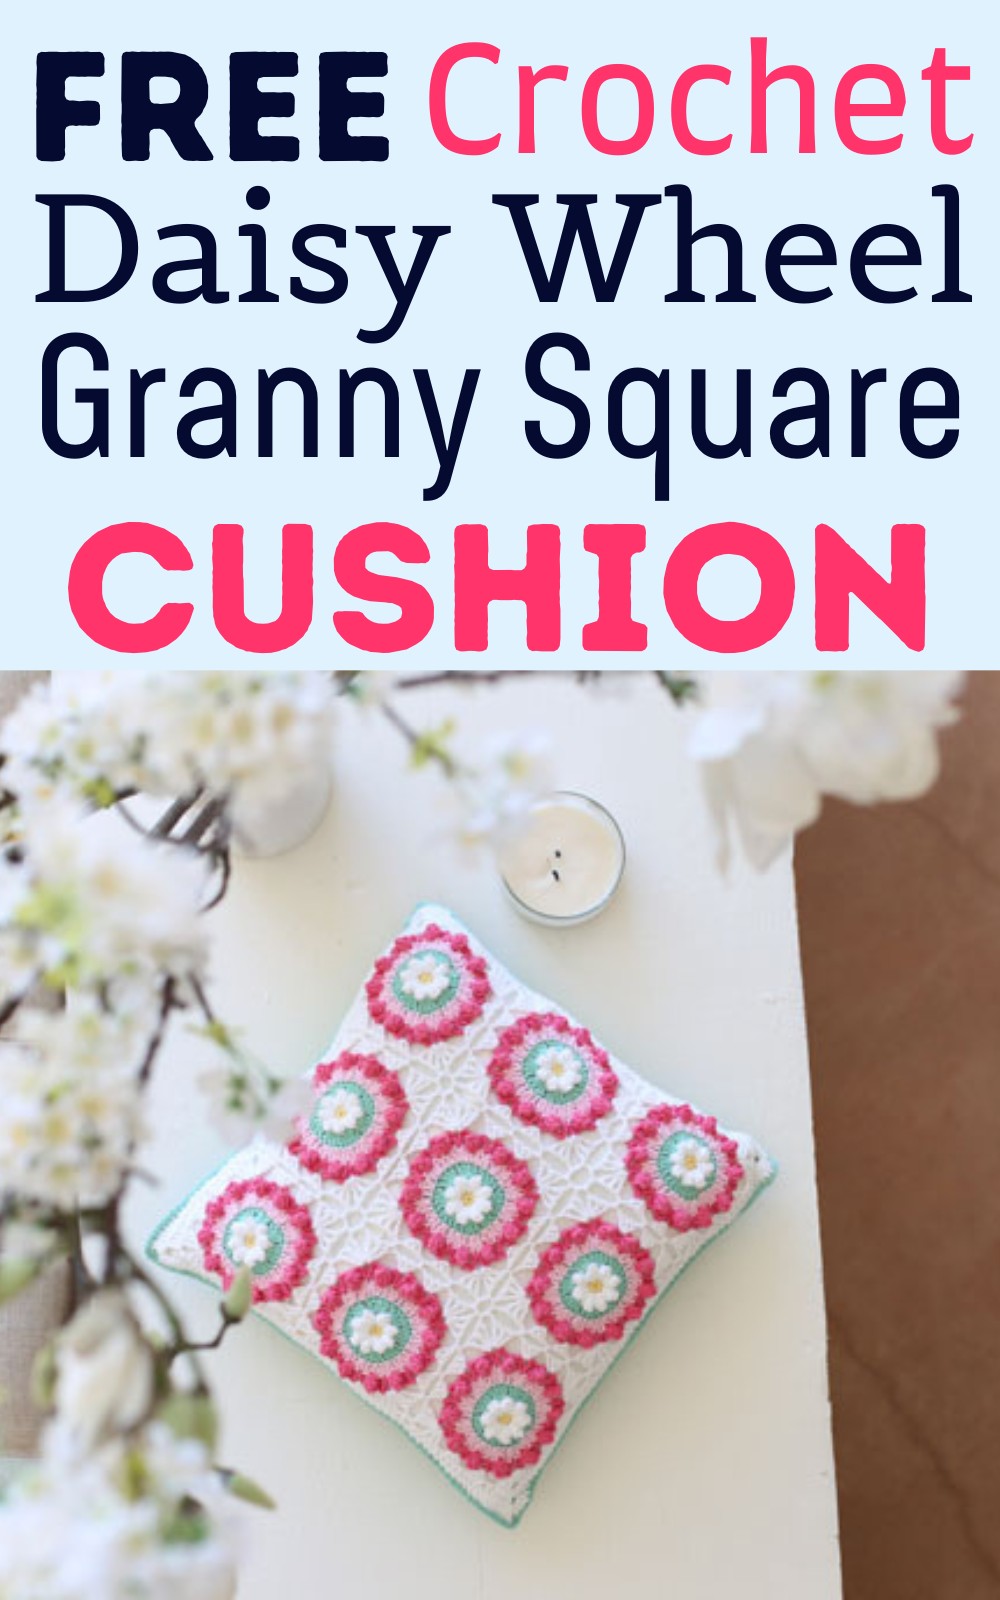
Easy Crochet Daisy Wheel Granny Square Cushion Pattern
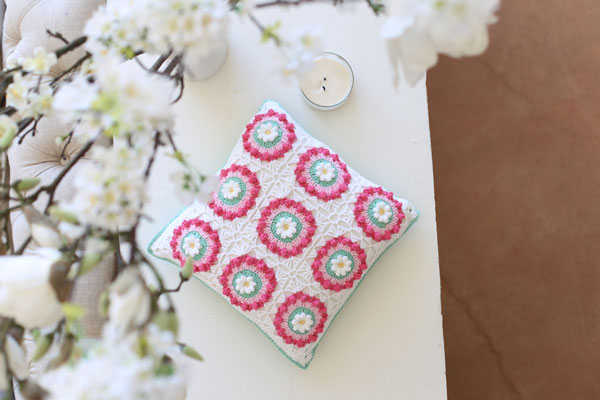
Crochet daisy granny squares are simply adorable, colorful, and best for spring items, and that’s why last time I taught you to crochet one (follow the link!). But today, I gonna show you the best technique on how to join granny squares (9 of them very beautifully!), each with the same beautiful daisy flower pattern in the middle round and surrounding color-changing rounds with a combination of popcorn and dense stitch, and turn into a daisy granny square cushion. It will be the most pleasing gift option and the nicest use of floral squares, and you can use any you can make.
So, follow along with this crochet daisy granny square cushion pattern with pictures, helpful tips, and instructions on how to make a panel for the cushion addition.
Daisy Wheel Granny Square cushion
Crochet daisy granny square cushion, after following this pattern, will be the best decor for your living room, day bed, or bedroom while you can enjoy the same coziness you expect from the general crocheted cushions. We shall mainly discuss one of the beautiful and seamless techniques of joining the squares, and suppose you have already learned to make them and roam for the best way to use granny squares. You can easily learn it, and I hope you will perfectly replicate the complete design (choose personal colors to make it unique!).
What Are The Ways To Join The Granny Square, and What You Will Learn?
There are many ways to join granny squares, but I prefer one that is more seamless, requires less time, and does not increase the texture of my crochet daisy granny square cushion pattern. Here are two main types:
Whip Stitch by Needle: For this, you will first finish all the granny squares and then use a darning needle, and then align two squares right facing each other. Then, insert this threaded needle into first both joined loops and after tieng, you will work joining till the last loop.
However, it will take a separate time to join, more yarn, and being more displaying, not good for those who like seamless join like me.
Double Crochet or Double Crochet Join: You will again need the finished squares, then insert the hook through loops of facing squares and then perform straight single or double crochet.
This technique adds a texture to the edges and creates a border. But for my daisy granny squares, which have lacy edges, I think this one will not be so good.
You will learn How to Join As You Go (JAYG!):
I love this technique because it only needs an addition of slip stitch to join. To start, you must make 1 full Daisy Wheel square and 8 x partially finished squares (leaving the last round of white off). The last round of white is added during the joining process. Then, you will complete the square more and more, and I will guide you in this crochet daisy granny square cushion pattern. You will also learn how to join the granny square corners.
Fast Tips For Crochet Granny Daisy Square Cushion
Here are two tips that will be helpful for you for crochet square cushion:
- Don’t add direct stuffing to the cushions because it will have a lacy texture (for granny square side!), and stuffing may fall. Instead, use it as a cushion cover and insert an actual fabric cushion inside as I did.
- Go and check out the complete Tutorial of the daisy granny square pattern as mentioned above because, in this guide, I will merely teach you to assemble uncompleted squares as a cushion.
Crochet Granny Square Cushion Tutorial – Let’s Start
Skill Level: Good For Intermediates
- Single Crochet (sc) = Double Crochet
- Double Treble (dt)
- Chain (ch)
- Slip Stitch (Sl St)
Step One – complete until the corner Reaches
You will now have 1 full square and 8 partially completed squares – making 9 (in total!). The first step is to attach one partially finished square to your completed square. Start adding white until you reach your first corner. At the corner, work your first group of 3dtr and ch1, and STOP.
Step 2 – Slip Stitch
Where you would normally add your second ch, we will join to our completed square. Slip your hook into the corner sp of the completed square – see below (ignore all the extra squares, pretend there is only 1 completed square).

Step 3 – Start Completing the side
Instead of that second ch, we are going dc (sc for US) to join the two squares. See the steps below.


You can see below how the join looks. If you find it easier to slip-stitch them together, that’s okay too.
Step Four
You can now go ahead and finish the corner on the uncompleted square, remembering that the second chain in the ch is swapped for the dc join. So your corner will consist of (3dtr, ch1, dc join, ch1, 3dtr). Make sense? Here’s what the completed corner looks like below. You can also see that when you reach the ch1 that is along the side, you substitute it for a dc join.
Step Five
Continue along the side, substituting the ch1 for a dc join (sc for US) where needed. Obviously, if there are no joins along the side you’re working on then please include the chains as usual. The corner join is a little different when you are joining to more than one square. In the image below we need to join to the TOP RIGHT square and the square on the bottom left – so we need 2 joins at this corner.
When joining to one square at a corner always us this pattern – (3dtr, ch1, joining dc, ch1, 3dtr).
Joining two corners
When joining to two squares at the corners always use this pattern (3dtr, joining dc, ch1, joining dc, 3dtr). See more images below.

The image below shows where we need to start joining to the top right square. Complete the first 3dtr of the corner, dc join, ch1……

And now compete another dc join to the second square’s corner – see below.

You can see the two joins below and now you can complete the rest of your corner with 3dtr. Continue down to join down the side by swapping ch1 for dc join (sc for US).

Once you have joined all nine of your squares it will look like the image below.

Add another round of white trebles around the entire front to create a bigger block of crisp fresh white. I’ve used 3 chains at the corners. The front is now complete. 🙂 Hooray!!

For the cushion back, I’ve just used a solid granny square of green to add a bit of contrast. You might like to make the front and back the same – it’s completely up to you. Here’s a link to a great solid granny tutorial by Cherry Heart Crochet. Continue adding rounds until it is big enough.

Now to join the front and back! Once again, there are many ways you join the front to the back – whip stitch it, dc join, or maybe you’d like to run a length of chain through the stitches so it can be removed for easy washing. I’ve used a DC join through both loops for a secure finish. Place front and back, wrong sides together, and start working a dc through both loops on front and back. This little photo guide is a handy resource if you’re not sure.

I find it easier to peg them together so they don’t slip out of place. Once you’ve completed 3 sides, insert your cushion and complete the round.

Sit back and admire. 🙂