8 Crochet Goldfish Patterns For Toys & Decorations
Goldfish are tiny cuties. So, making their dummies with these free crochet goldfish patterns will not take much effort and time. From amigurumi goldfish to appliques, bags, and coasters, this collection has unique ideas and guides. So, if you have a fish fan, keep reading and learn to make the cutest gifts for your home!

Which Yarn Is Suitable For All Crochet GoldFish Patterns?
In this list of goldfish patterns, you can learn to crochet goldfish as stuffed toys, bags, coasters, and appliques. Although each project has its own requirements according to its functionality, one type may tackle all these. i.e, cotton-acrylic blend. So, if you have this, you can apply this yarn to all this. This yarn combines cotton’s absorbency, heat resistance, and durability with the shape-holding and color palette of acrylic.
Additional Supplies Needed For Crochet GoldFish Patterns?
Along with the yarn and hook, the materials will be needed for following any goldfish crochet pattern:
- Stuffing (Without it, the goldfish toy remains flat and not 3D, soft and huggable)
- Safety Eyes (Small black plastic balls or eyes again for amigurumi goldfish) There is a safety hazard with the safety eyes, so never give such toys to the babies.
- Needle (Sewing Different parts like fins is possible with it)
Crochet Goldfish Patterns & Video Tutorials
Below are the easy crochet goldfish patterns:
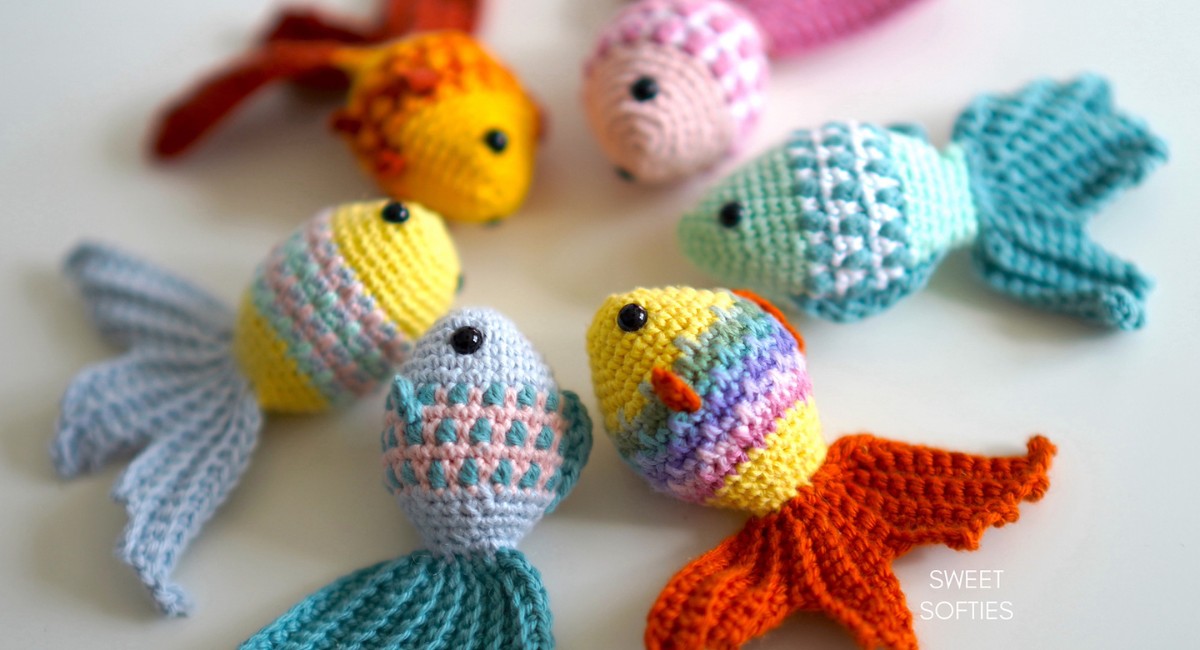
Mosaic Goldfish
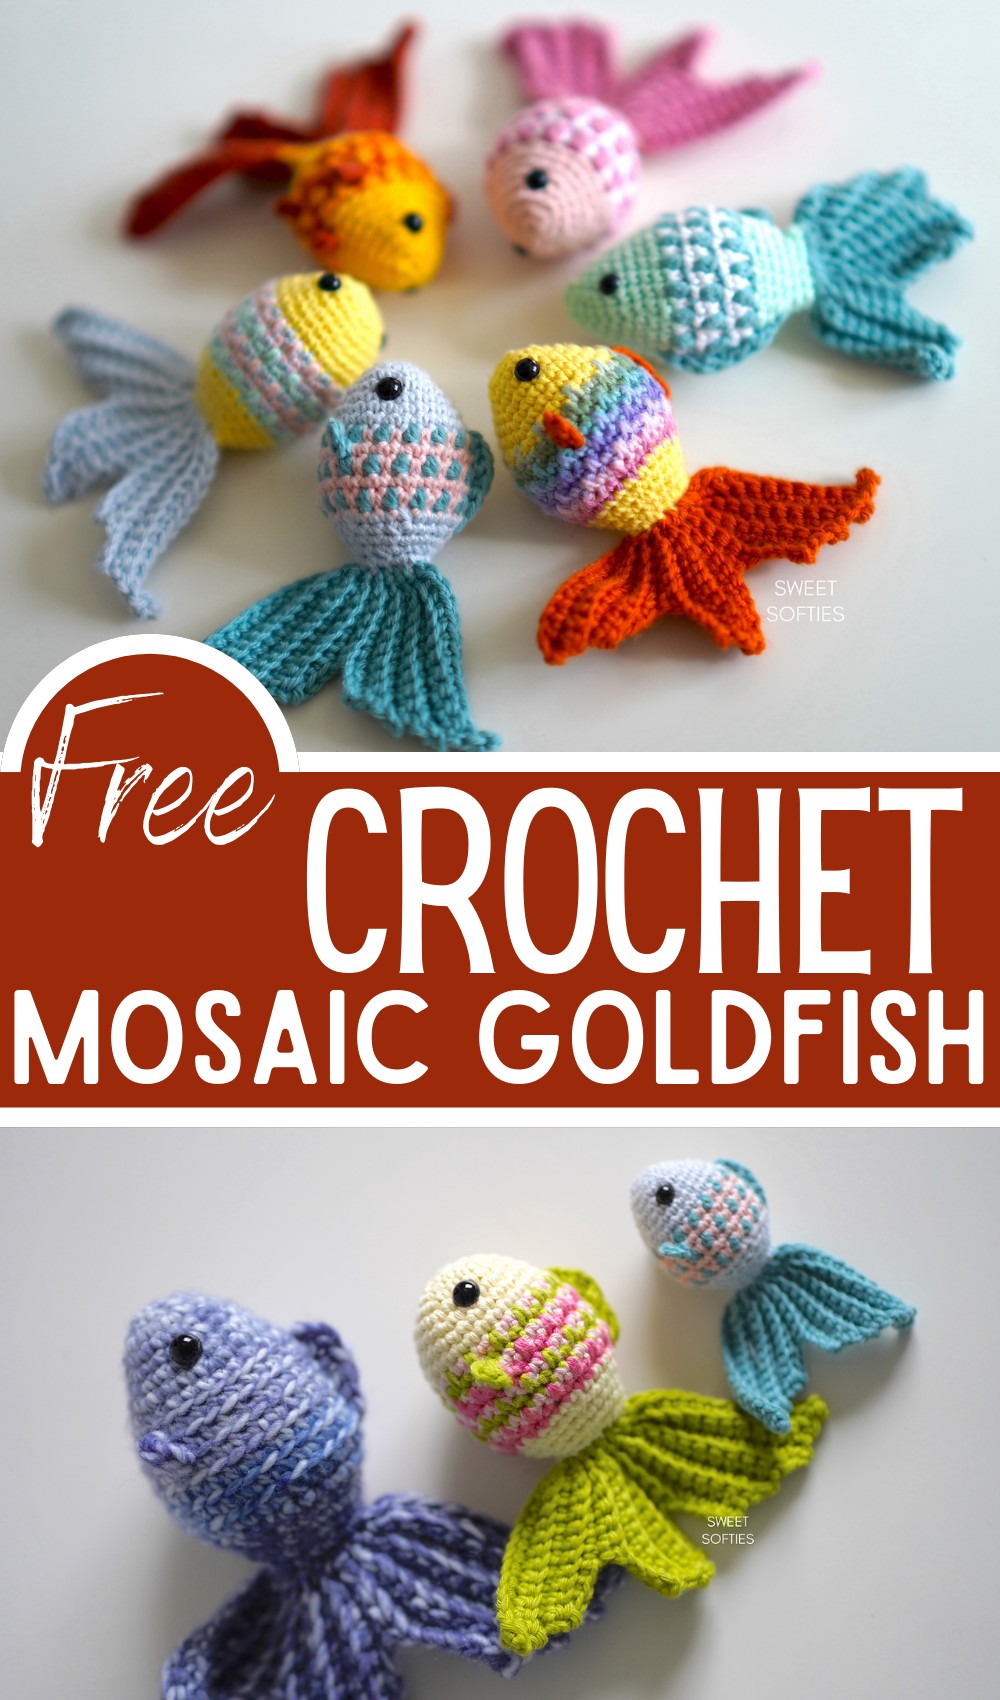
Uses: Bring these stunning, eye-catching aquatic creatures to life as decorative pieces for your home or thoughtful gifts for your loved ones. Your mosaic goldfish can be turned into a delightful keychain. Not only does it keep your keys organized, but it also adds a unique and personal touch to your everyday essentials. With a piece of string or ribbon attached, your crocheted mosaic goldfish can become a charming hanging decor. Use it as a Christmas ornament or a decorative accent for nurseries, offices, or any space that needs a little uplift.
Materials:
Fingering Yarn
6mm crochet hook
Making:
The pattern begins with creating a magic ring.! Follow the pattern to crochet the head, body, and tail sections. The pattern provides guidance on how to do color changes and different stitch techniques to achieve the mosaic effect. Attach safety eyes to the goldfish and stuff the body! Weave in any loose ends to finish your mosaic goldfish.
Crochet Goldfish
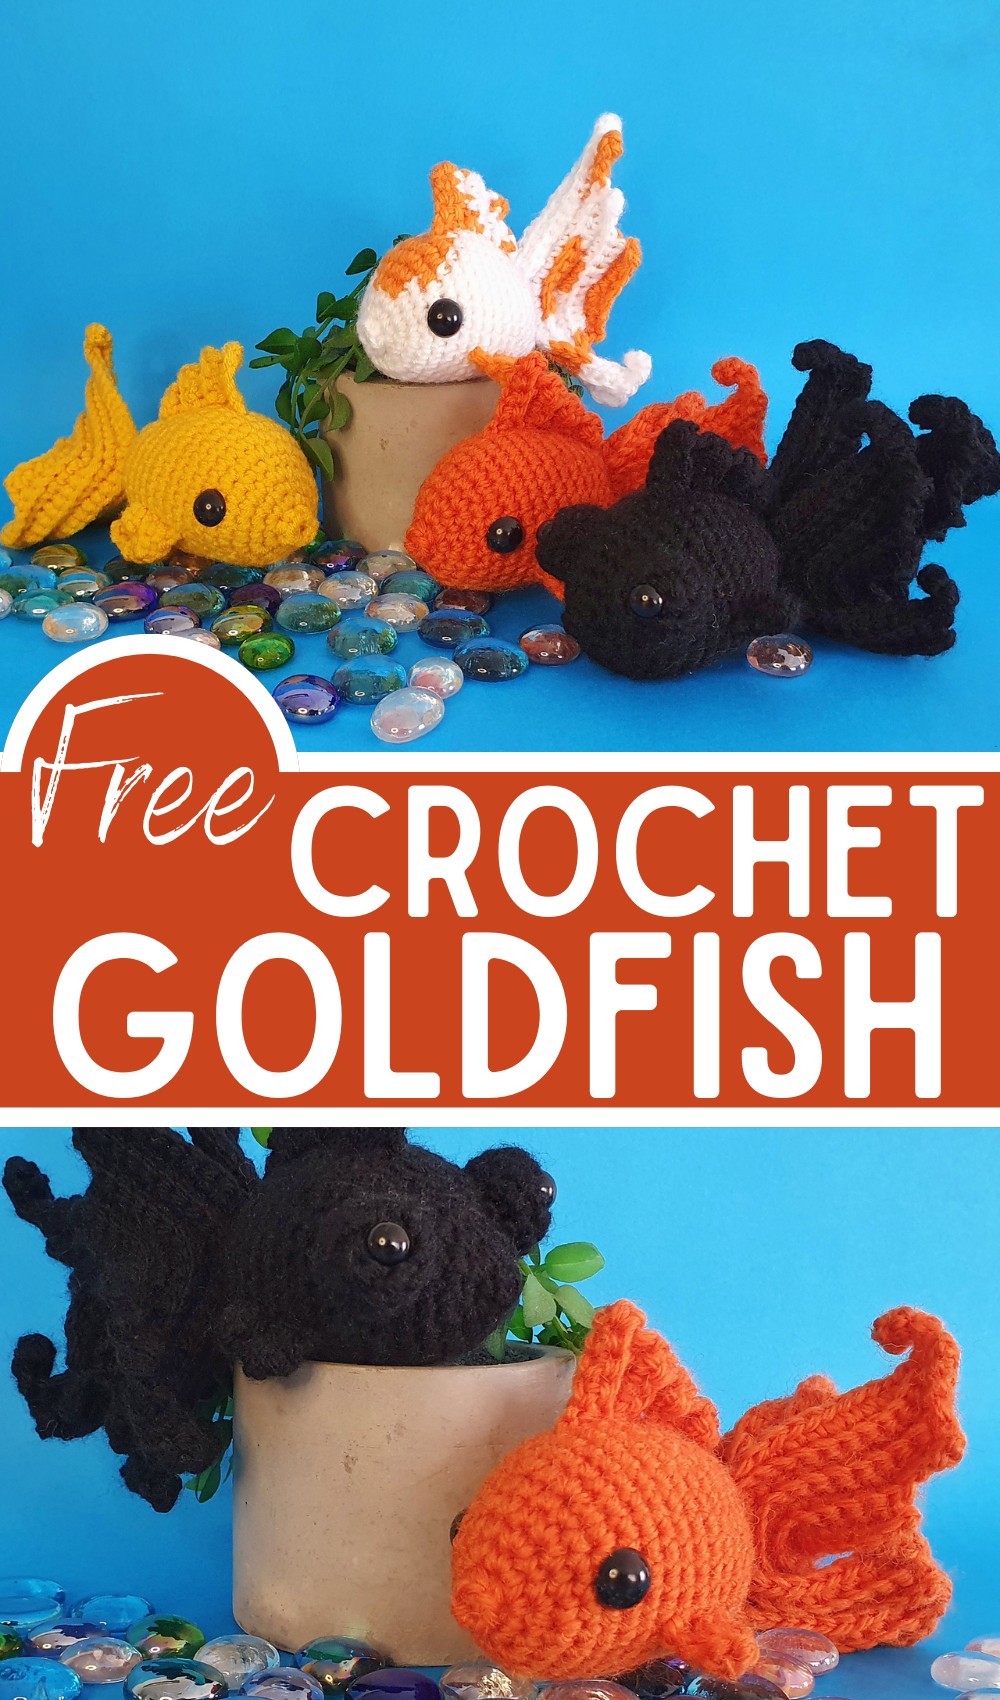
Uses: Crocheting goldfish is a fantastic way to bring color and creativity into your life. With its bright colors and endless possibilities, you’ll uncover a new-found love for these enchanting aquatic creatures. Add a personal and creative touch to your gifts by using the mosaic goldfish as a gift topper. It will not only make your gifts look prettier but also function as an extra little gift. Perfect for beginners and experienced crocheters alike, this guide will provide you with all the necessary details to create a charming crochet goldfish.
Materials:
DK weight yarn
3.5mm crochet hook
Making:
Start with making the main body of the goldfish! The pattern works in the round to create a three-dimensional form. Stitch carefully while changing the color of the yarn (if you want a multi-color goldfish). Once you finish the body, it’s time to attach safety eyes before you close up the form. Position them carefully and make sure they’re secure. Stuff the body carefully, ensuring that it maintains its shape. The fins are made separately and then stitched into place. Double-check their positions before fastening tightly. Trim off any remaining loose ends to complete your crochet goldfish.
Goldfish Amigurumi
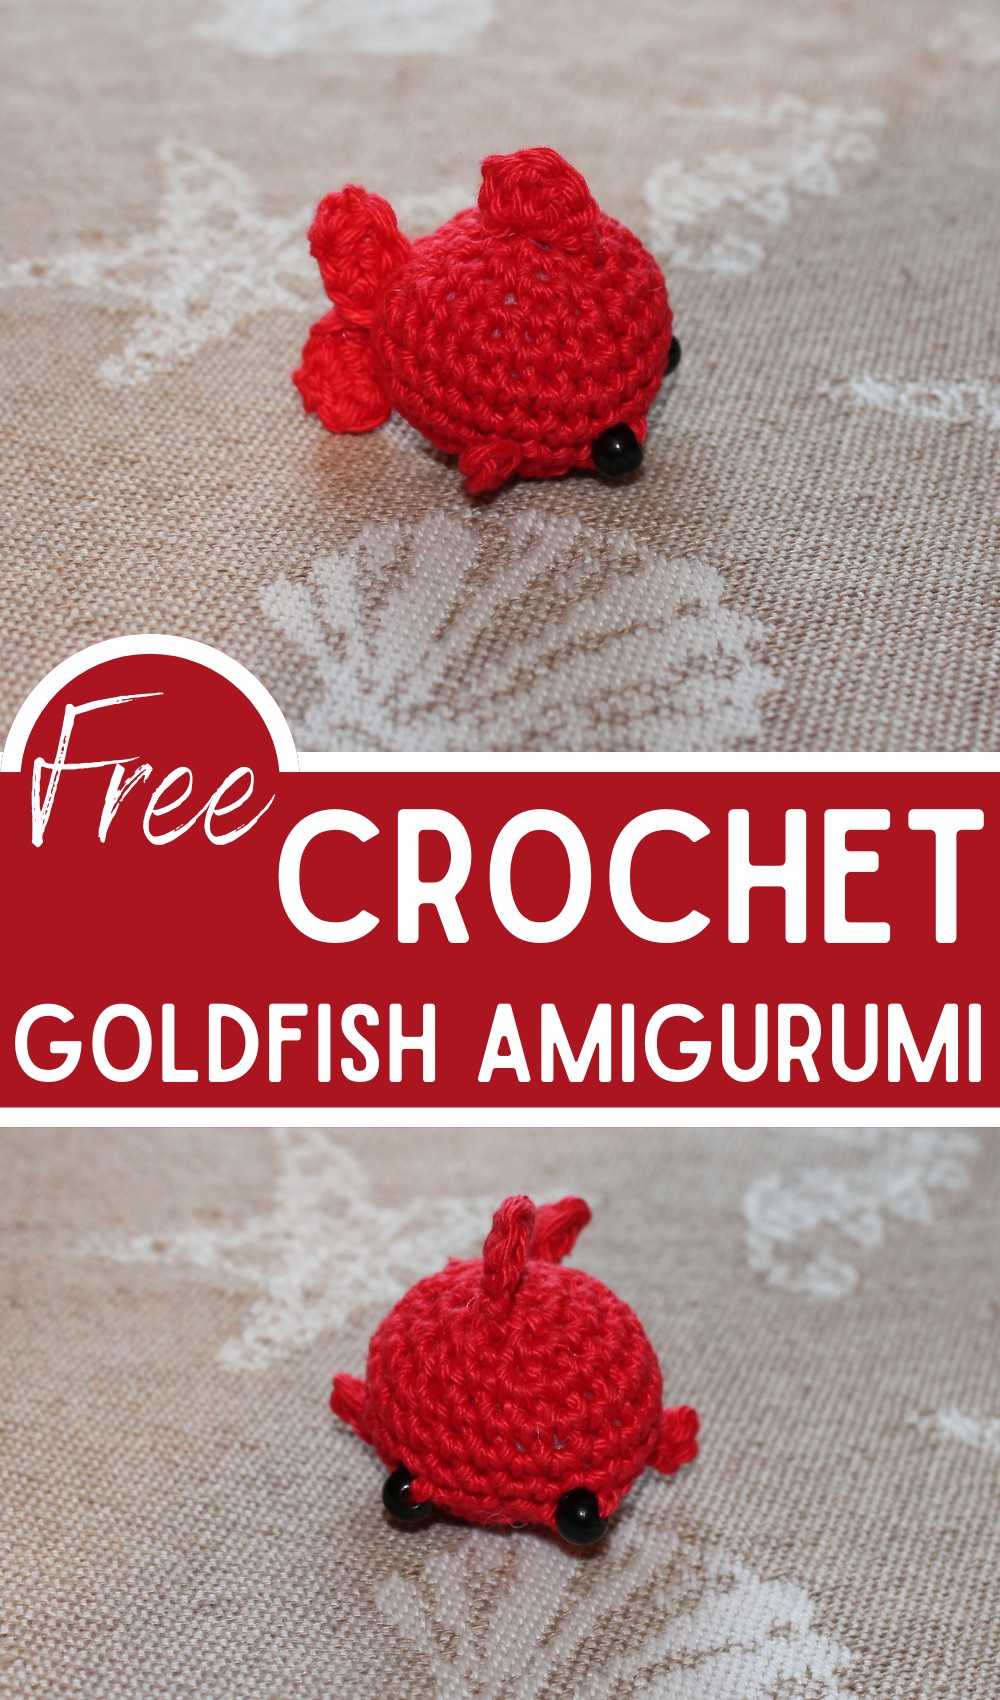
Uses: If you’re looking to add a uniquely charming touch to your home decor, a Goldfish Amigurumi is perfect! It allows you to explore your creativity while creating something that looks stunning in virtually any setting. This hand-crocheted piece brings a vibrant dash of color and a hint of the charming underwater world into your space. A goldfish amigurumi can add a sweet touch to your decor. Whether it’s placed on a shelf, a desk, or a bedside table, it’s sure to bring a smile to anyone’s face. Make a smaller version and hook it onto a keychain. The goldfish will always accompany you, and it’s a great way to keep your keys securely in one place.
Materials:
Cotton yarn
3.5mm crochet hook
Making:
Start crocheting from the top (head) down (body), increasing and decreasing the stitches as per the pattern to shape a rounded goldfish silhouette. Create separate pieces for the fins and tail, following the specific stitch count and instructions based on the pattern. Attach them to the body using your yarn needle. If you’re using safety eyes, attach them carefully. You can also sew on the eyes and mouth using a different colored yarn.
Fancy Goldfish Coaster
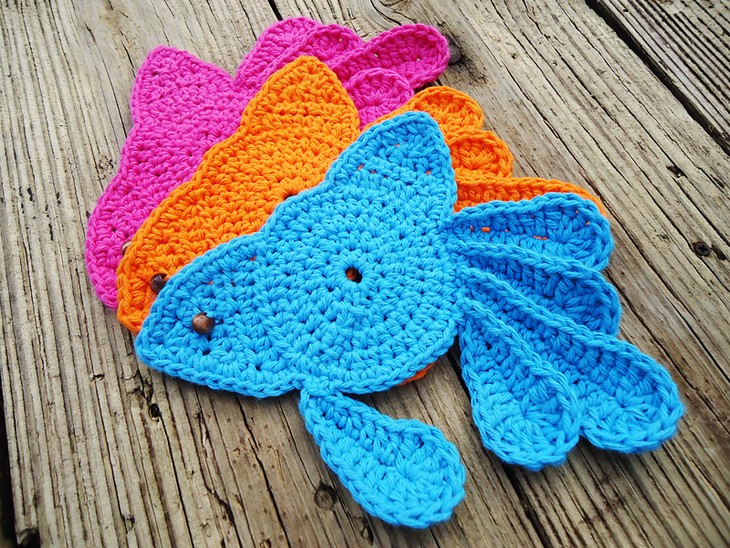
Uses: Enhance your table presentation with a touch of whimsy by crocheting a set of delightful and functional Fancy Goldfish Coasters. These charming coasters provide an adorable conversation starter and protect your surfaces from spillage and heat, all while showcasing your creative prowess.
Materials:
Worsted Weight yarn
4mm crochet hook
Making:
Start crocheting the base of the goldfish using various crochet stitches, such as single crochet, half double crochet, and double crochet. Follow the pattern instructions to create a circle-shaped coaster while maintaining the shape of a goldfish. Throughout the pattern, increases and decreases will be strategically placed to shape the body, fins, and tail of the goldfish. Once you have completed the goldfish base, sew a wooden bead or a small button onto the coaster to represent the goldfish eye! Fasten off, weave in the yarn ends, and trim any excess yarn.
Fantail Goldfish
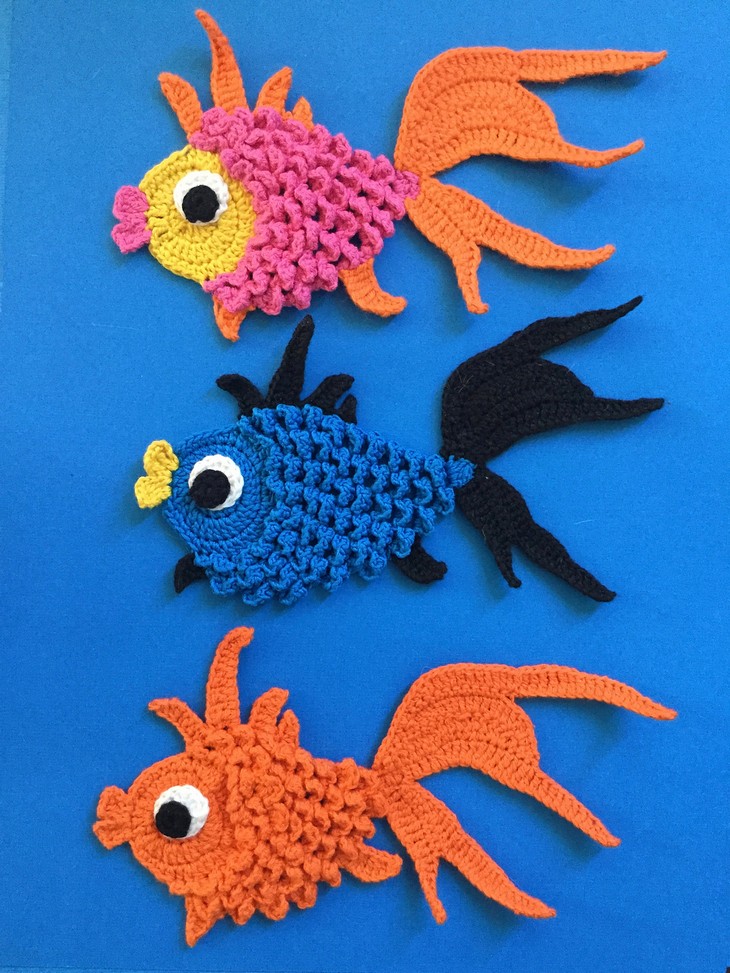
Uses: Made with bright and colorful yarn, this eye-catching piece can function as a playful soft toy, a charming piece of decor, or a whimsical touch to a themed party. Place it on a bookshelf, display it on a side table, or use it as part of a creative centerpiece in your living or dining area. With its vibrant colors and appealing design, a crocheted Fantail Goldfish can make for a delightful toy for kids. Its soft, durable construction makes it safe for children to handle for playtime, storytelling, or as a comforting friend.
Materials:
Cotton yarn
Making:
The pattern for the Fantail Goldfish is divided into eight sections: Head, Mouth, Body, Tail, Top Tail Bit, Bottom Fins, Bottom Fins, Top Fins and Eyes. For making the head start with a magic loop and create double crochets (DC). Increase the stitches by adding dc into each stitch of the subsequent row. Create a contrasting color and follow the specified stitch pattern to craft the mouth. This body is done by creating joined single crochets (sc), half double crochets (hdc) and double crochets (dc) over the clockwise stitches. After the necessary parts are crocheted, they should be joined together as necessary sewn up, and loose ends should be woven in to complete your Fantail Goldfish.
Mingle Doll Crocheted A Fancy Oranda Goldfish
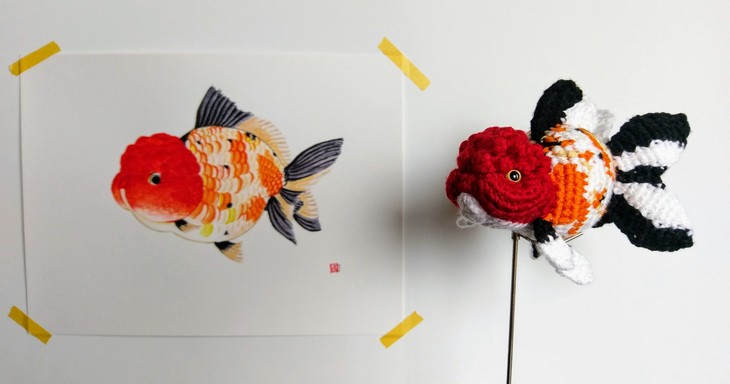
Uses: Add an extra touch of charm and whimsy to your home, office, or art space with Mingle Doll’s Fancy Oranda Goldfish. With its lifelike design and vibrant palette, this crocheted masterpiece mimics the captivating beauty of a real-life aquatic creature. Create a batch of these captivating Fantail Goldfish for theming your child’s birthday party into an adventurous underwater extravaganza. They make perfect additions to table decor and can even serve as return gifts.
Materials:
Any weight Yarn
Making:
The pattern includes step-by-step instructions on how to make these beautiful Mingle dolls.
Crochet Little Goldfish Bag Free Pattern
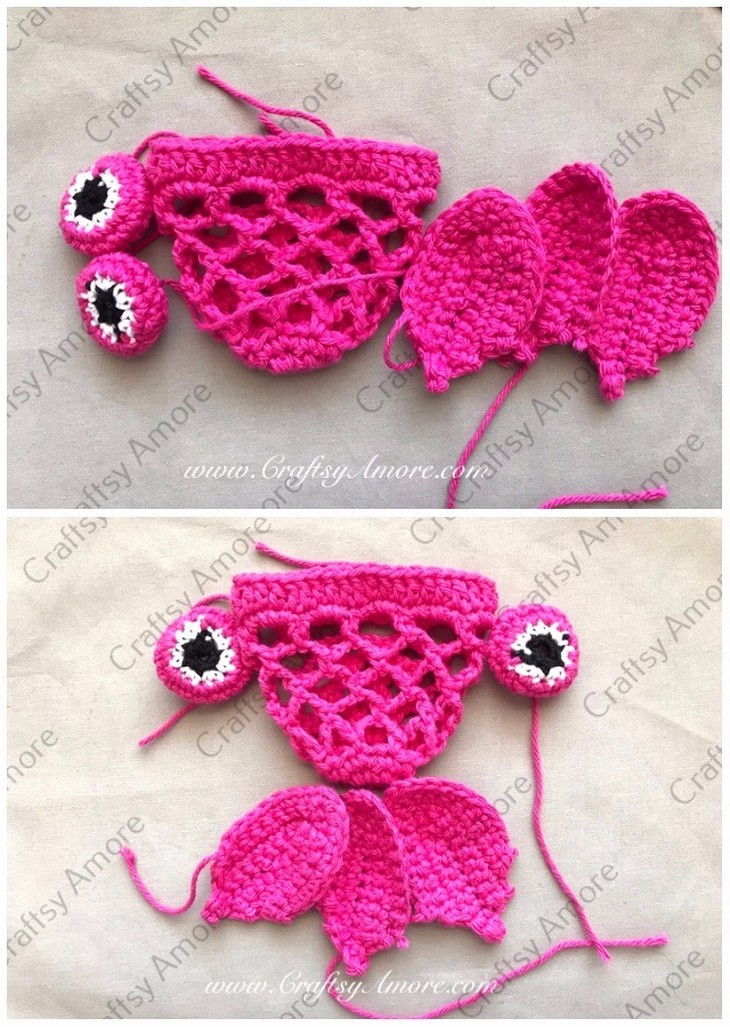
Uses: A fun accessory that mixes functionality with crocheting, perfect for those who seek uniqueness in their daily wear. Whether you’re an avid crocheter or a fashion enthusiast, weaving the quintessential aquatic figure into a practical item can offer a unique contribution to your collection. This crochet project combines the charm of sea-faring creatures with the practicality of a handy everyday item. Ideal for your summer outings or as a pleasant surprise for a little one in your life, this pattern is bound to deliver the joy of creativity!
Materials:
Cotton yarn
4mm crochet hook
Making:
Start with a magic ring and work in rounds, increasing the number of stitches gradually. After a few rounds, switch to creating chain spaces, then finish by working in single crochet and double crochet stitches. The pattern instructs you to create three tailpieces, chain stitches, and work in sc to form the desired shape. For each eye, start with a magic ring, work sc in black yarn, then white, and finally, the main body yarn color. Attach the tails to the body and sew the eyes between the sc rounds.
Goldfish Cracker Pin
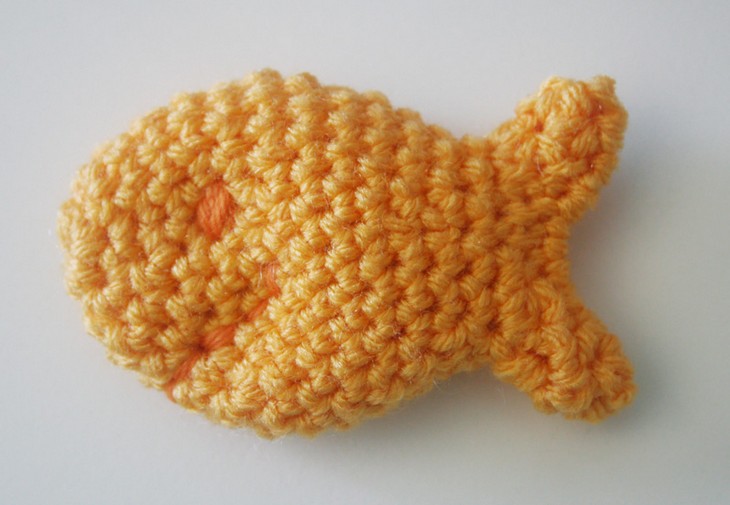
Uses: This quirky and fun Goldfish Cracker Pin serves as a heartwarming accessory and a testament to your unique creative expression. Pin it on your backpacks, sweaters, scarves, or hats for a playful pop of color. Gift it to snack lovers in your life, or use it to add a sparkling touch to your everyday routine. Boast this whimsy Goldfish Cracker Pin on your jackets, bags, scarves, or hats, making a charming and amusing statement.
Materials:
Worsted weight yarn
5.00mm crochet hook
Making:
Start with a magic circle and follow the rounds as instructed on the pattern (from Rnd 1 to Rnd 14). Lightly stuff your goldfish when you reach Rnd 13 to give it a bit of a puff. When you’ve joined all the stitches as per the instructions given in Rnd 14, break off, leaving a yard of yarn for sewing. Make sure the seam runs along the bottom of the fish and align the tail pieces together! Sew the fish together using a whipstitch method. Thread a yard of the darker-colored yarn through your tapestry needle and embroider the fish’s eye by going through both layers of the crochet.