How to Crochet Chicken & Mini Chicken Keychain for Beginners

In this post, you’ll learn how to crochet an adorable chicken and chicken keychain as part of a two-part series perfect for Thanksgiving. Using beginner-friendly techniques like magic rings, single crochets, and back-loop-only stitches, the video demonstrates step-by-step how to shape, stuff, and add finishing touches like safety eyes and combs.
With helpful tips on customizing sizes, creating cute details, and even advice on pricing for craft fairs, this video is perfect for crochet enthusiasts of all skill levels! So, follow through with us for the complete tutorial.

Introduction
- In this crochet tutorial, the creator demonstrates how to make two adorable projects: a regular-sized chicken and a smaller chicken keychain.
- This video is part one of a two-part series, with the second part focused on creating a “Mama Chicken.”
- The tutorial employs beginner-friendly techniques to make the process accessible for all crocheters.
Materials Required
- Scissors.
- A 5.5 or 6.0 mm crochet hook.
- Stitch markers.
- A tapestry needle for threading and sewing.
- Soft yarn, such as Bernat Baby Blanket yarn or regular Bernat yarn, for better visibility.
- Fiber stuffing for shaping the chicken.
Regular Chicken Tutorial
Starting Off
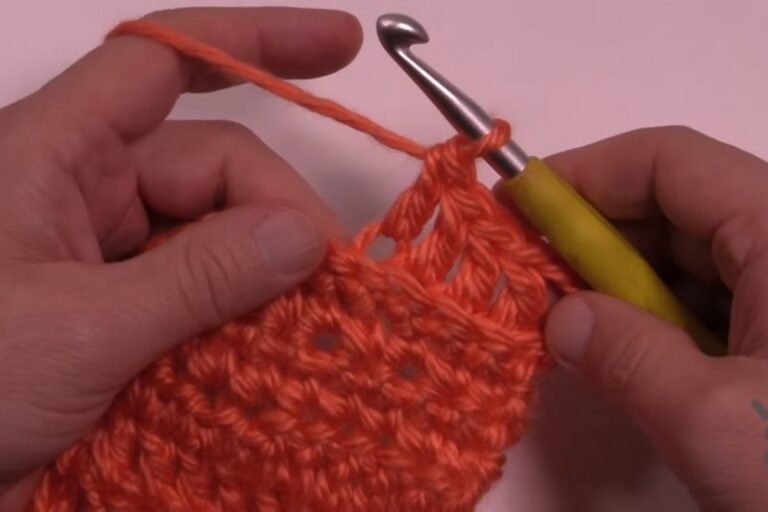
- The tutorial begins with creating a crochet base using a slip stitch or an alternative beginner-friendly magic ring option.
- Once the base is completed, the creator builds up the structure with single crochets and shaping techniques.
Shaping Techniques
- To give the chicken its distinctive bowl-like shape, the tutorial explains how to crochet into the back loop.
- This approach helps create a rounded base without reducing or adding stitches.

Building the Chicken
- The body is constructed using rounds of single crochets until it reaches the desired height.
- The creator mentions tips for customizing the size based on personal preference or yarn thickness.
Adding Details
- Facial details, such as safety eyes and a beak, are attached meticulously. Placement is critical for symmetrical and visually appealing results.
- The creator discusses the charm of slightly “derpy” (off-center) facial features that can make the chicken look more adorable.

Stuffing and Closing
- Fiber stuffing is added to create a firm or soft finished chicken, depending on preference.
- The tutorial guides viewers on sewing the chicken closed, ensuring the final stitches secure the structure properly.
Creating the Comb
- The comb detail is crocheted separately and sewn onto the chicken’s head. It adds a pop of color and character to the design.

- The creator provides insights into placement and techniques to ensure the comb sits evenly.
Chicken Keychain Tutorial
Mini Basics
- The smaller chicken keychain follows a similar structure to the regular chicken but is quicker and easier to create due to its size.
- The back loop technique is once again used to create the mini chicken’s body.

Details
- Safety eyes and a small beak are added carefully, ensuring symmetry.
- A miniature version of the comb is attached to complete the chicken’s design.
Adding the Keychain
- The tutorial explains how to attach different types of keychain hardware, offering flexibility for customizing the finished product.

Optional Features
- The creator demonstrates how to add feet to the chickens as an extra detail for customization.
- While adding feet is more time-consuming, it can enhance the aesthetic for personal-use chickens.
Selling Tips
- The creator shares insights on pricing crocheted chickens for craft fairs. Suggested prices range between $12 and $15 for regular chickens and $5 for keychains.

- They emphasize how the chickens’ cuteness factor can attract attention and boost sales.
Conclusion
- The tutorial wraps up with final advice on customization and improvements for personal or selling purposes.
- Through clear instructions and beginner-friendly methods, this video equips viewers with the skills to create two delightful crochet chickens.