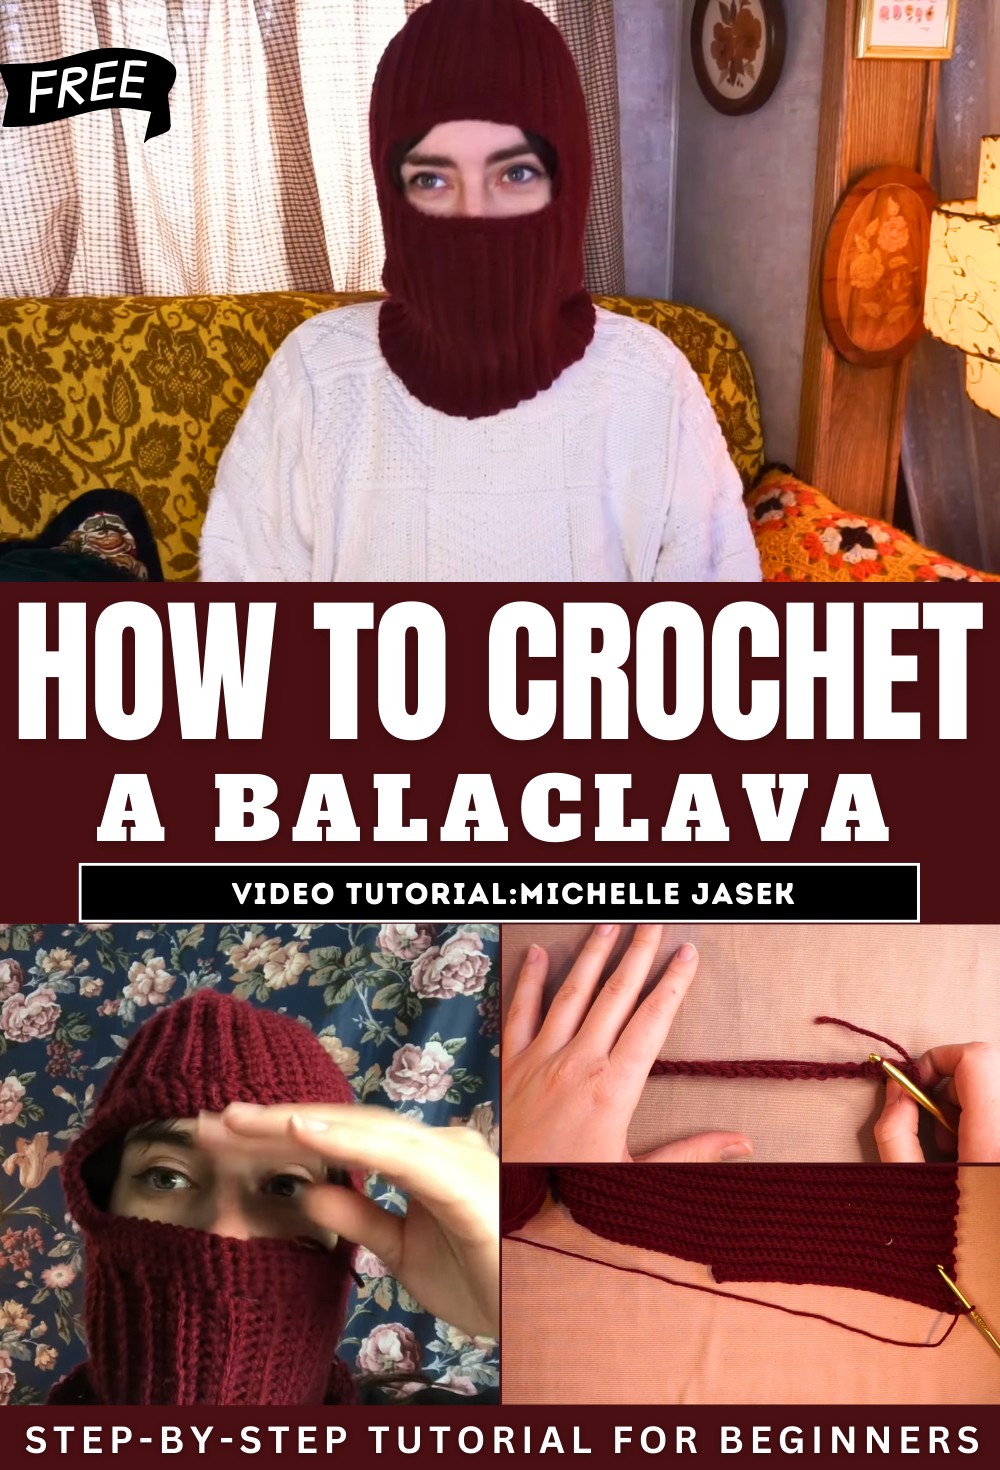
How to Crochet A Balaclava That Turns Into A Hat
In this post, you’ll learn how to crochet a balaclava from scratch without prior experience or a definitive pattern. The tutor walks through the trial-and-error process, using basic tools like a 5mm crochet hook, yarn needle, and medium-weight yarn. The project evolves as Michelle adapts the design for functionality, including ribbing techniques and adjustments to improve fit. By the end, she creates a versatile piece that can double as a hat or face covering.
Despite imperfections, the video showcases her determination to crochet something unique while keeping the process fun. So, follow through with us for the complete tutorial.
Crochet Balaclava Tutorial
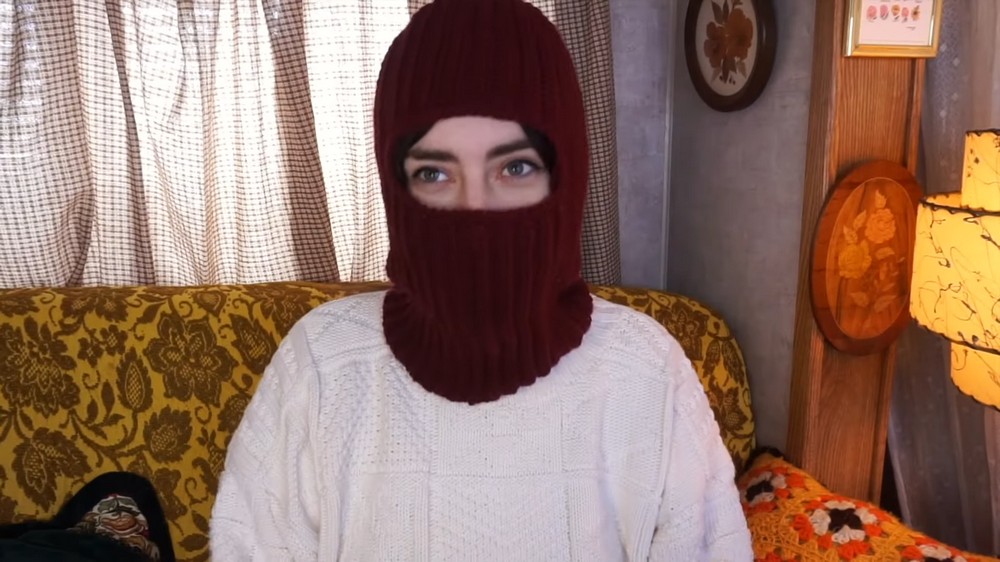
In her tutorial, Michelle (aka Fancy Dinosaur Tea Party) walks viewers through her attempt to crochet a balaclava. Unlike her typical polished tutorials, this video is a mix of experimentation, trial, and error, as Michelle openly admits to figuring things out along the way.
- Michelle introduces the project—a crocheted balaclava modeled after a hat style she previously created.
- She shares that this tutorial is not her usual, perfected step-by-step guide since she’s creating the balaclava without prior experience.
- The goal, according to Michelle, is to craft a simple, functional design rather than something intricate.
Materials Needed
Michelle lists the supplies she uses for the project:
- Crochet Hook: 5mm hook suitable for the medium-weight yarn.
- Yarn: Acrylic yarn (Impeccable brand) in medium weight, selected for its stretchiness.
- Scissors and Yarn Needle: Tools for cutting and stitching the project components.

Basic Steps
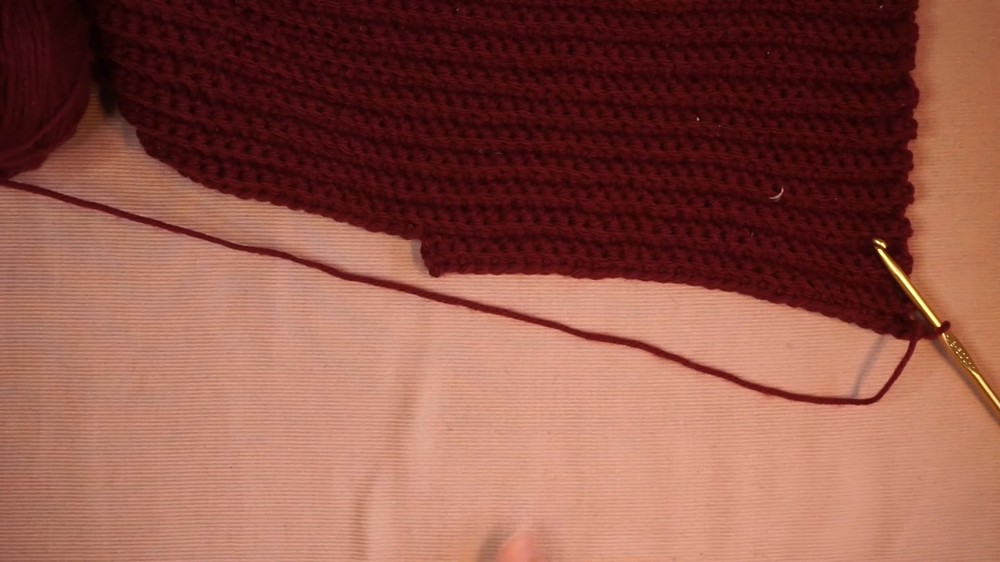
Step 1: Starting the Base
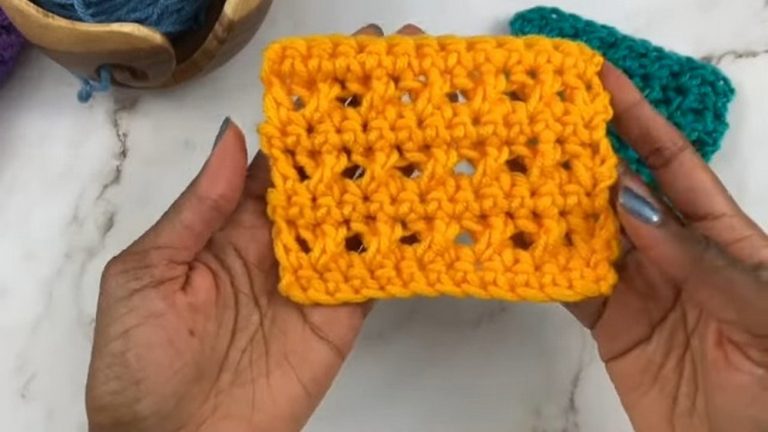
- Michelle begins the balaclava by creating a long chain followed by rows of single crochets.
- She emphasizes the importance of working into the back stitch to give the piece a ribbed texture.
- This ribbed style forms the base, which she crafts in the exact same way as her previous hat tutorial.
- Michelle continues crocheting back and forth until achieving the desired size and ribbing for the bottom half.
Step 2: Shaping the Face Opening
- After completing the base portion, Michelle transitions into crafting the “face opening” area.
- She measures parts of the balaclava up against her face, calculating how far the stitches need to go up to allow space for the forehead and chin.
- Michelle uses trial and error, eventually settling on adjustments like increasing the number of stitches for a better fit.
Connecting Top and Bottom
Stitching the Top
- Michelle transitions to creating the top portion of the balaclava using the same ribbing method as the base.
- She aligns the width of the stitches to ensure consistency with the bottom part of the balaclava.

Closing the Sides
- With the top and bottom portions completed, Michelle folds the masks and uses slip stitches to attach the sides together.
- To close the top opening, she uses a zigzag method with her yarn needle, pulling the material tightly and stitching to create a secure closure.
Adding the Finishing Touches
- To refine the face opening, Michelle adds a single crochet border around the edge, aiming for a cleaner and more rounded shape.
- She realizes that her initial measurements weren’t quite right, leading her to take apart and redo the top section to adjust and elongate the face opening.
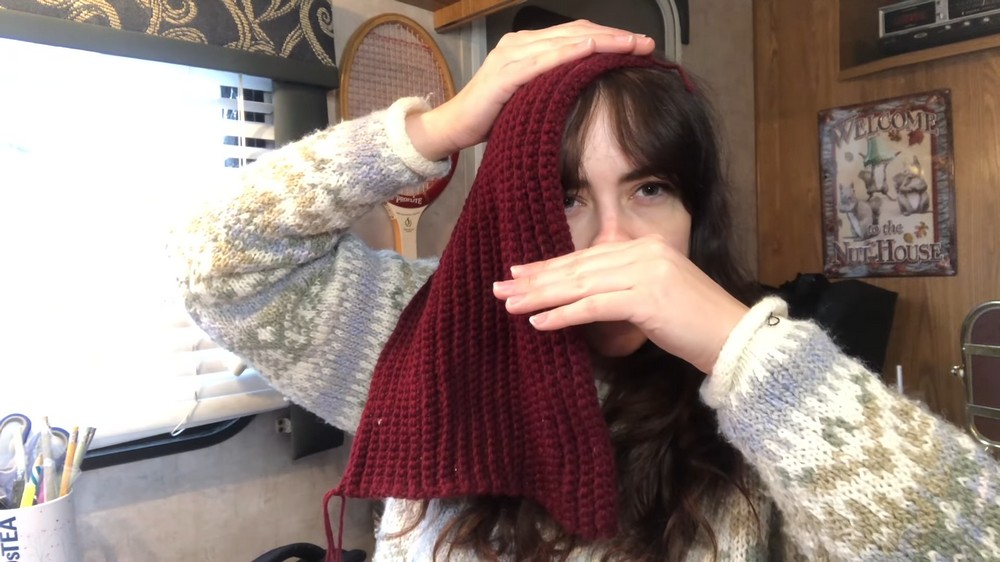
Final Thoughts
Michelle reflects on her finished balaclava, sharing her satisfaction with the overall design despite minor imperfections. She appreciates its versatility—it can function as both a hat and balaclava when rolled down. However, she acknowledges that the tutorial was more of a trial-and-error project than a definitive guide.