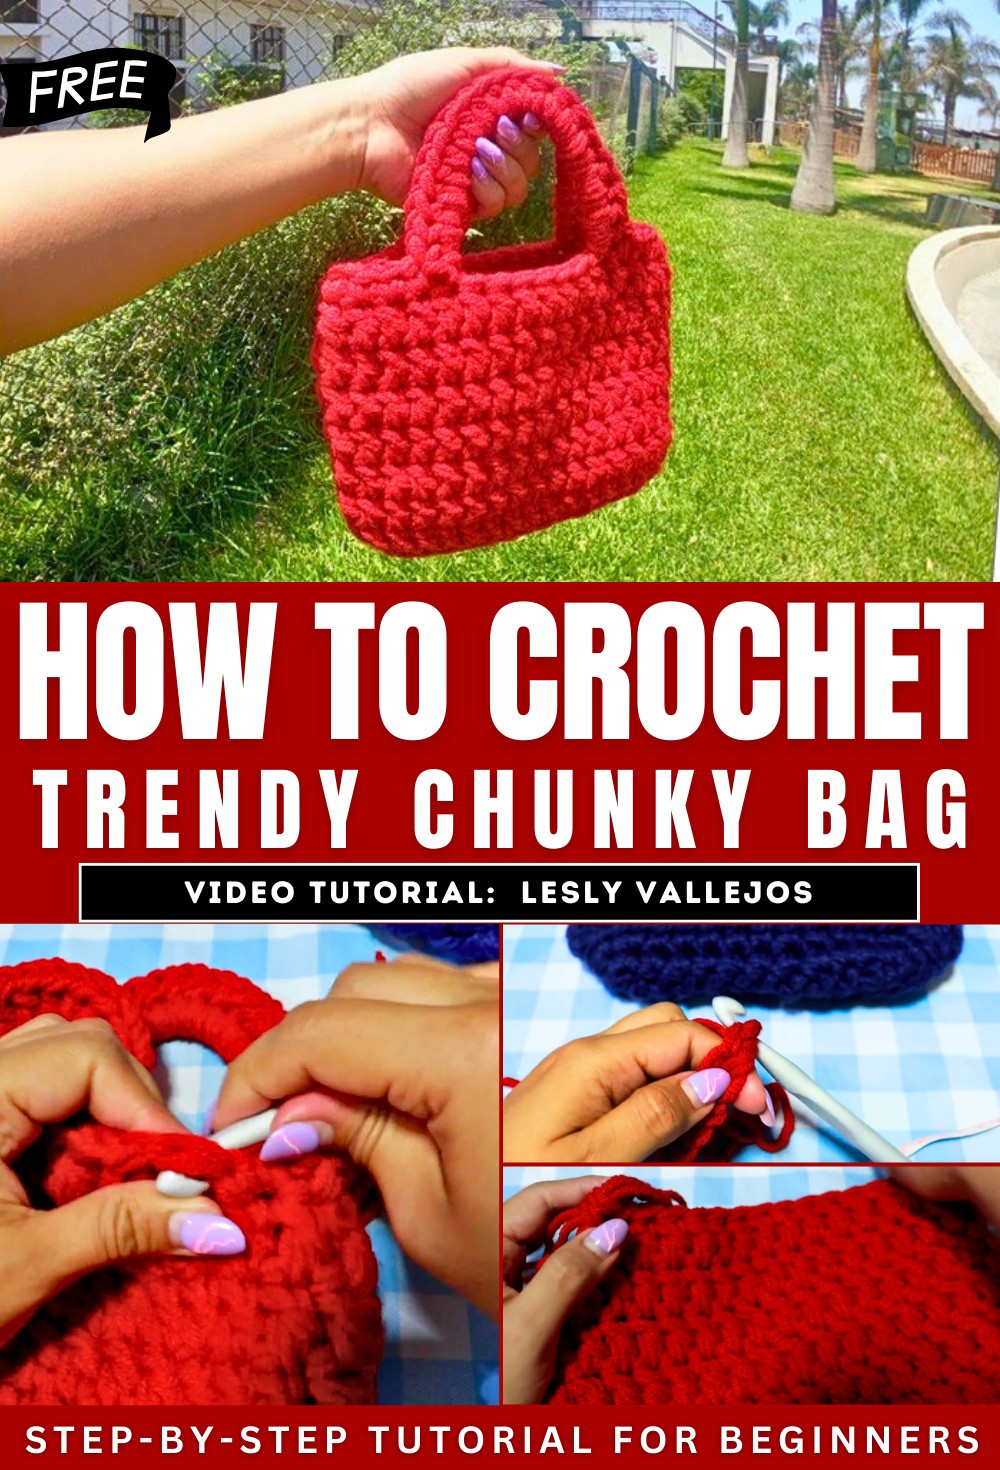
How to Cochet Chunky Bag for Beginners

Learn how to crochet a chunky bag or handbag that is simple and super easy to crochet for beginners. The project is described as quick and easy, making it a good option for a last-minute gift. The creator mentions using a thick, chunky yarn, or multiple strands of a thinner yarn to achieve a similar result. The video covers creating the base of the bag, working the body in rows with increases to shape it, and adding handles. The tutorial provides two options for the handles: crocheting them separately or as part of the continuous work.
Finally, the creator shows how to add a curved look to the top of the bag by decreasing stitches and how to weave in the loose ends for a finished product. So, follow through with us for the complete tutorial.
Project Overview
The video is a tutorial on how to crochet a chunky bag or a small, thick purse. The finished bag is described as a quick and easy project that can be made for sale or as a gift. The video shows three different examples of the finished bag, each made with a different material or number of yarn strands to achieve a thick, sturdy look.
Materials and Preparation
- The instructor recommends using a bulky yarn or a thick material suitable for a 6.5 to 8 mm crochet hook.
- Thinner materials can be used by doubling or tripling the yarn strands to achieve the desired thickness. For example, the instructor uses two strands of Cumi brand yarn and three strands of Revés Derecho yarn.
- The type of crochet hook used determines the final look of the bag. A 10 mm hook was used for one bag, and a 12 mm hook for another.
- When using multiple strands from a single yarn ball, it’s recommended to pull one strand from the center and another from the outside to prevent tangling.
Bag Construction
The bag is constructed in three main parts: the base, the body, and the handles.
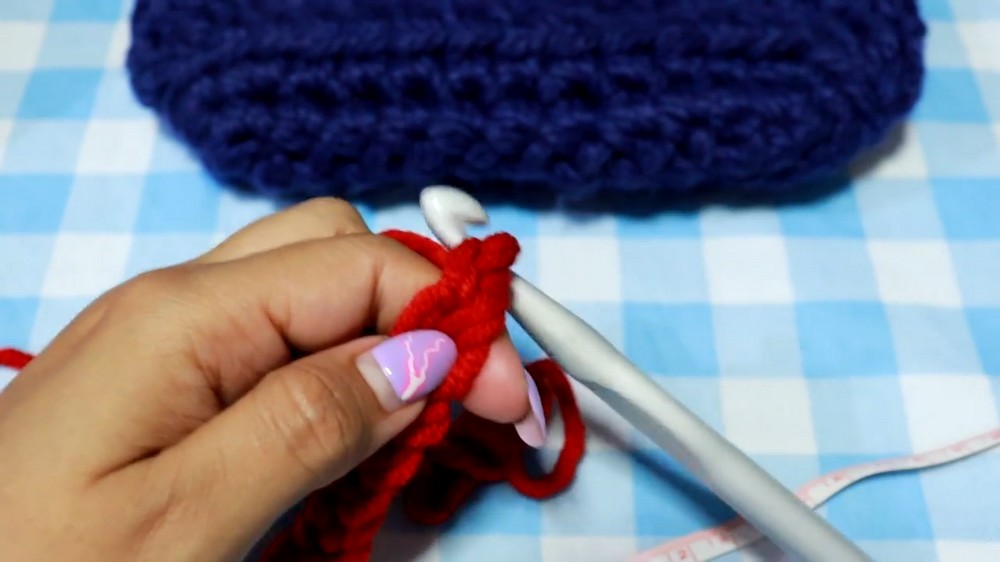
1. The Base
- The tutorial begins by creating a base with a series of chains, which will form the bottom of the bag.
- The first row is worked in single crochet stitches along both sides of the initial chain. The last stitch on each end of the base has three single crochets in it to create the rounded corners.
- The second row of the base includes increases, which are distributed at the center points of the curved ends to shape the base.
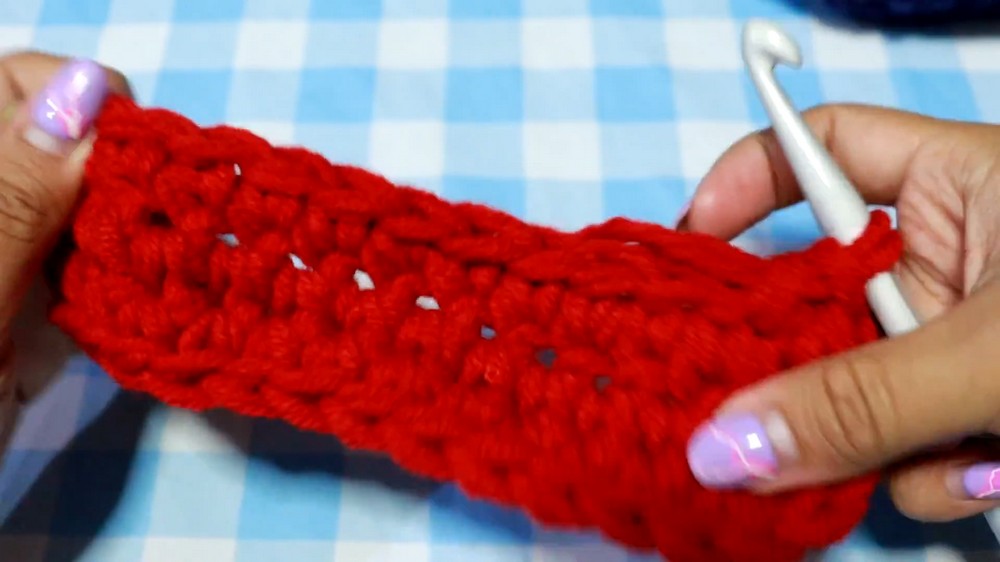
2. The Body
- After the base is completed, the body of the bag is started using double crochet stitches, taking only one part of the chain from the previous row to create a defined line between the base and the body.
- The first row of the body also includes increases on each side to begin shaping the bag’s height.
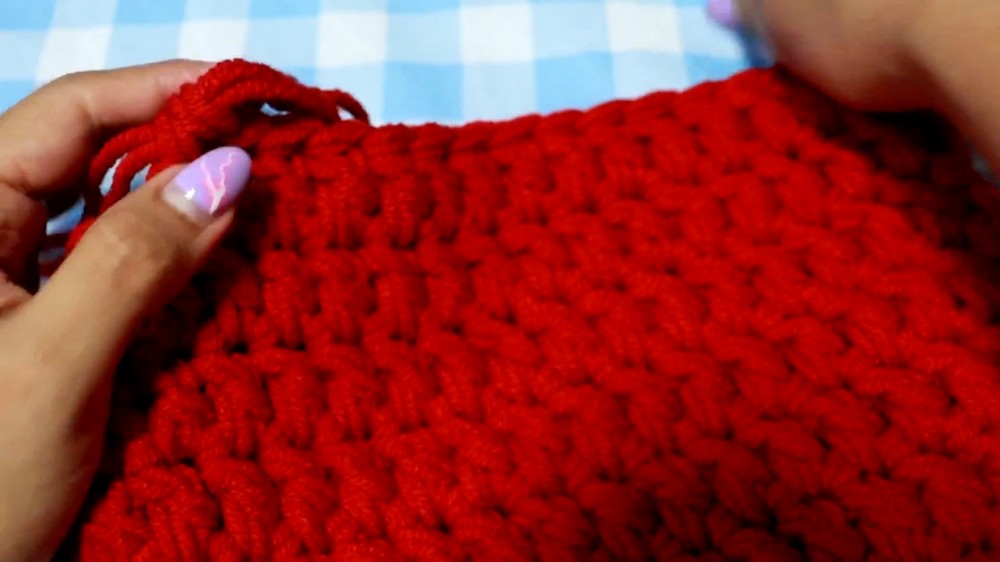
- Subsequent rows of the body are worked straight without increases, continuing in double crochet stitches.
- The length of the body can be adjusted to the desired height. The instructor suggests making it about 14-16 cm tall.
- A row of decreases can be added near the end of the body to create a slight inward curve at the top of the bag.
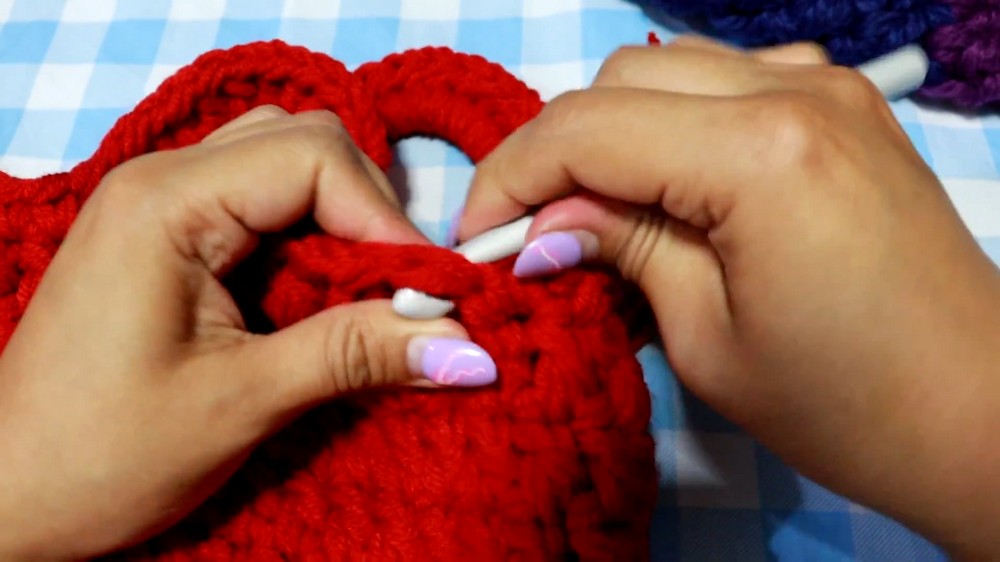
3. The Handles and Finishing Touches
- The handles can either be crocheted separately and then sewn on or integrated into the final row of the bag.
- To integrate the handles, the final row of the bag is worked in single crochet stitches, with a chain created over the top of the bag for each handle.
- The chains for the handles can be filled with half-double crochet stitches to make them thicker and more durable.
- After completing the handles, a final invisible join is demonstrated to close the round neatly.
- The last step is to weave in and hide all the loose yarn ends.