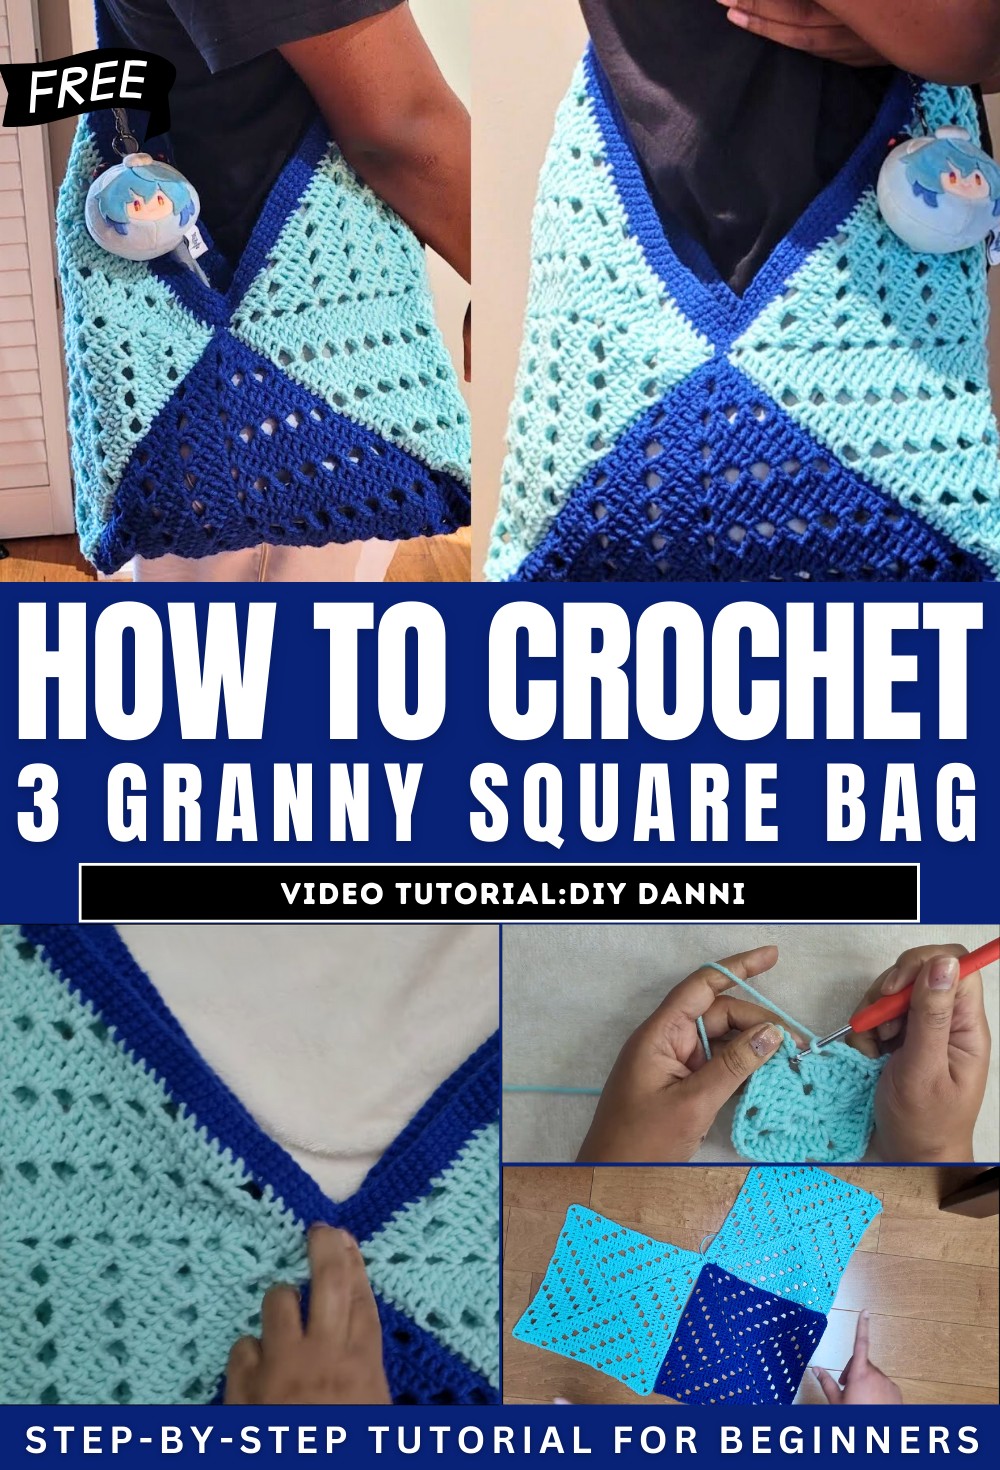
How to Crochet 3 Granny Square Bag for Beginners
With a step-by-step tutorial, learn how to crochet a stylish granny square bag using three squares, perfect for beginners. The instructor guides through the process, starting with the basics of crocheting the granny square pattern, including chaining, double crochets, and constructing corners. As the video progresses, it covers assembling the squares, shaping the bag, adding single crochet borders, and crafting sturdy straps.
The tutorial is clear and detailed, making it beginner-friendly while allowing for customization in size and color. Perfect for crochet enthusiasts, the project results in a practical and creative handmade bag with room for personalization. So, follow through with us for the complete tutorial.
3 Granny Square Bag Tutorial
This tutorial teaches viewers how to create a stylish bag using three granny squares. Below is a summary of the process, organized into headings and bullet points for clarity:
Introduction
- The tutorial begins with the host introducing the project: a three-granny square bag.
- The video explains that viewers need to create three granny squares, which will then be assembled into a bag.
Making the Granny Squares
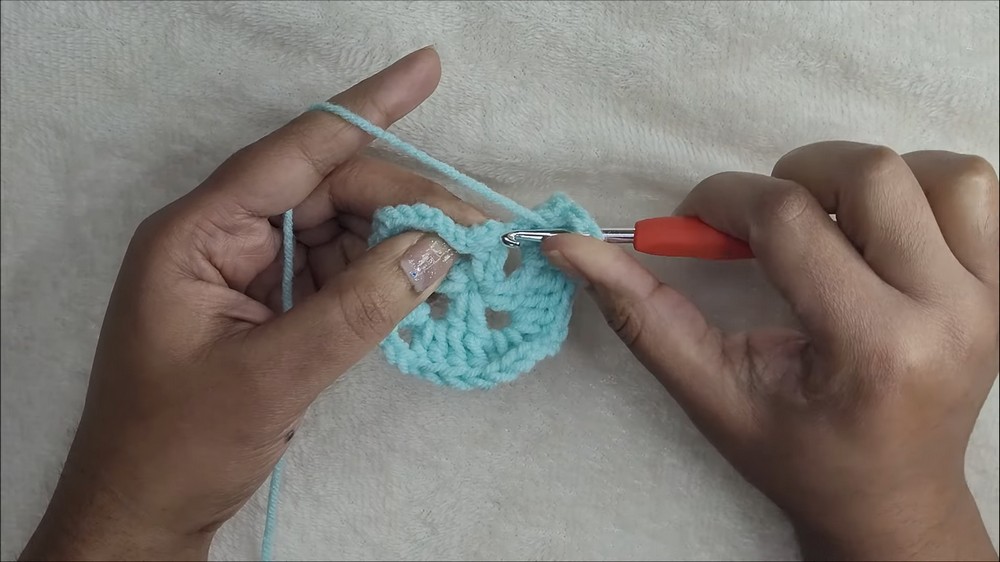
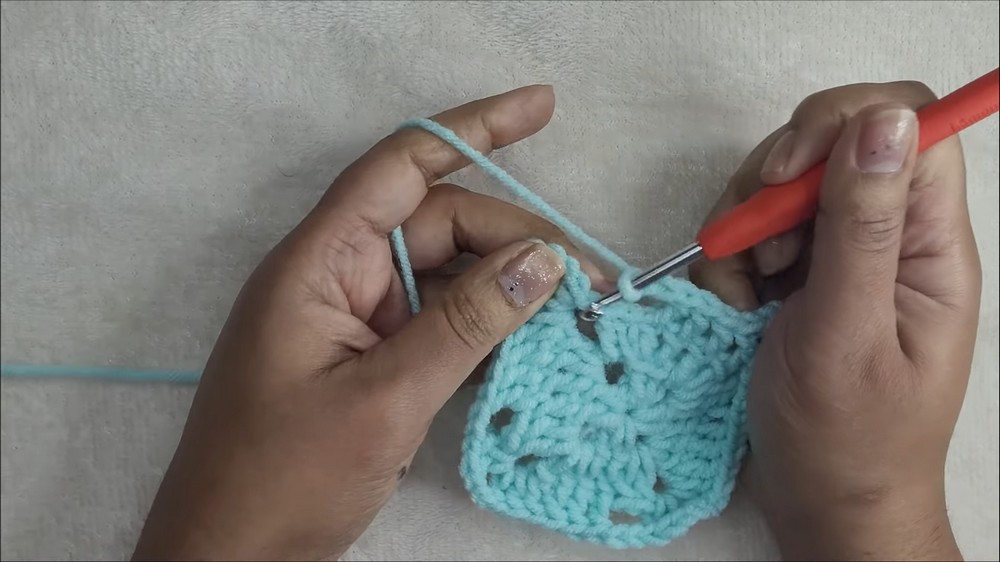
Starting the First Square
- Begin by chaining a small number of stitches and creating a slip stitch to join them into a ring.
- Work the first row of double crochets and chains to establish a simple square structure with corner spaces.
Building Subsequent Rows
- Progress row by row, maintaining the square shape.
- Work on corner spaces with a consistent combination of double crochets and chains, and build the sides by adding stitches.
- Adjust the number of stitches as the square grows to ensure symmetry.
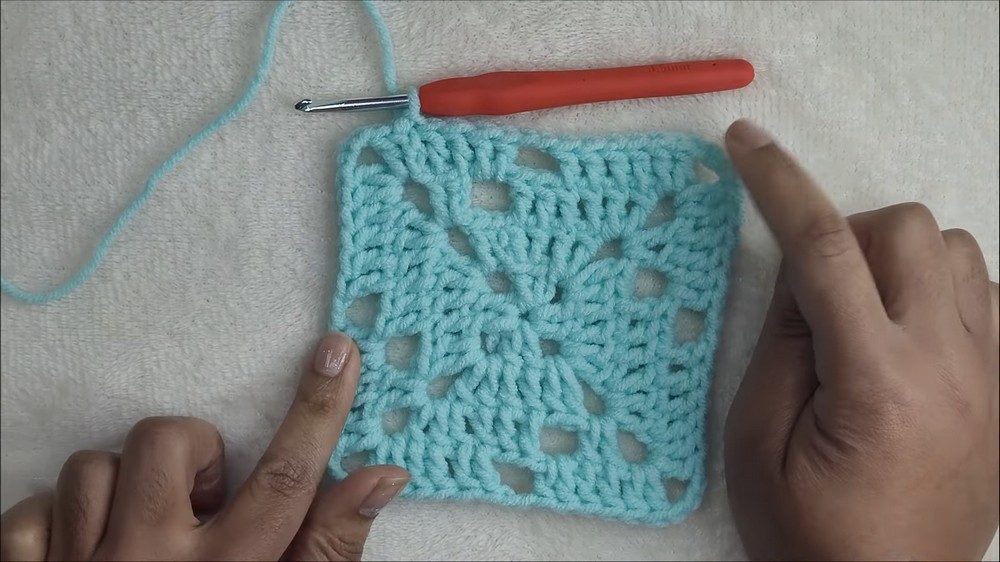
Completing the Squares
- Continue adding rows until the square reaches the desired size.
- The video suggests measuring the square to ensure it aligns with your bag dimensions.
- Repeat the same process to make two additional granny squares, allowing for variations in color if desired.
Assembling the Bag
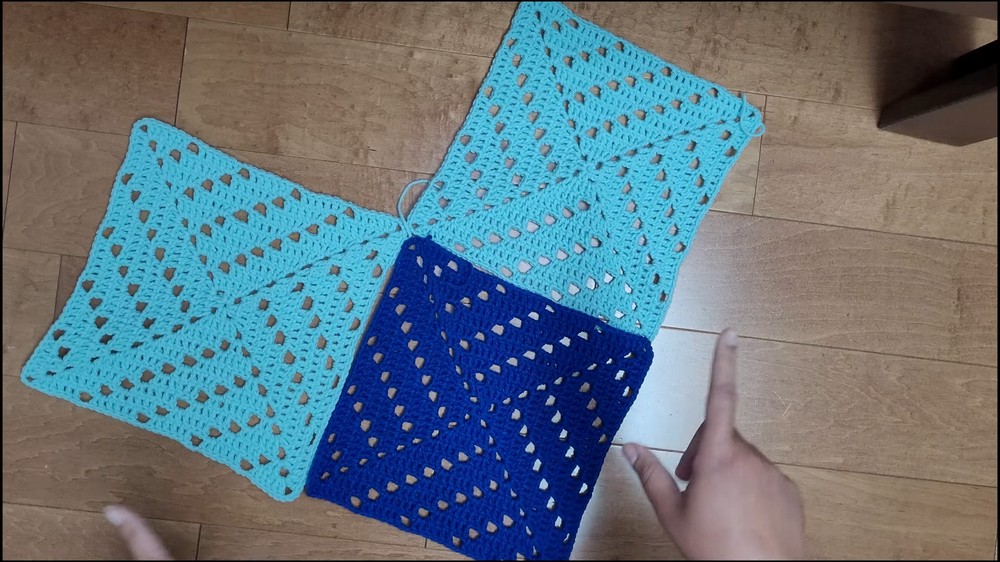
Arranging the Squares
- Arrange the completed squares in a specific layout to form the bag structure.
- The tutorial demonstrates sewing the squares together at their sides to create the base and sides of the bag.
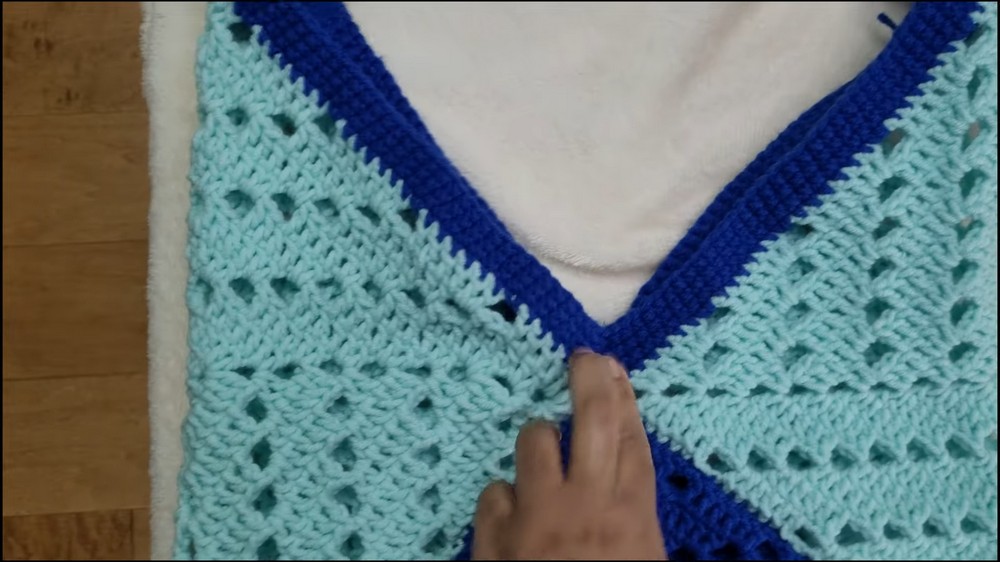
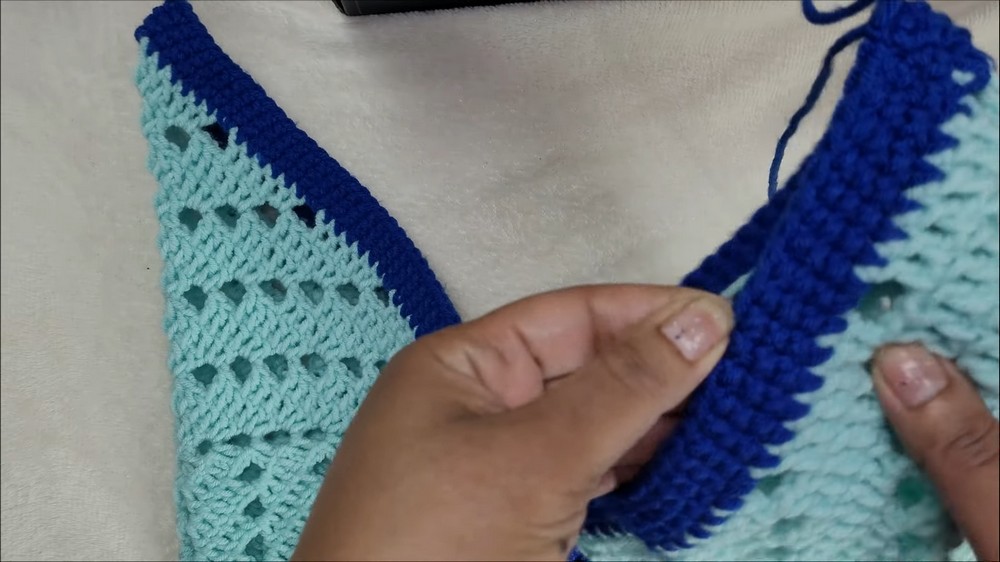
Shaping the Bag
- Fold the sewn-together squares into a triangular bag shape.
- Secure the folded edges by sewing them together, ensuring a sturdy structure.
- Flip the bag inside out after stitching to show the clean exterior look.
Adding Finishing Touches
Crocheting the Edges
- The edges of the bag’s opening are finished with multiple rows of single crochet.
- This step helps reinforce the edges and provides a polished appearance to the bag.
Creating and Attaching the Strap
- Crochet a separate strap by working rows of single crochet.
- Decide on the desired strap length and width based on preference.
- Attach the strap securely to the inside edges of the bag using sewing or stitching techniques.
Optional Additions
- The tutorial suggests optional enhancements, such as adding a lining inside the bag for durability.
- A flap with a button can be added if desired, though the host chooses to leave the bag open.
Final Steps
Weaving in Loose Ends
- Once the bag is complete, weave in all loose ends to give it a clean finish.
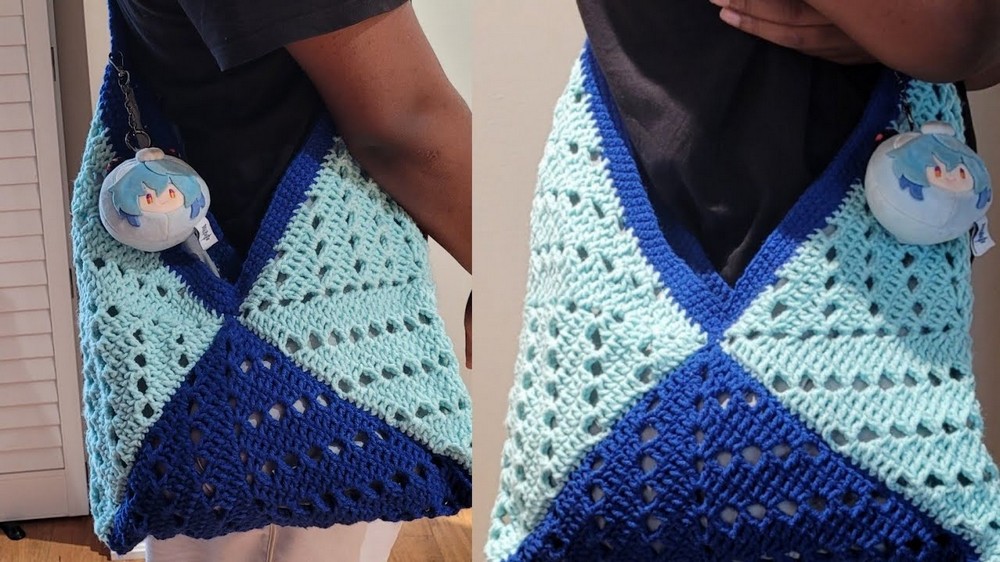
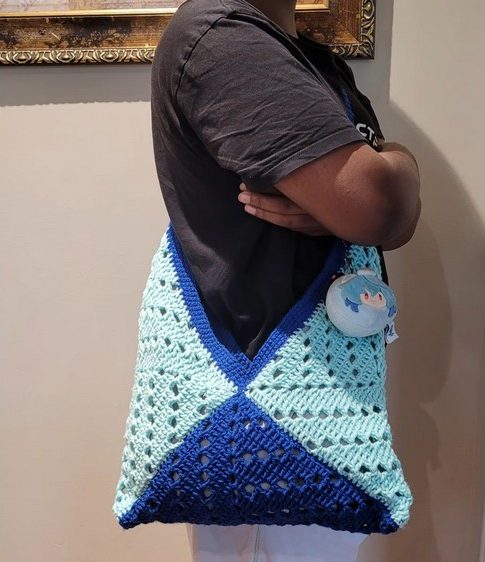
Finished Product
- The completed bag showcases vibrant granny square designs that are both functional and stylish.
- The video encourages personal creativity, mentioning that the bag can be customized in terms of size, design, and features.
This tutorial is ideal for crocheters of all skill levels and emphasizes creativity and customization while walking viewers through each step in creating this beautiful granny square bag.