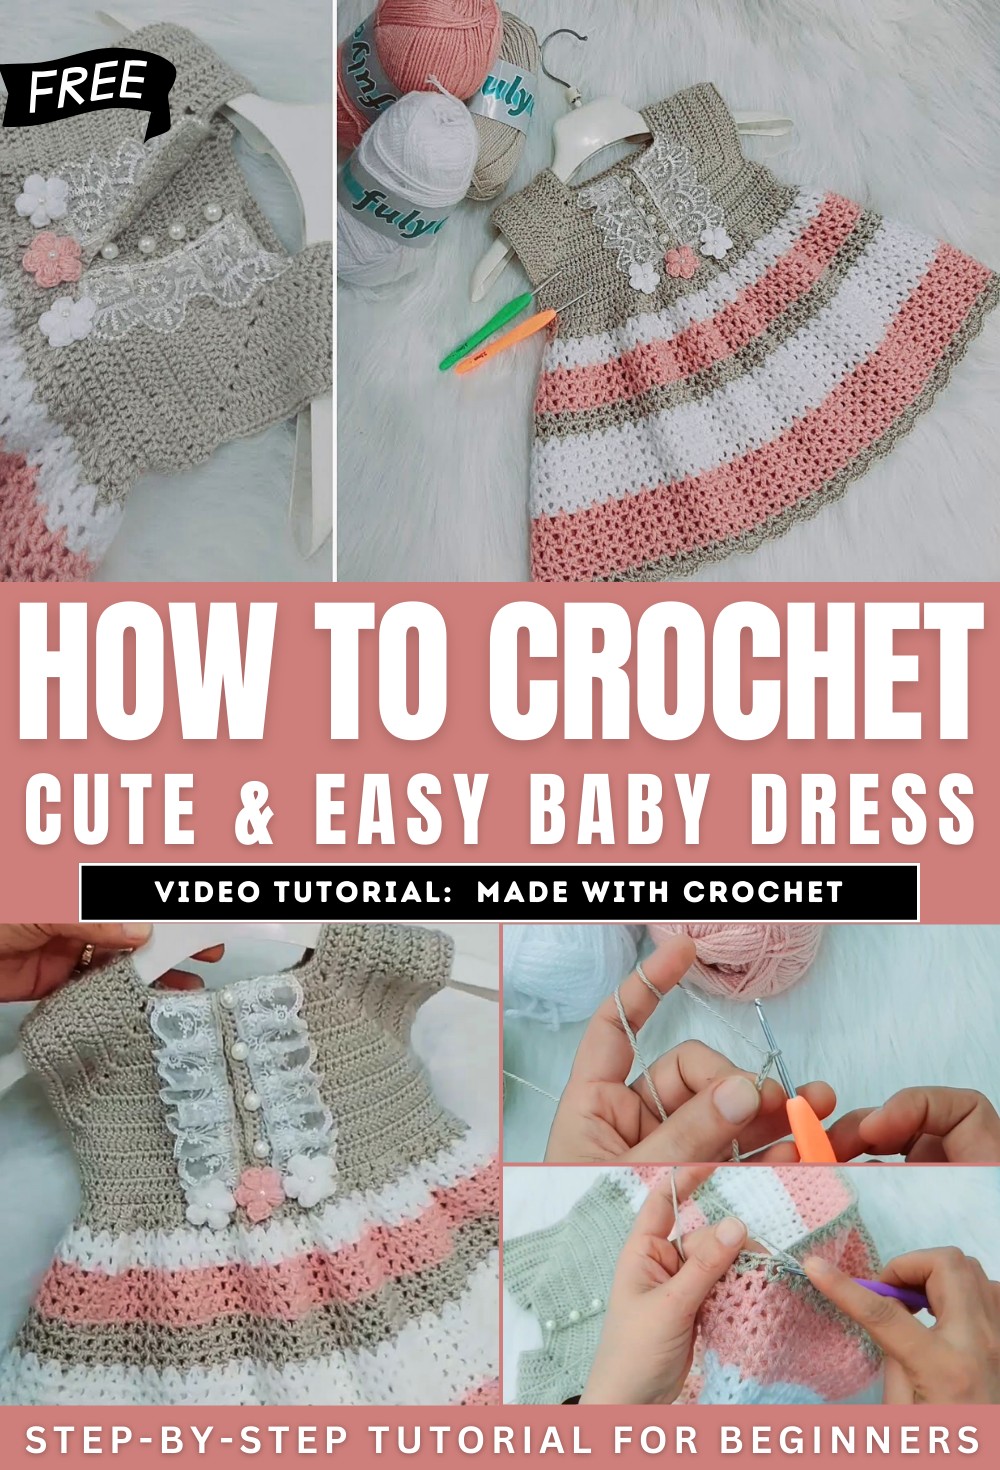
How To Crochet A Baby Dress 0-12 Months for Newborns

Learn how to crochet a beautiful baby dress suitable for infants up to one year old, with guidance to adjust the size for older children. Using three yarn colors, two crochet hooks (2.5mm and 3.5mm), buttons, and other basic tools, she provides clear, step-by-step instructions. The video covers everything from creating the rectangular chest piece to adding the skirt’s V-stitch pattern, lining, and decorative roses.
Faten emphasizes simplicity, making this project beginner-friendly while ensuring a stylish final result. The tutorial concludes with tips for customizing the dress and adding finishing touches. So, follow through with is for the complete tutorial.
Crochet Baby Dress Tutorial
This tutorial by Faten Fouad presents a step-by-step guide on how to crochet a charming baby dress suitable for infants up to one year old but adaptable to larger sizes. Below is a structured summary of the key points covered in the video.
Introduction to the Project
- Faten introduces herself and outlines the goal of the tutorial: creating an easy and beautiful dress for babies.
Materials Required
- Three different colors of yarn.
- Two crochet hooks (sizes 2.5mm and 3.5mm).
- Additional tools include markers, scissors, a needle for sewing buttons, and a cleaning needle.
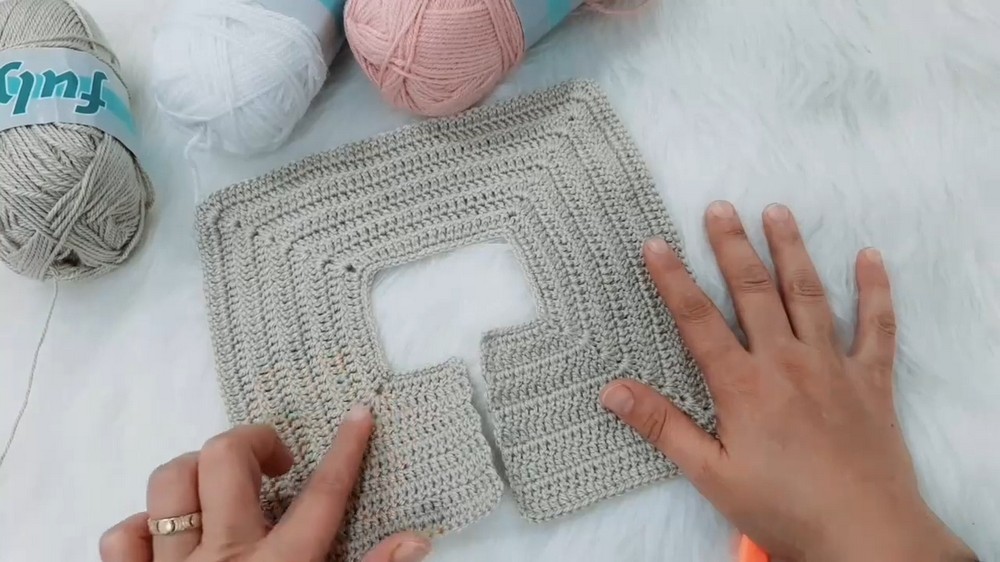
Creating the Rectangular Chest Piece
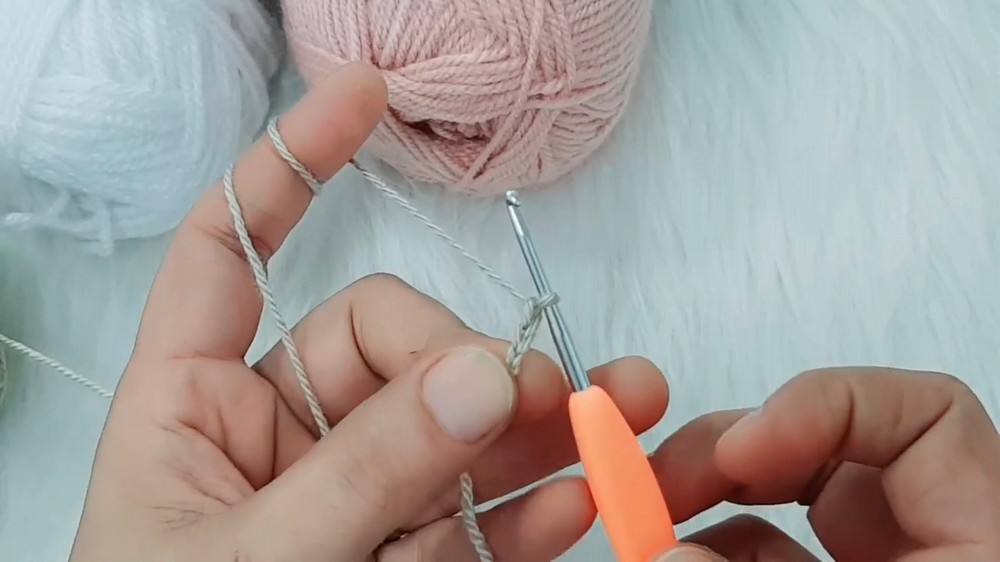
- Starting the Chest Piece
- Faten uses the main color yarn with the small crochet hook to create the initial chains.
- The chains are measured to ensure they fit comfortably over the baby’s head.
- The first row is done using a padding stitch for a neat top edge.
- Dividing the Chest
- The chest piece is divided into front, back, and sleeve sections using markers.
- Calculating the division ensures the correct fit and structure for the dress.
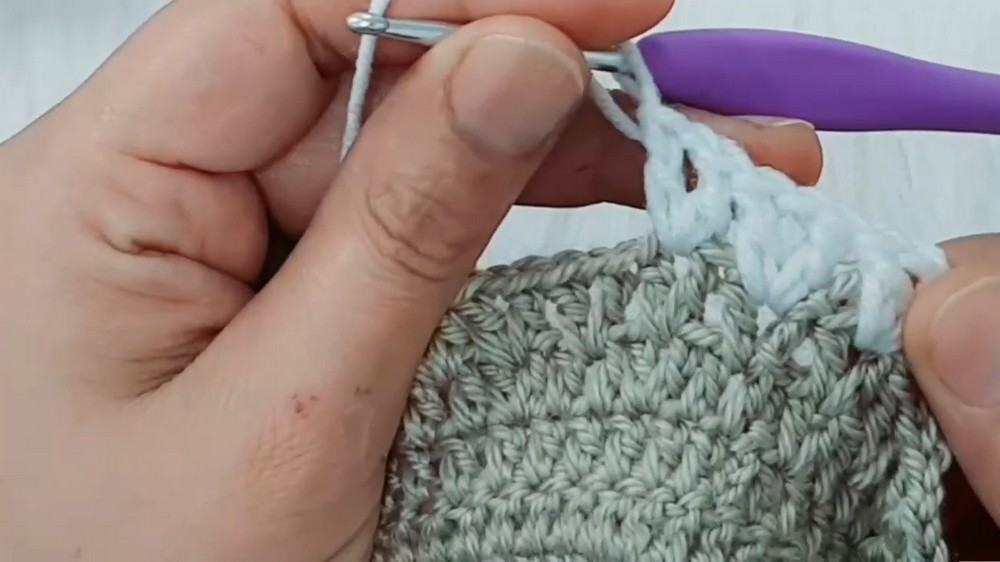
Working the Bodice
- Crocheting the Bodice
- Columns are crocheted over the chains to form the bodice.
- Increases are made within chain spaces to allow for sleeve openings and ensure the bodice’s fit.
- Repeating the Pattern for Length
- The process is repeated for multiple rows to build up the bodice length.
- The bodice is worked until the armholes are formed and then joined together for a seamless chest piece.
Adding Buttonholes and Buttons
- Creating Buttonholes
- Buttonholes are created by strategically spacing out single crochet stitches and chain spaces on one side of the bodice.
- Attaching Buttons
- The buttons are sewn onto the opposite side of the buttonholes.
- The buttons are installed using a regular needle and thread.

Starting the Skirt
- Initial Row for Skirt
- Faten switches to the larger crochet hook to start the skirt portion.
- The first row is made of columns without increasing or decreasing.
- Increasing for Flare
- Increases are added in subsequent rows to widen the dress.
- Each increase consists of columns separated by chain spaces.
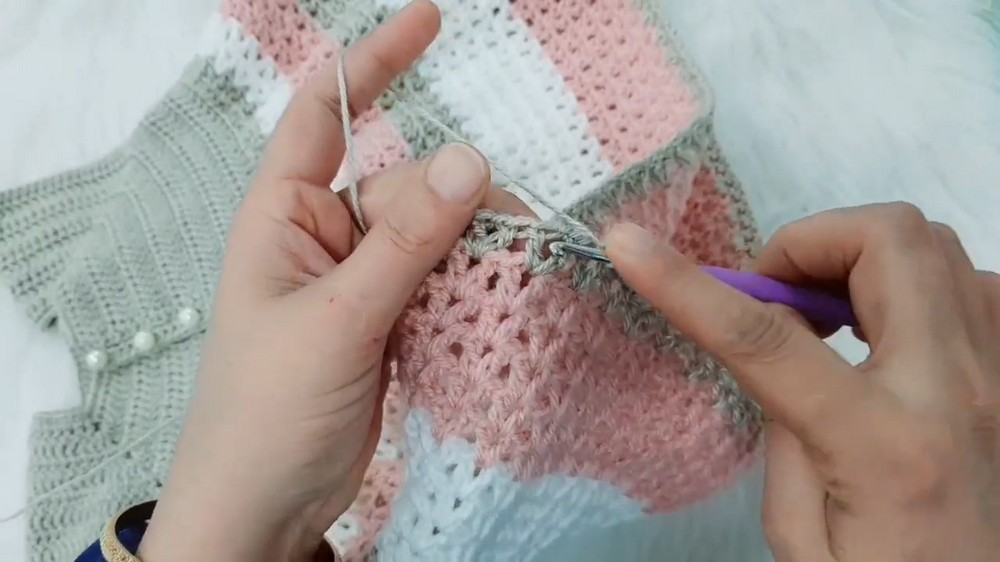
Implementing the V-Stitch Pattern
- Creating the V-Stitch
- Faten introduces the V-stitch pattern in the skirt.
- The V-stitch involves chain spaces and columns to create a decorative and airy pattern.
- Repeating for Length
- The V-stitch pattern is repeated until the desired length of the skirt is achieved.
- Faten uses a pre-determined sequence of colors for the skirt.
Finishing Touches
- Final Row
- The last row of the skirt features a more complex column pattern for refining the edge and adding flair.
- Cleaning Up Ends
- All thread ends are cleaned up and secured using a cleaning needle.
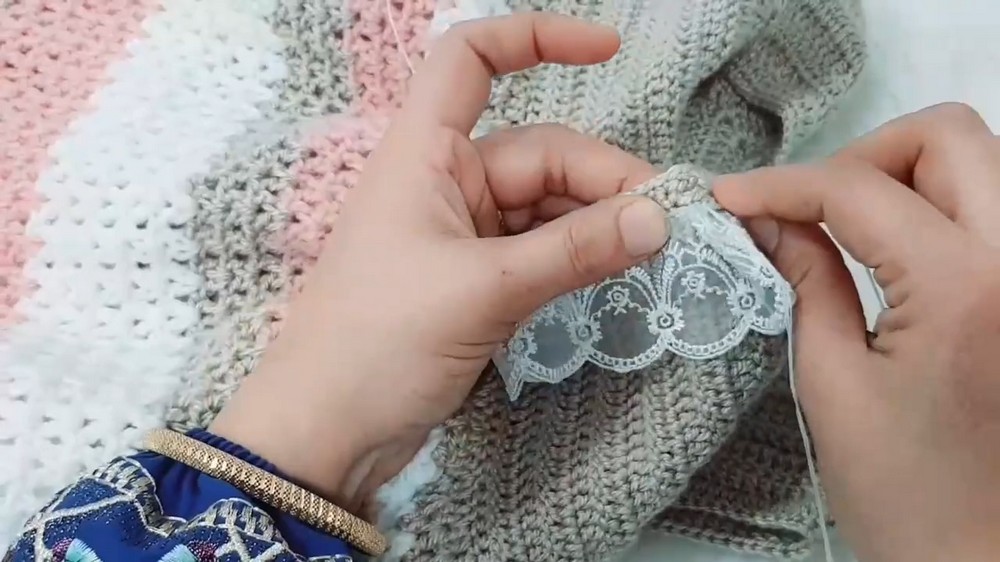
- Adding Decorative Roses
- Small roses are crocheted separately and attached to the bodice as decoration.
- Faten uses a hot glue gun for attaching roses and adds little beads for extra decoration.
Creating a Belt
- A belt is crocheted using two threads in different colors and tied around the dress’s waist.
- The belt provides the finishing touch and adds to the dress’s overall aesthetic.
Conclusion
Faten concludes the tutorial by summarizing what has been done and reiterates the simplicity and beauty of the dress. She thanks the viewers for watching, encouraging them to like the video and subscribe to her channel for more tutorials.