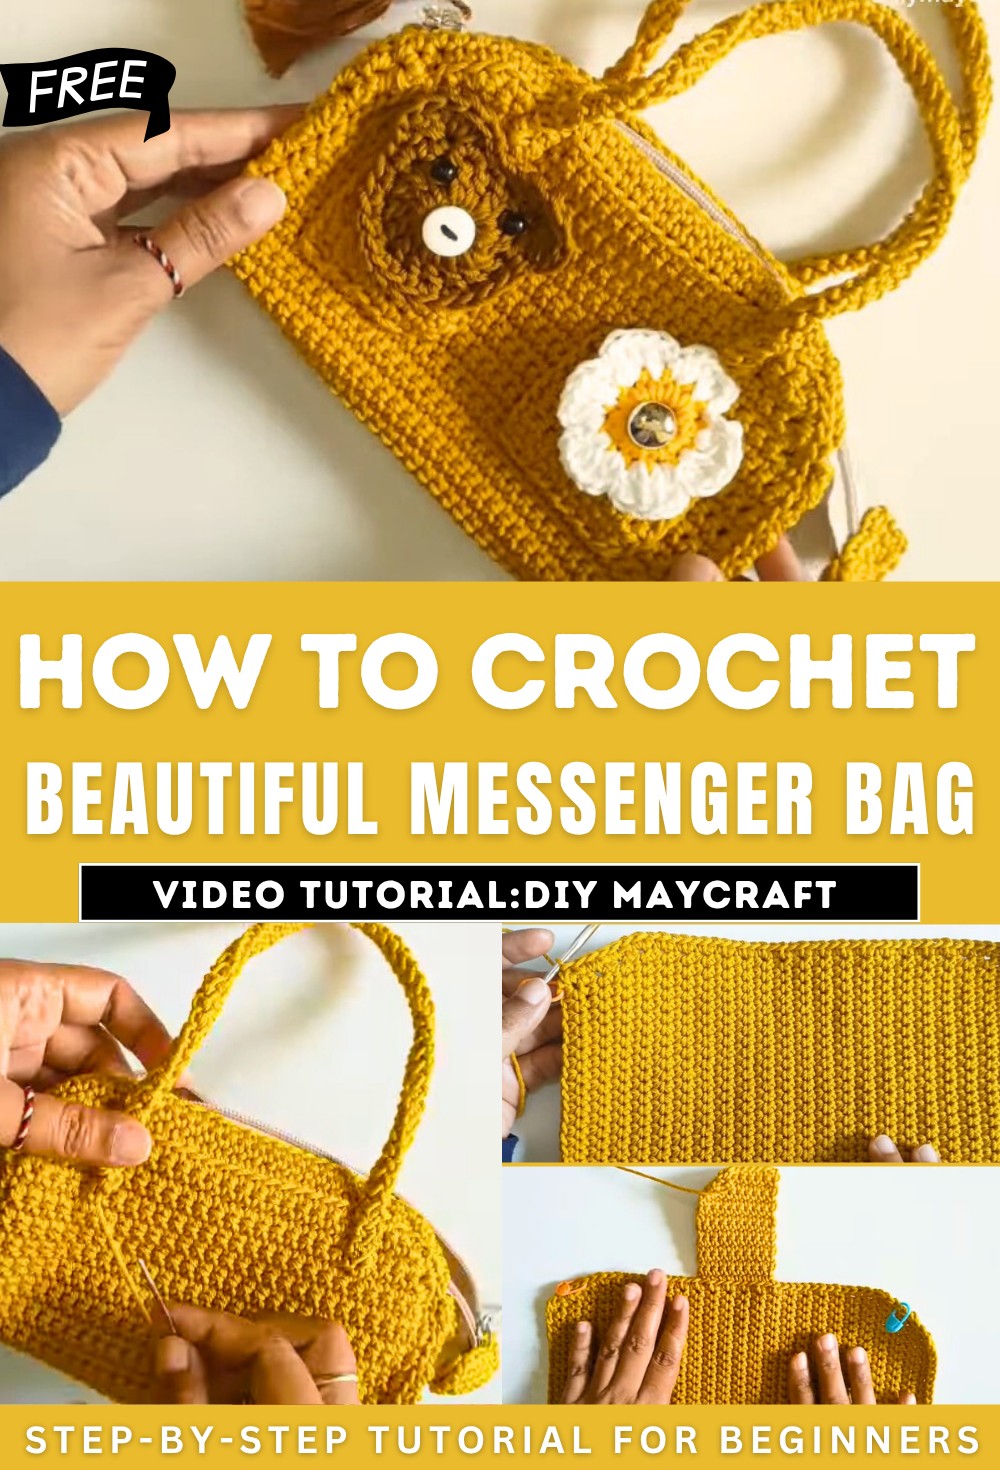
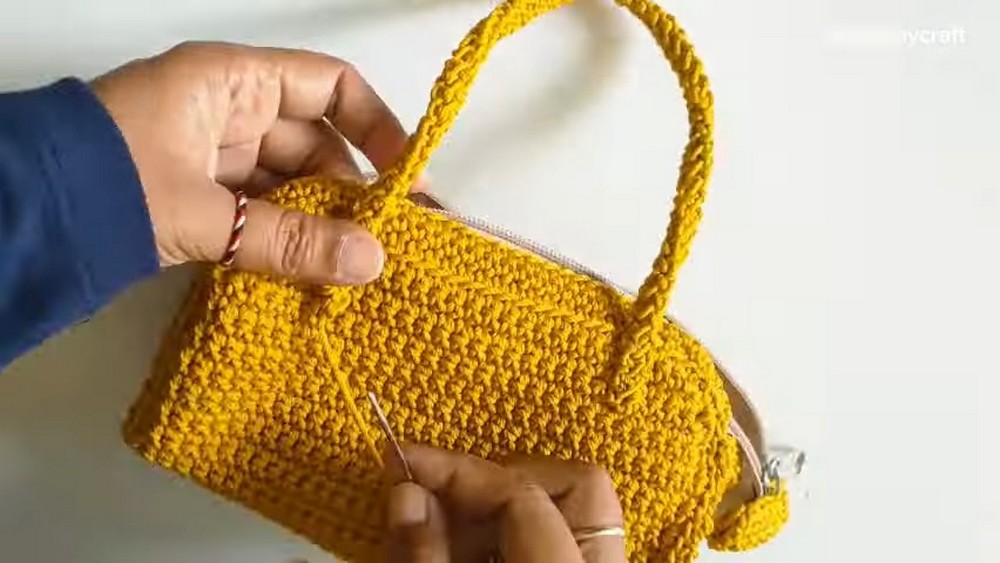
How to Crochet A Beautiful Messenger Bag for Kids

Learn how to crochet a messenger bag adorned with bears and flowers with a step-by-step tutorial for all skill levels. Using Polithick OnitSuga yarn and a 6/0 Tulip hook, the creator demonstrates detailed steps, including crocheting the bag’s base, sides, zipper, pocket, and decorative elements like flowers and a bear head. Techniques such as single crochet stitches, increases, and decreases are explained thoroughly. The video also includes instructions for adding a Romanian cord strap and zipper, making it both decorative and functional. So, let’s get started!
Crochet A Beautiful Messenger Bag
Materials Used
-
Polyester yarn
-
Tulip hook size 6/0
Bag Construction Steps
-
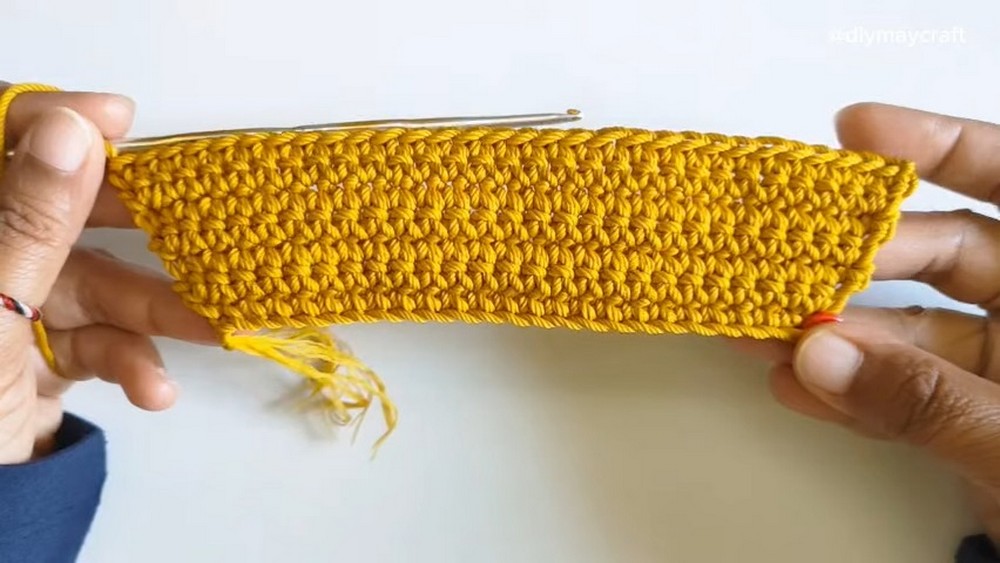
Base Chain: The process begins by creating a slip knot and chaining a foundation.
-
Row 1: Work single crochets into the chain.
-
Row 2 (Increase): Chain and turn. Work two single crochets in the first stitch, then single crochets in the subsequent stitches, and finally two single crochets in the last stitch, increasing the total stitches.
-
Row 3: Chain, turn, and make single crochets across.
-
Row 4 (Increase): Chain and turn. Perform a single crochet increase at the beginning, work single crochets, and then make another single crochet increase at the end, leading to an increased stitch count.
-
Row 5: Chain, turn, and make single crochets across.
-
Row 6 (Increase): Chain and turn. Make a single crochet increase at the beginning, work single crochets, and then finish with a single crochet increase at the end, for an increased total.
-
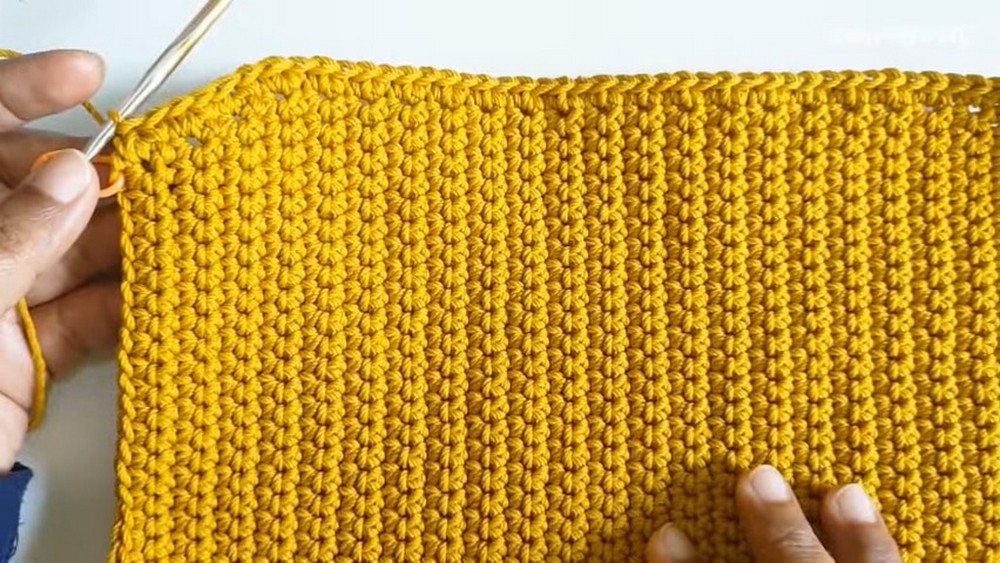
Rows 7-43: For these rows, chain, turn, and make single crochets in each row. The piece will gradually widen due to the previous increases.
-
Row 44 (Decrease): Chain and turn. Make a single crochet decrease (crocheting two single crochets together), work single crochets, and then make another single crochet decrease at the end, reducing the stitch count.
-
Row 45: Chain, turn, and make single crochets across.
-
Row 46 (Decrease): Chain and turn. Make a single crochet decrease, work single crochets, and then make a single crochet decrease at the end, resulting in a decreased stitch count.
-
Row 47: Chain, turn, and make single crochets across.
-
Row 48 (Decrease): Chain and turn. Make a single crochet decrease, work single crochets, and then make a single crochet decrease at the end, bringing the total down.
-
Row 49: Chain, turn, and make single crochets across.
-
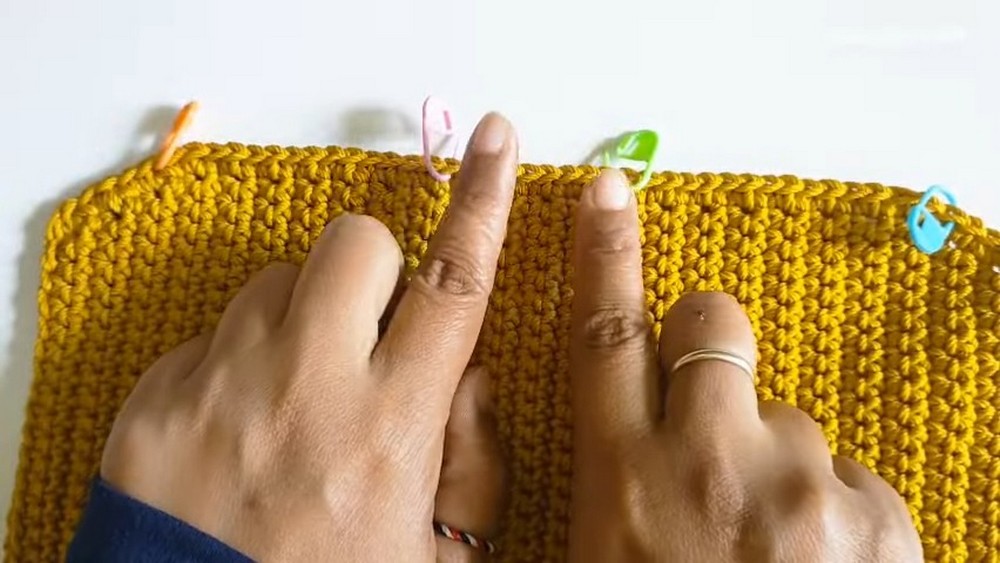
Edging: Place a marker at the last single crochet. Work single crochets around the entire piece. At the corners, make two single crochets in one stitch (increase) and place a marker. Work single crochets along the side, then make a single crochet increase at the next corner and place a marker. Work single crochets along the next side. Finally, join with a slip stitch at the initial marker, cut, and secure the yarn.
Side Panel Construction
-
Marking: From the slip stitch, count a set number of stitches and place a marker. Count another set of stitches from the slip stitch and place another marker. Count down from the second marker and place a marker. Skip a few stitches and place a final marker. The section between the last two markers will be worked.
-
Crocheting the Side Panel: Attach yarn to the back loop between the two markers. Chain and make single crochets. For subsequent rows, chain, turn, and make single crochets. Leave a long tail for sewing.
-
Second Side Panel: Repeat the process for the other side: from the slip stitch, count and mark; count, skip stitches, and mark. Work single crochets back and forth for a set number of rows.
-
Assembly: Sew the side panels to the main body of the bag using the long yarn tails, working through the back loops and joining to the row stitches.
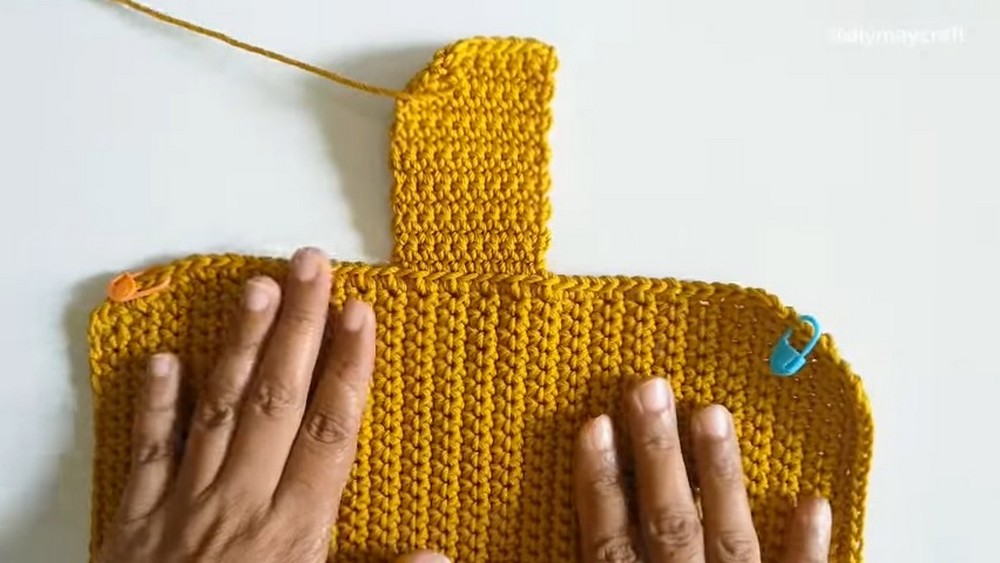
Top Panel (Zipper Area)
-
Crocheting the Top Panel: Attach yarn to the back loop of the unjoined section. Chain and make single crochets in the back loop. For subsequent rows, chain, turn, and make single crochets. Cut and secure the yarn.
-
Second Top Panel: Repeat for the other side.
-
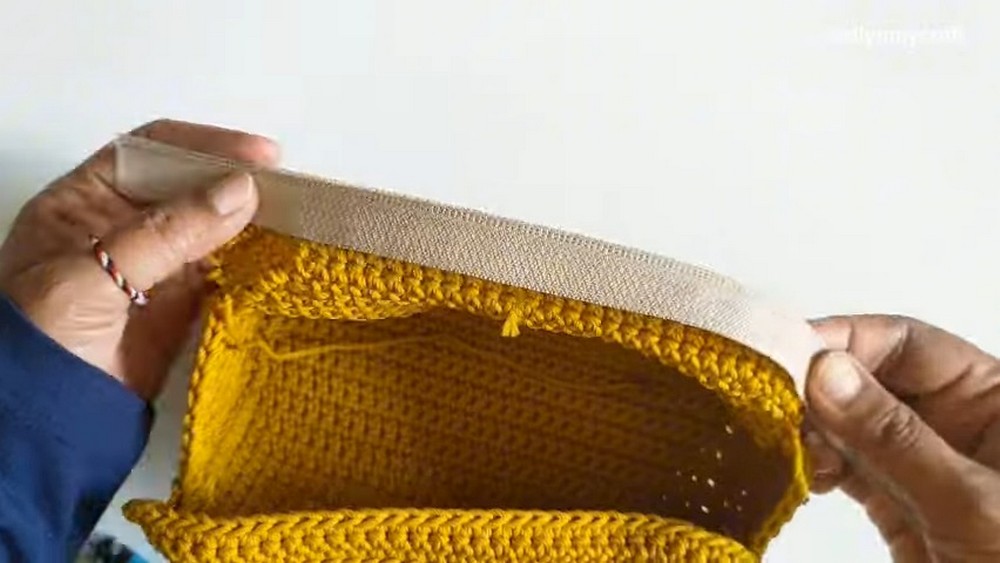
Zipper Installation: Attach a zipper by sewing it with a needle and thread. Secure the zipper ends to prevent the slider from coming off.
Strap and Accessories
-
Strap Stopper: Attach a knitted stopper to one end of the strap.
-
Romanian Cord Strap: Attach a Romanian cord strap to the front and back of the bag using a tapestry needle. (Instructions for making the cord are in a previous video).
Pocket Construction
-
Pocket Base: Make single crochets back and forth for a set number of rows.
-
Pocket Edging: Work single crochets around the perimeter. Make single crochets along the row stitches. Make a single crochet increase at the corner. Work single crochets along the next side. Make a single crochet increase at the next corner. Make single crochets along the row stitches. Join with a slip stitch, chain, and leave a long tail for sewing.
-
Assembly: Make a second pocket piece and sew it to the front of the bag.
Flower Decoration (for pocket flap)
-
Center: Make a slip knot and chain. Join with a slip stitch to the first chain to form a ring. Chain and make single crochets into the ring. Join with a slip stitch, chain, and cut the yarn.
-
Petals (White Yarn): Attach white yarn with a slip knot. Chain. Make two double crochets in the next stitch (increase).
-
Make two double crochets in the next stitch (increase). Chain and slip stitch into the same stitch to form a petal. Repeat this petal pattern (chain, two double crochet increases in the next two stitches, chain, slip stitch) to create a series of petals. Leave a long tail and cut the yarn.
Bear Head Pattern
-
The pattern for the bear head is written at the top of the video.
The video concludes with the finished messenger bag.