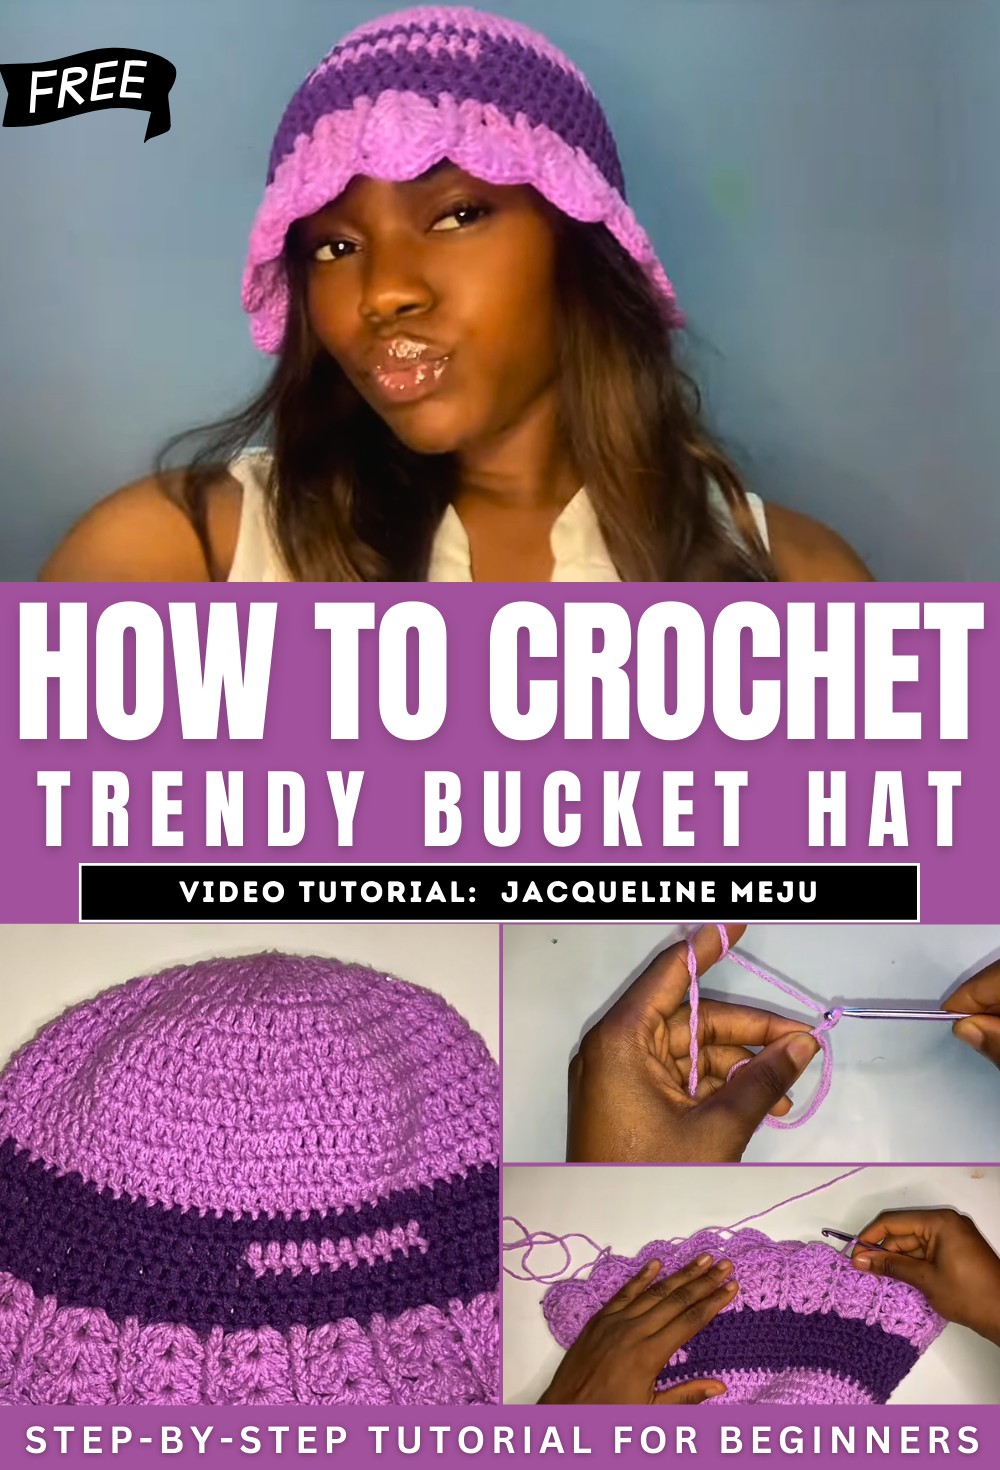
How To Crochet Summer Bucket Hat For Beginners

In Jacqueline’s tutorial, learn how to crochet a stylish bucket hat with a step-by-step tutorial for beginners. Using two cotton yarn colors, a 4.5 mm hook, she demonstrates foundational techniques like forming a magic ring and working double crochets. The video covers increasing the crown size, building the body, and constructing the brim with detailed stitch patterns.
Jacqueline highlights flexibility in measurements and encourages creativity based on yarn type and hook size. So, follow through with us for the complete tutorial.
Jacqueline’s Crochet Bucket Hat Tutorial
Jacqueline’s video offers a comprehensive step-by-step guide to crocheting a stylish bucket hat. The tutorial is beginner-friendly and focuses on simplicity and clarity, helping viewers create their own unique accessory. Below is a structured summary of her tutorial:
Materials Needed
- Two cotton yarn colors (details in the description box).
- A 4.5 mm crochet hook.
- Scissors.
- A yarn needle.
- A stitch marker.

Steps for Crocheting the Bucket Hat
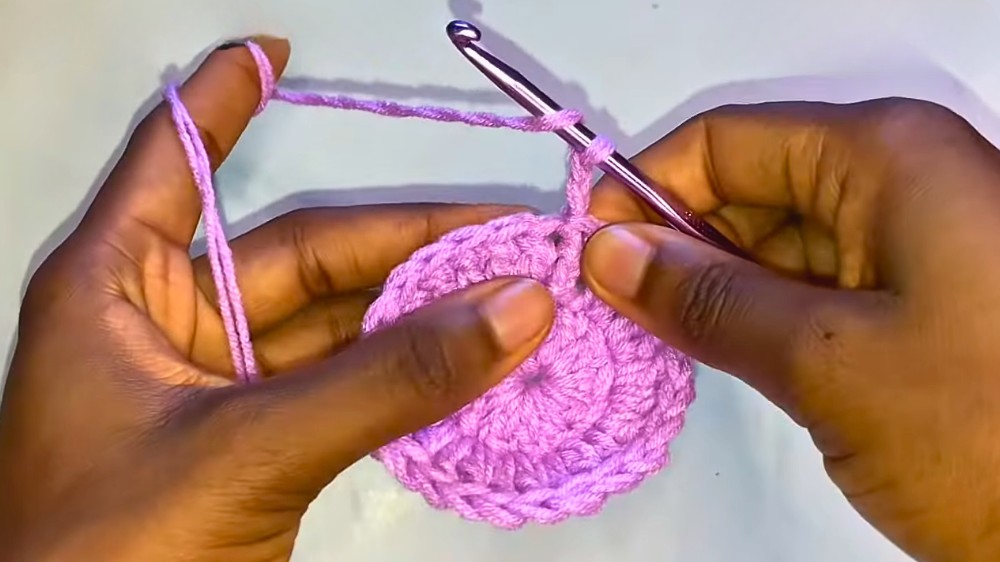
1. Starting with the Magic Ring
- Jacqueline begins by teaching how to create a magic ring, an essential base for circular projects.
- She demonstrates how to form the ring, chain, and begin stitching.
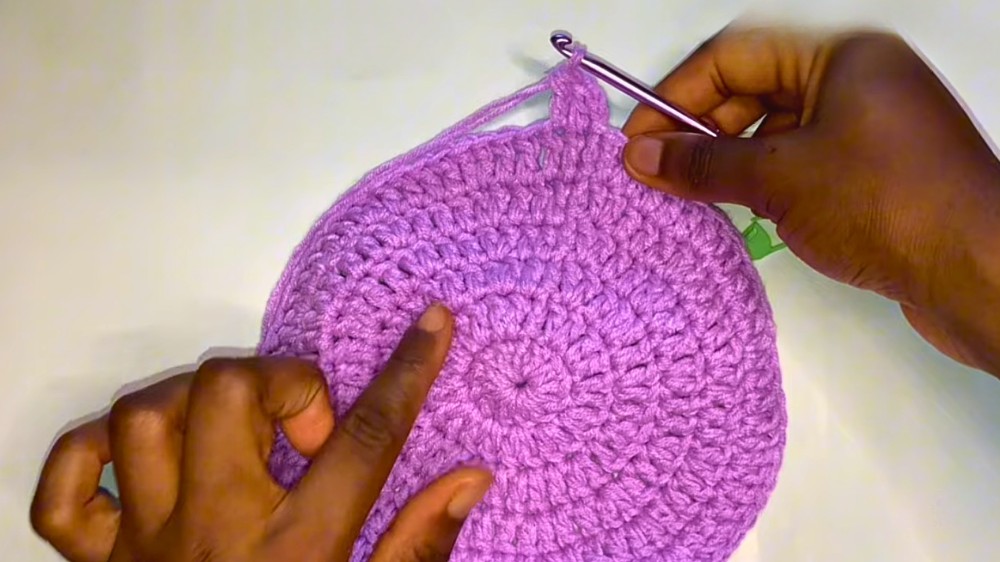
2. Creating the Crown
- The tutorial describes how to build the crown of the hat using rounds of double crochet stitches.
- Viewers learn how to increase the size of the crown by alternating single and double crochet stitches according to a specific pattern.
- Jacqueline emphasizes that the size of the crown determines the overall size of the hat.
- Adjustments may be necessary based on the type of yarn and hook size used, and she ensures flexibility for users.
3. Forming the Body of the Hat
- After completing the crown, the tutorial shifts focus to the body of the hat.
- Instructions are provided to work in continuous rounds without increasing the stitches.
- Jacqueline explains how to determine the appropriate length of the body, suggesting it should approximately reach the top of the eyebrows for a good fit.
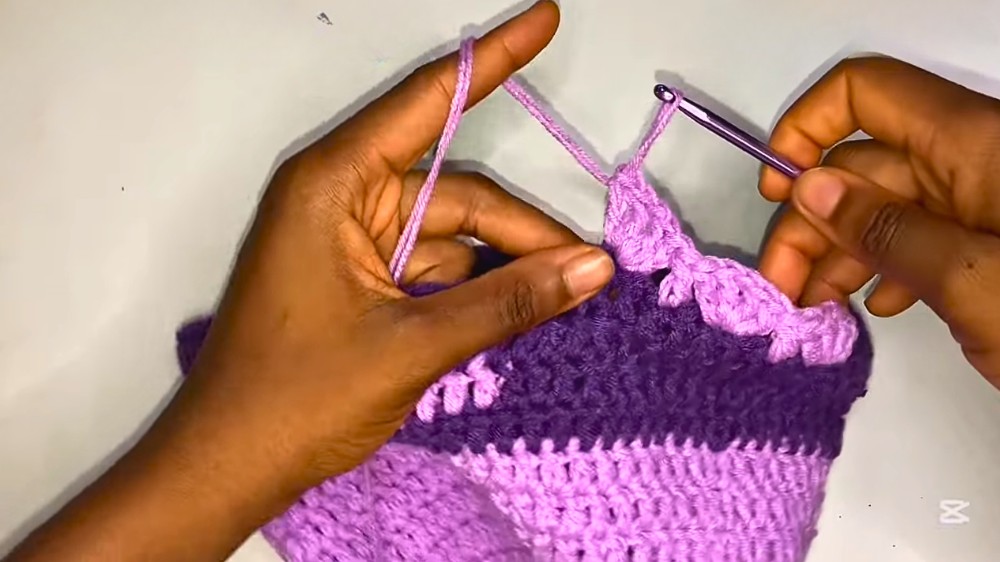
4. Designing the Brim
- The brim starts with a round featuring a combination of double crochets, chains, and spaced increases.
- A decorative pattern is introduced with “front post double crochet” stitches, adding texture and style.
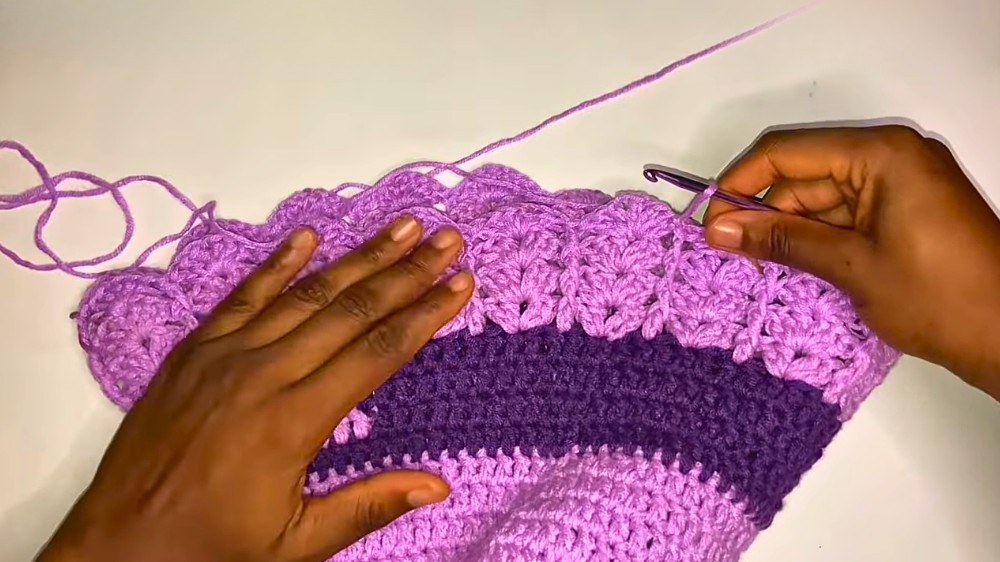
- Jacqueline encourages viewers to repeat the brim pattern for multiple rounds until the desired length is achieved. She mentions that the number of rounds for the brim can be customized.
Finishing Touches
- Once the crochet work is complete, Jacqueline demonstrates how to fasten off the yarn and secure the loose ends.
- Using a yarn needle or smaller hook, she weaves the yarn tails into the stitches for a neat finish.
- She advises viewers to double-check all loose ends to ensure durability.
Additional Tips
- Throughout the tutorial, Jacqueline shares tips for maintaining consistency in stitches and adjusting measurements.
- She highlights the importance of marking the first stitch of every round with a stitch marker for clarity.
Conclusion
Jacqueline wraps up the tutorial by urging viewers to experiment with colors, yarns, and brim lengths to personalize their hats. Additionally, beginners are invited to join her WhatsApp group for crochet tips and further learning.