How to CROCHET A Cross BOOKMARK for Beginners
With a step-by-step guide, learn how to crochet a delicate cross bookmark using lightweight yarn perfect for bookworms. The process involves creating a slipknot, chaining, and working single and double crochets to form intricate patterns like shells. Optional embellishments, such as beads and tassels, can be added for a decorative touch. The tutorial highlights key tips, such as using cotton yarn for a smooth finish and pressing the final piece for a polished look. It’s an easy, beginner-friendly project for crochet enthusiasts.
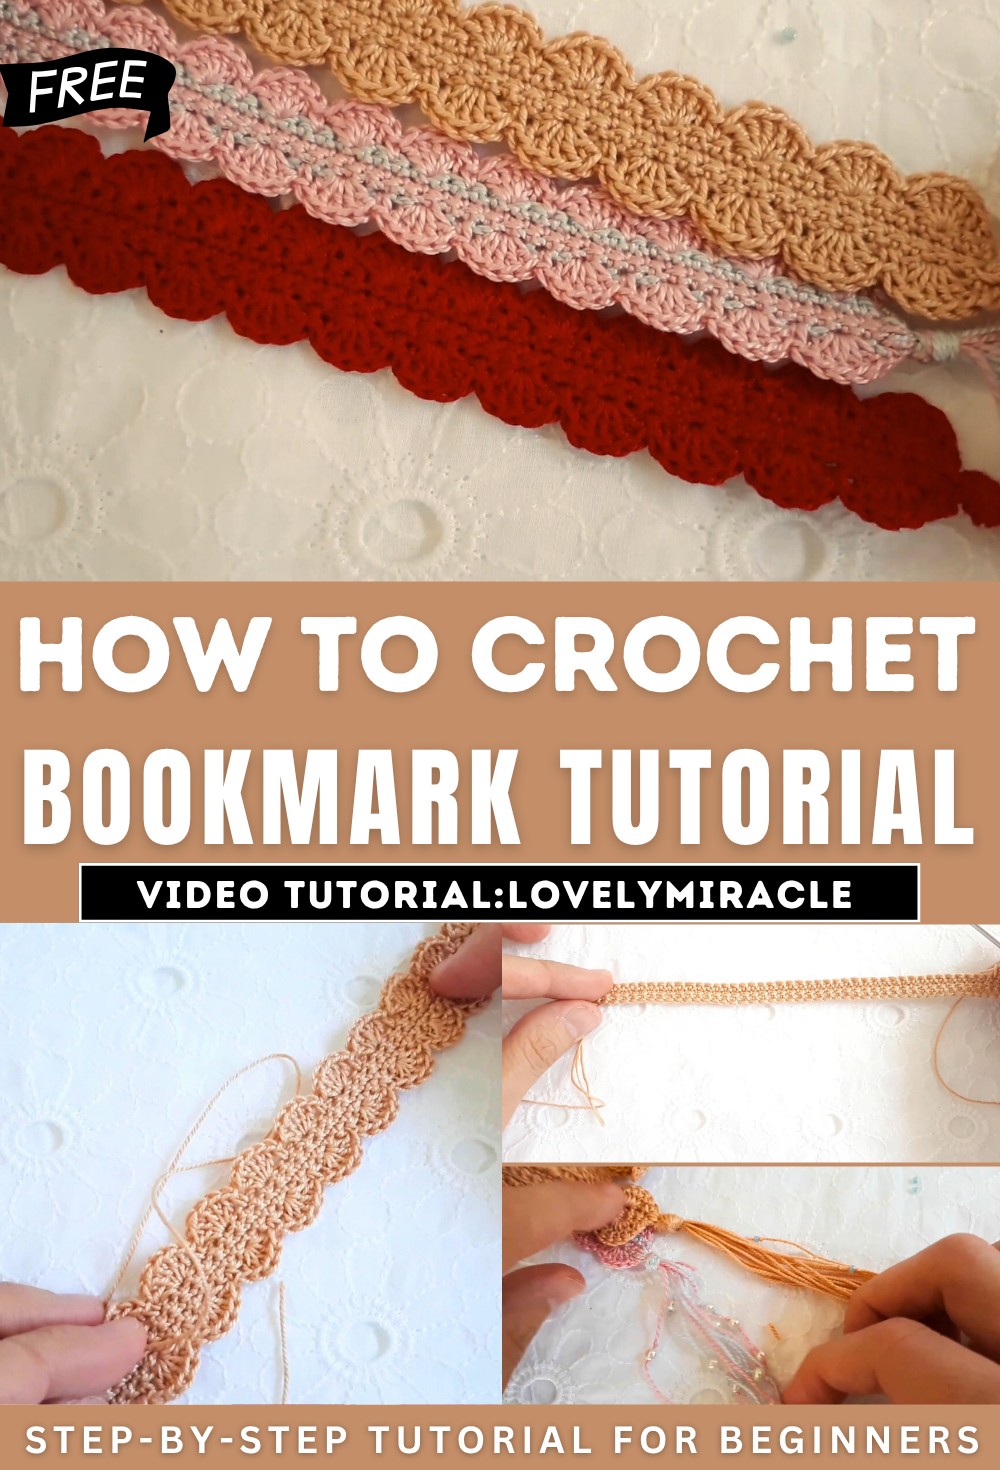
Crochet Bookmark Tutorial
This tutorial demonstrates how to crochet a bookmark with detailed steps and tips, including materials, basic stitches, and optional embellishments. Below is a breakdown of the video:
- Yarn Recommendations:
- Preferred yarn is Canon crochet cotton, made in the Philippines, which is thin and easy to work with.
- Alternative: DMC cotton pearl, available at most craft stores.
- Tools:
- Crochet hook (0.75 mm or equivalent).
- Scissors.
- Sewing needle (optional).
- Very small hook (0.16 mm) for optional beadwork.
- Optional Beads:
- Beads add a decorative touch to the tassels and are available in various styles at craft stores.
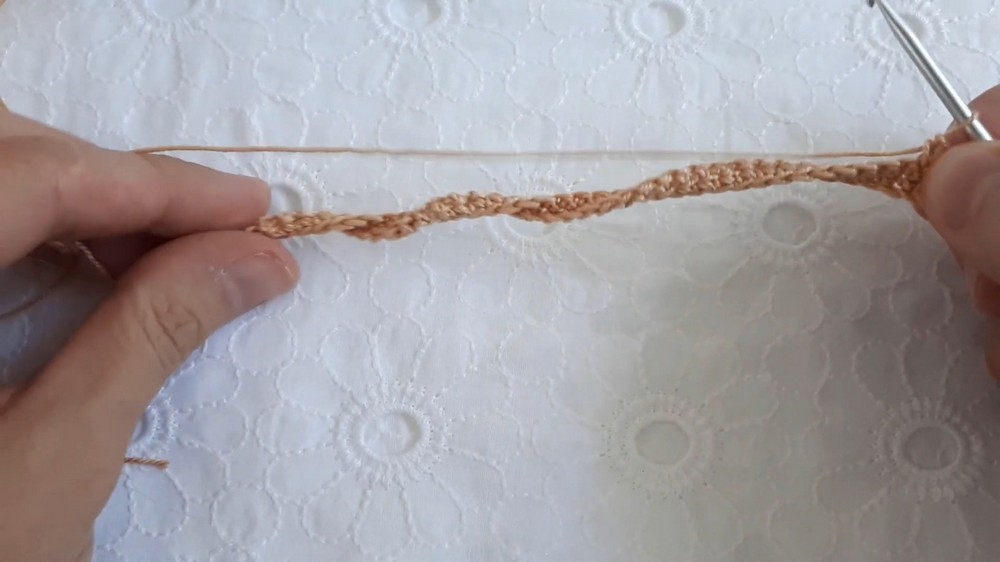
Initial Setup
The tutorial begins by demonstrating how to start the bookmark:
- Creating a Slip Knot: Instructions are given to make a slip knot as the starting step.
- Chaining: A foundation chain of a specified number of stitches is created.
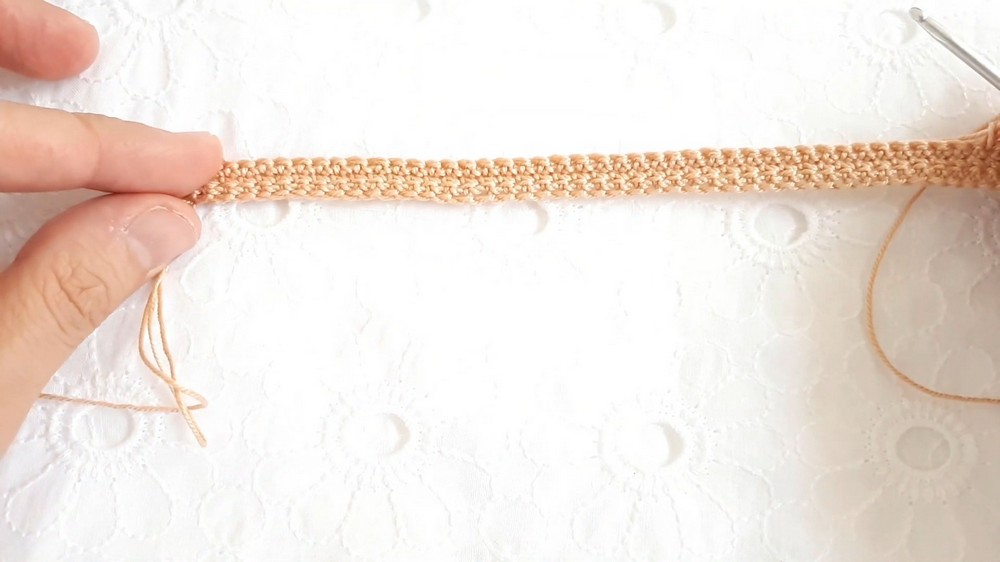
Working the Foundation Rounds
The presenter explains how to work through the first few rounds:
- Round 1:
- A single crochet stitch is made into the second chain.
- Single crochet stitches continue across the foundation chain.
- Rounds 2 and 3:
- The pattern is repeated without skipping stitches, creating a base layer.
- The presenter emphasizes the importance of using thin cotton yarn for a neater finish.
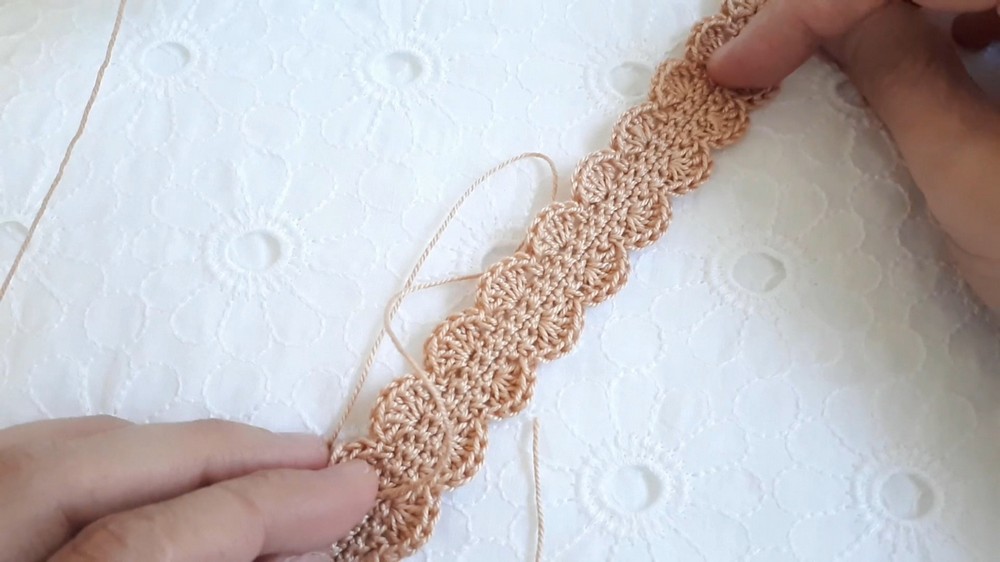
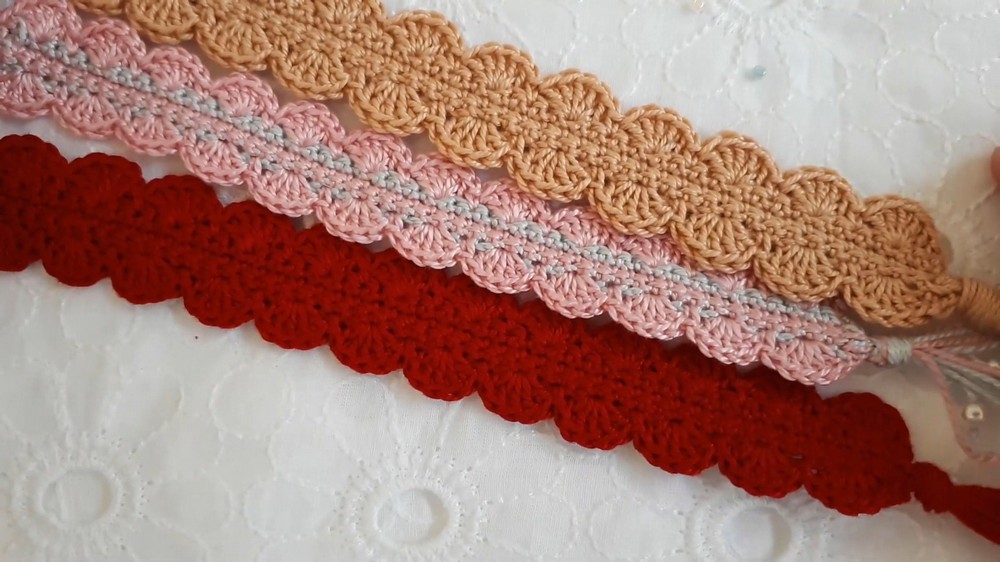
Creating Decorative Shell Patterns
Once the foundation is complete, the tutorial moves on to adding the decorative shell patterns.
- Starting the Shell Pattern:
- In a specific stitch sequence, alternating single and double crochets are worked to create shell designs.
- Pattern Progression:
- The shell pattern continues around the bookmark.
- Corner adjustments are demonstrated for smooth transitions.
Shaping and Flattening the Bookmark
After completing the crochet work, the presenter explains:
- Fixing Curvature:
- If the bookmark appears curled, it can be flattened by pressing with a hot iron through a cotton cloth.
- Result: A crisp, neat bookmark is achieved after pressing.
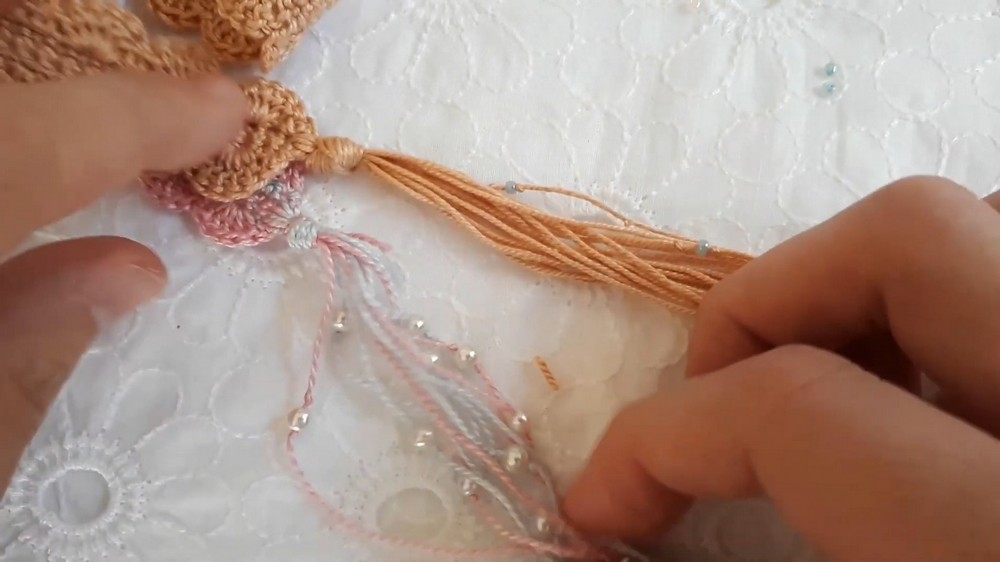
Adding Tassels as Embellishments
Optional tassels are demonstrated to give the bookmark a finished look.
- Creating Tassels:
- Yarn is wrapped several times, cut, and attached to the bookmark.
- The presenter describes how to align and knot the tassels for a tidy appearance.
- Trimming Tassels:
- The tassel ends are trimmed to ensure they are uniform in length.
Beadwork on Tassels (Optional)
For added embellishment, beads can be attached to the tassels.
- Tools for Beading:
- A thin crochet hook is necessary to slide the yarn through the bead.
- Adding Beads:
- Beads are secured at specified positions with knots to prevent sliding.
Finishing Touches
- The tutorial concludes by cutting and weaving in loose yarn ends.
- The final bookmark design is displayed, showing how the plain version and beaded version differ.
Conclusion and Tips
- The instructor highlights the versatility of the bookmark—available in different yarn types, tassel designs, and bead styles.
- Viewers are encouraged to personalize their projects and comment with questions for clarification.
This tutorial provides an accessible step-by-step guide, making it ideal for both beginner and intermediate crocheters. The bookmark design is versatile and can be customized to suit individual preferences.