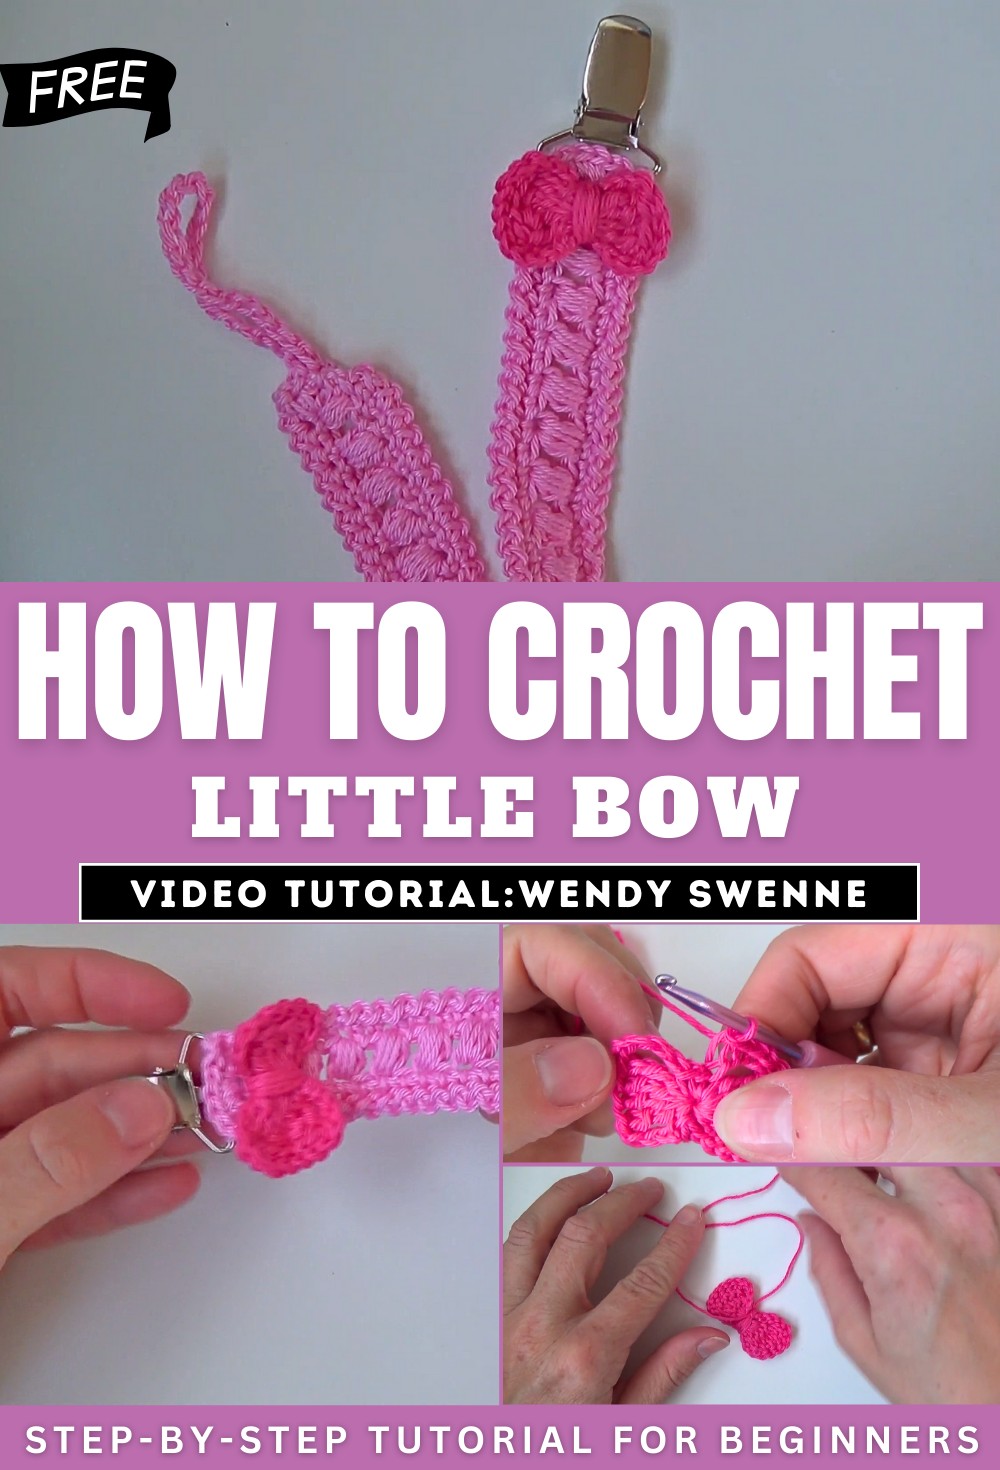
How to Crochet A Little Bow for Bookmarks and Hairclips
For all girls’ hair, learn how to crochet this charming bow that is ideal for accessories like pacifier clips or hair clips, perfect for beginners. Using cotton yarn and a 2.5mm crochet hook, the process begins with a magic circle and slip knot to form the bow’s structure. The tutorial covers creating symmetrical sides with treble crochets, chains, and slip stitches, followed by wrapping yarn around the center for a finished look.
The bow can be secured to various items using glue, knots, or stitching for versatility. Perfect for beginners, the project adds a personal touch to baby gifts or DIY accessories. So, follow through with us for the complete tutorial.
Crochet A Little Bow Tutorial
The tutorial demonstrates how to crochet a delicate bow design that can be used as an embellishment for various accessories, such as pacifier clips, hair clips, or other decorative projects. The creator shares clear instructions for making the bow, emphasizing its versatility and ease of assembly.
Materials Required
To follow along with the tutorial, you’ll need:
- Cotton yarn: Used for crocheting the bow.
- Crochet hook (2.5mm): For crafting the bow with precise stitches.
- Scissors: For cutting yarn.
- Tapestry/Darning needle: Ideal for securing and attaching the bow.
Project Overview
The bow is designed to be decorative and functional, allowing crafters to attach it to various items through knots, glue, or sewing. It’s a beginner-friendly project that uses basic crochet techniques to achieve a polished and charming finish.
Steps to Create the Bow
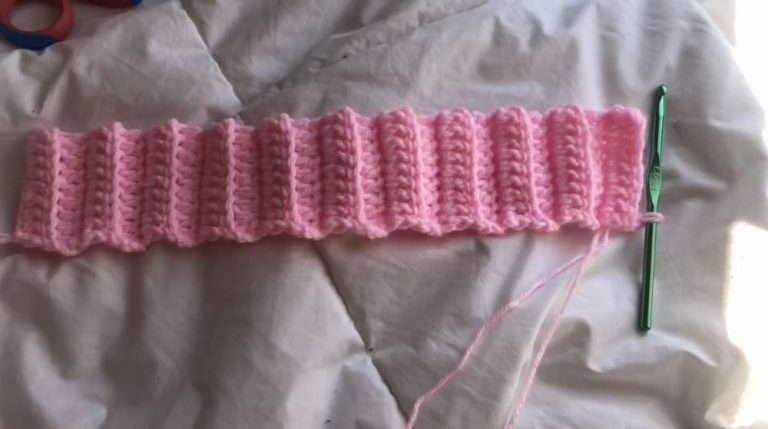
1. Start with the Foundation
- Begin by creating a magic circle to form the base of the bow.
- Ensure the tail is long enough to weave or attach the bow later.
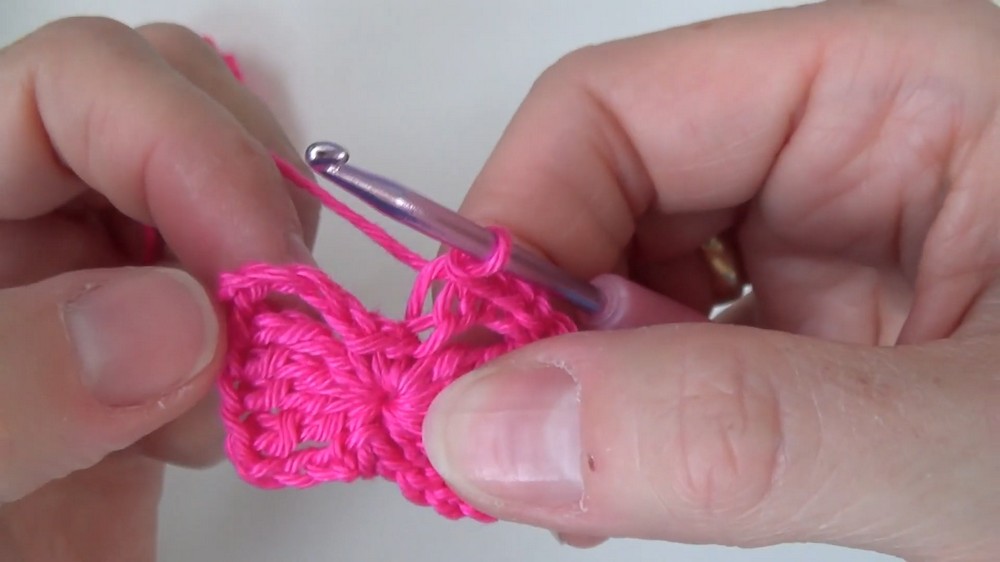
2. Create One Side of the Bow
- Build up the structure of the bow’s side using chains, treble crochets, and single crochet stitches within the magic circle.
- Tighten the magic circle slightly for control and symmetry.
3. Repeat for the Other Side of the Bow
- Make the second side of the bow by mirroring the process used for the first side.
- This creates balance and completes the overall shape.
4. Tighten and Secure the Bow
- Adjust the magic circle to bring the pieces closer together, forming a more cohesive bow shape.
- Add final single crochet stitches and tighten the circle to secure all the elements.
Embellishments and Final Adjustments
1. Add Slip Stitches
- Add slip stitches along both sides of the bow to smooth the edges and refine the appearance.
- Decide whether to work in the back loops or both loops for slight variations in texture.
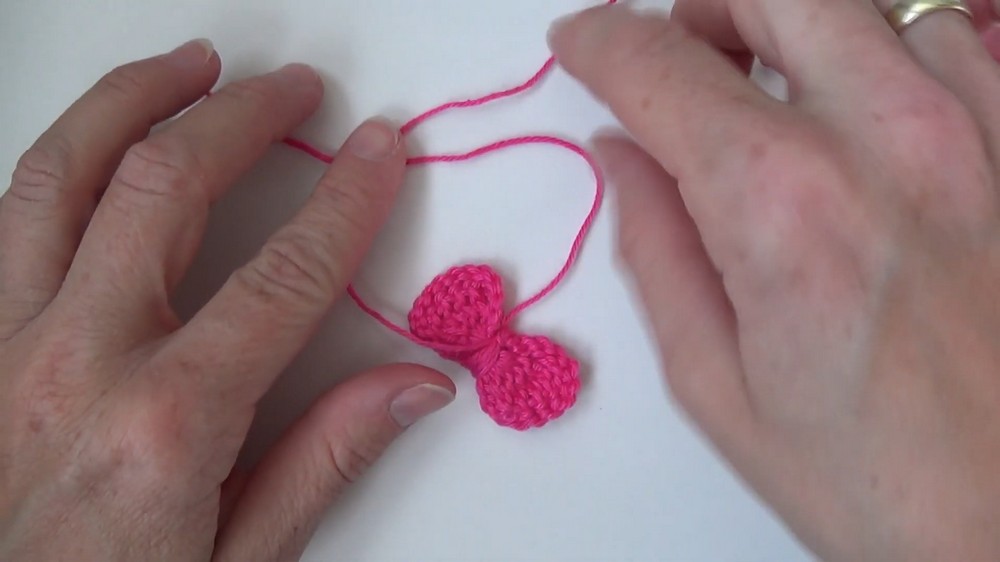
2. Wrap Yarn Around the Center
- Wrap yarn around the middle to create the signature bow “knot.”
- Continue wrapping until it looks neat and well-secured.
3. Secure and Knot the Yarn
- Use the ends of the yarn to tie knots at the back of the bow to ensure durability.
- Incorporate techniques like double-knotting to prevent unraveling with a tutorial for beginners.
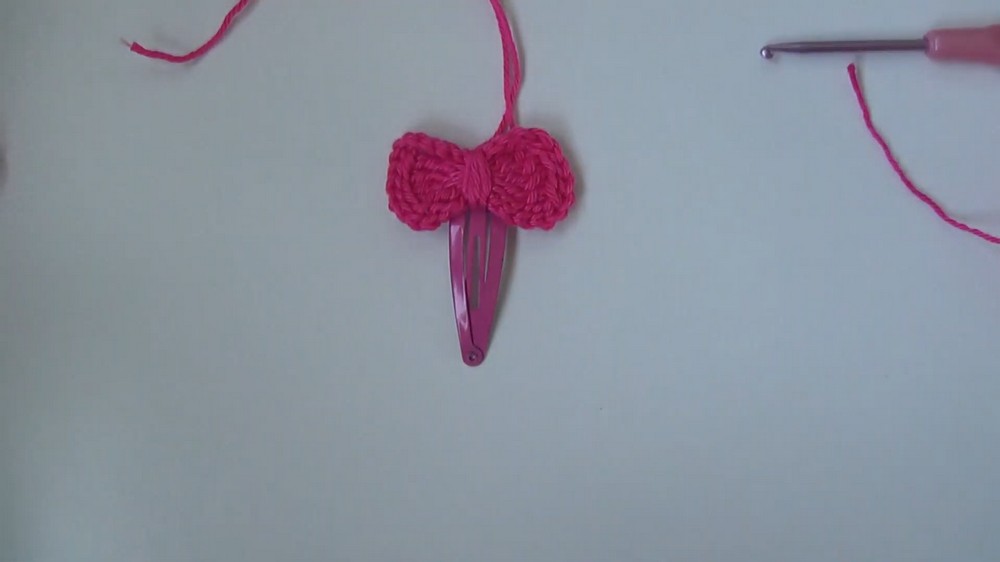
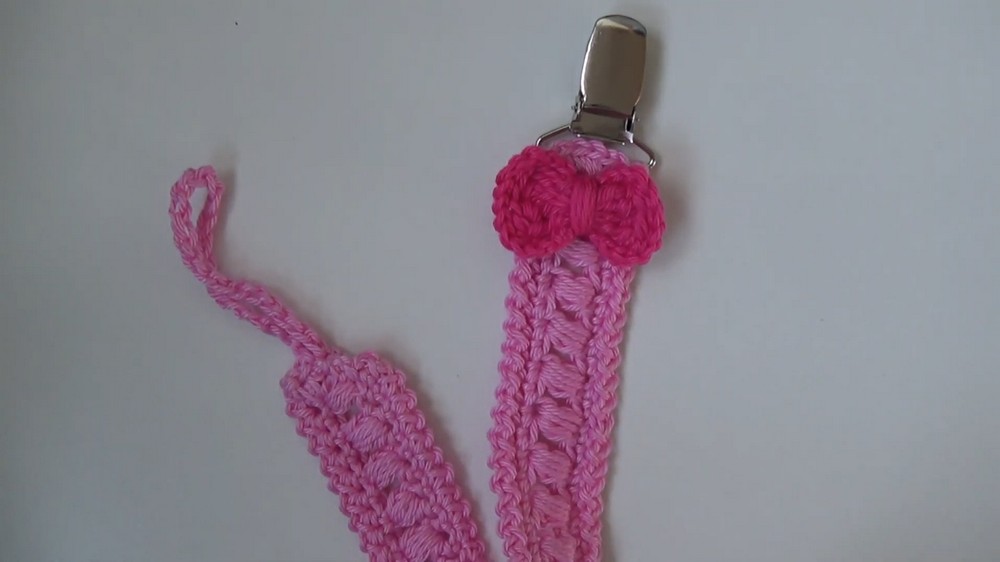
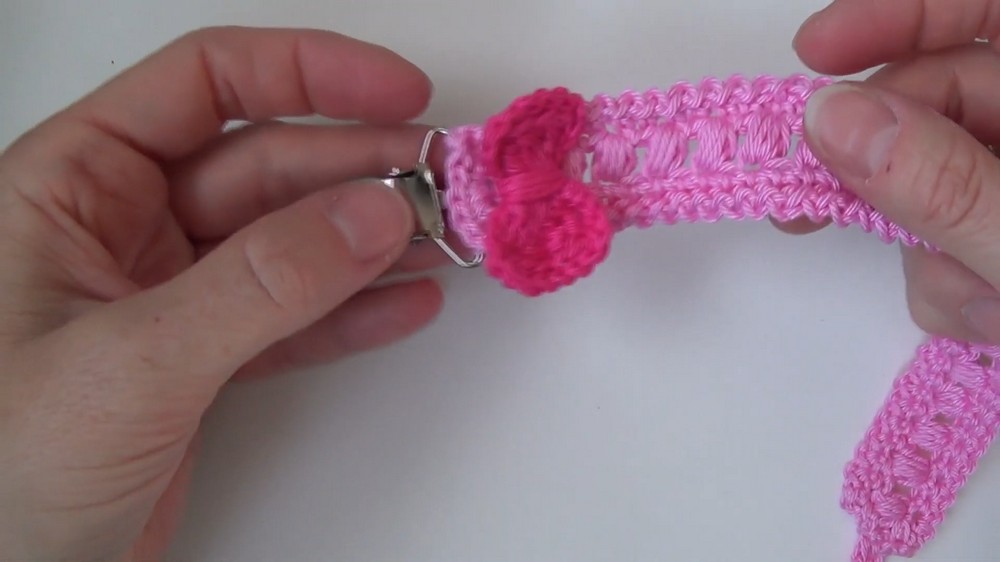
Attaching the Bow
- The bow can be applied to pacifier clips, hair clips, or other objects.
- For pacifier clips, weave or knot the bow securely onto the base.
- For hair clips, heavy glue and additional stitching with a darning needle.
Customization Options
The bow can be personalized using different colors, yarn types, or size variations based on the chosen hook size, stitch length and the purpose you choose for it. Experimenting with attachment methods allows for versatile use across multiple items, such as baby gifts, hair accessories, or functional decorations.