How To Crochet Ribbed Headband for Winter
Learn how to crochet a customizable ribbed headband in any color perfect for all skill levels with this step-by-step tutorial. Using any yarn weight of your choice, the headband is needs with simple double crochet stitches worked in the back loops to create a ribbed texture.
The project begins with a slip knot, followed by chaining to determine the desired width, and continues with rows until it fits comfortably around the head. The ends are joined with single crochet, making this a quick, beginner-friendly project. Let’s get started!
Crochet a Ribbed Headband Tutorial

Materials Needed
- Yarn: Any weight yarn can be used. For the tutorial, DK yarn is doubled to achieve an Aran weight.
- Crochet Hook: A 6mm crochet hook is recommended but should be size-compatible with your yarn choice.
- Additional Tools:
- Smaller crochet hook (for connecting ends).
- Scissors.
- Optional: Darning needle (for weaving in loose ends).
Customizable Design
- The headband design is versatile and can be customized:
- Use different yarn weights (bulky, sport, etc.) to create chunkier or thinner headbands.
- Adjust the chain size at the start to control the headband’s width.
Step 1: Creating the Foundation
- Begin the project by making a slip knot.
- Chain the foundation row to determine the desired width of the headband.
- Adjust the number of chains based on how thick you want the headband to be.
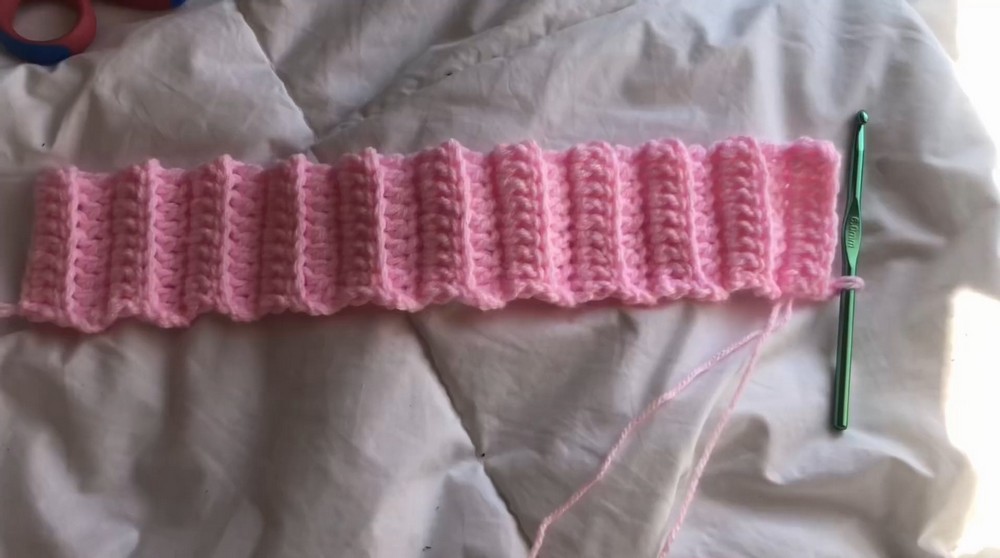
Step 2: Crochet the First Row
- Start your first row by using double crochet stitches.
- Work the stitches down the foundation chain.
- Complete the row and prepare to transition to the next one.
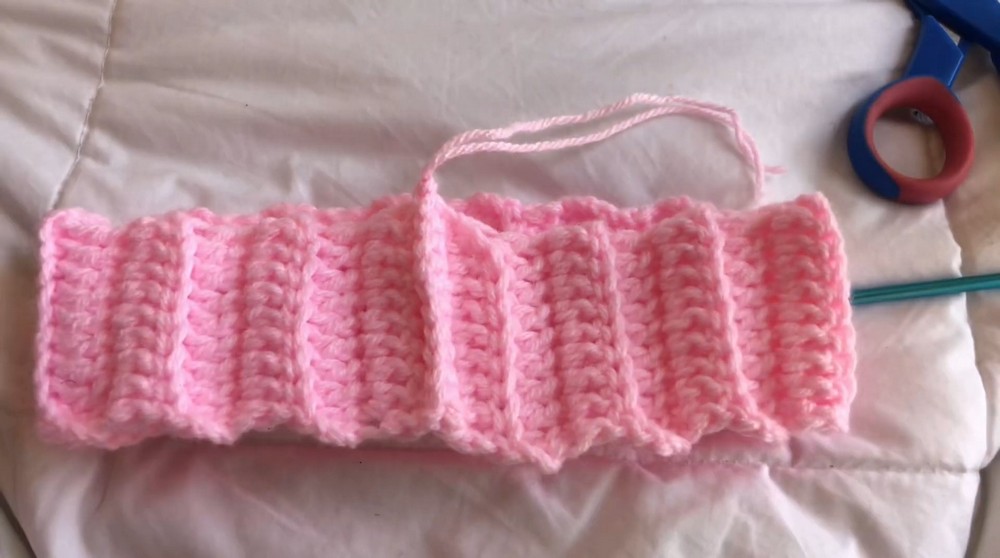
Step 3: Building the Ribbed Texture
- Chain three to turn at the start of the second row (or two if preferred).
- Crochet into the back loops of the previous row’s double crochets.
- This technique gives the headband its signature ribbed texture.
- Count your stitches at the end of each row to maintain consistency.
- Repeat this process of chaining, turning, and crocheting into back loops for every new row.
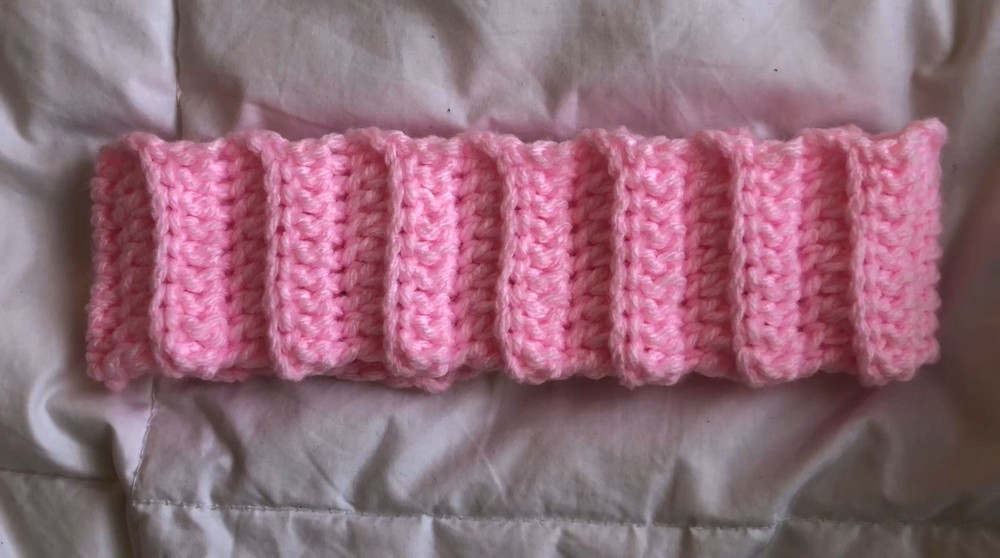
Step 4: Measure and Adjust
- Continue crocheting rows until the strip is long enough to fit comfortably around your head.
- Wrap the strip around your head to check the length, ensuring it’s snug but not too tight.
Step 5: Joining the Ends
- Use a smaller crochet hook to connect the two ends of the strip.
- Align both edges and use single crochet stitches to join them:
- Insert the hook through corresponding stitches on both ends and secure with single crochets.
- The alignment doesn’t have to be perfect but should look neat and even.
- Crochet over loose ends, if possible, to minimize weaving.
Step 6: Finishing Touches
- Tie off the project, leaving a small tail.
- Use scissors to trim any leftover yarn.
- Weave any remaining loose ends into the headband with a darning needle (if needed).