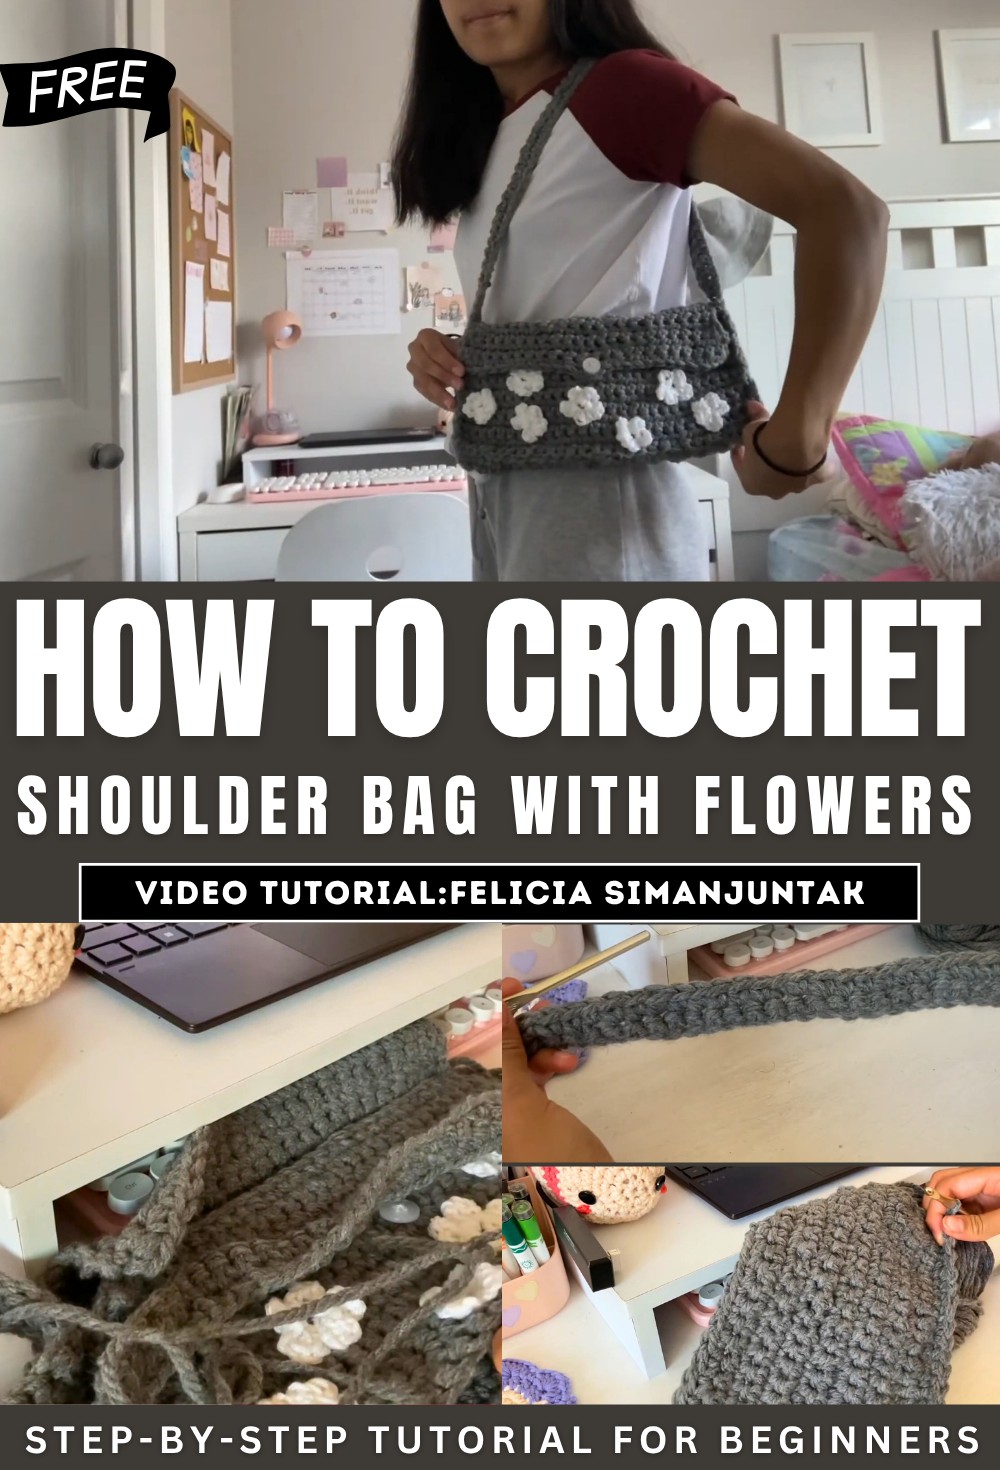
How To Crochet A Shoulder Bag With Flowers

Learn how to crochet a handbag adorned with floral designs with a step-by-step tutorial for all skill levels. It begins with crafting the bag using thicker yarn, progressing to a thinner yarn to make decorative flowers.
Key tools include a 6mm crochet hook, sewing needles, and thread. Detailed steps cover single crochet techniques, forming straps, sewing buttons, and attaching flowers.
The final product is a charming, functional, handmade purse with ample space for essentials. Perfect for crochet enthusiasts seeking creative projects! So, let’s get started!
Crochet Handbag Tutorial with Floral Decoration
Materials Needed
- Bag Yarn: Thicker yarn to form the body and structure of the handbag.
- Flower Yarn: Thinner yarn for creating the decorative flowers.
- Crochet Hook: A 6mm Susan Bates crochet hook is used throughout the process.
- Button: A decorative button to secure the bag flap.
- Sewing Supplies: Includes a yarn needle, sewing thread, and a needle for sewing.
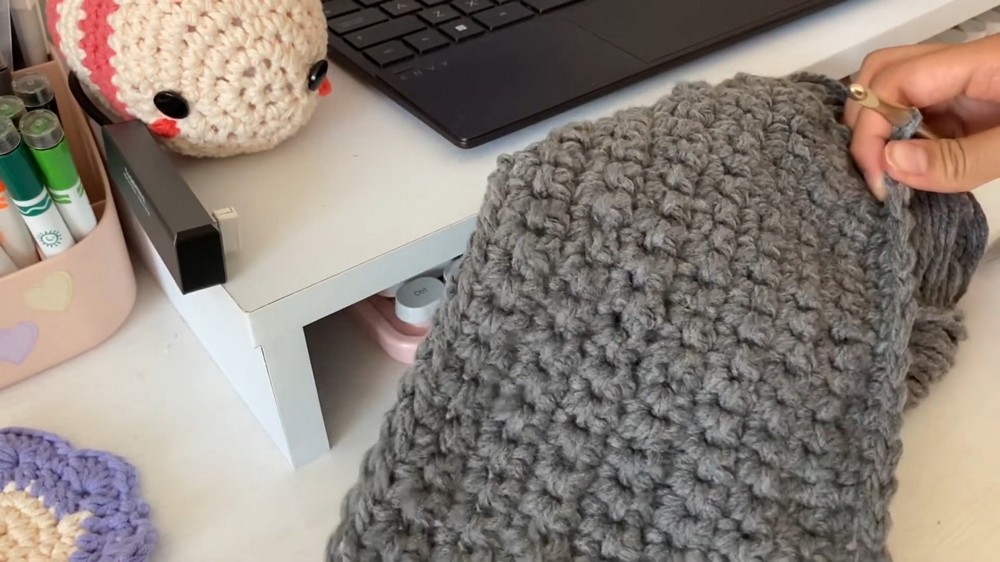
Creating the Body of the Bag
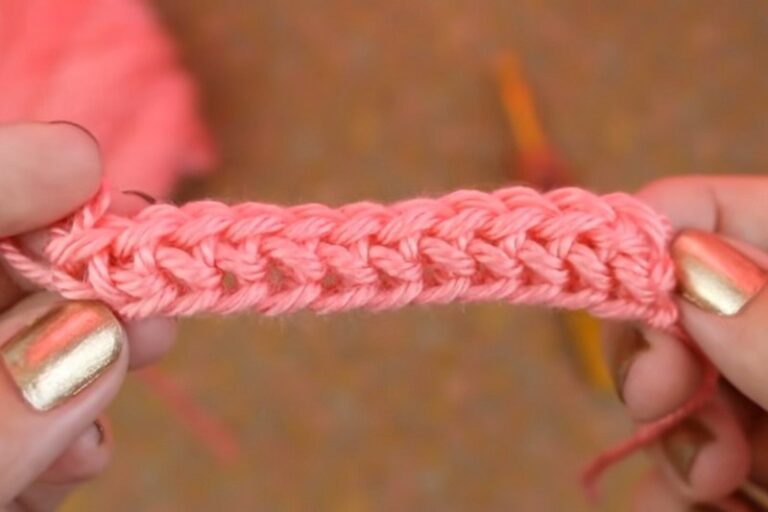
- Initial Setup: Begin by making a slip knot followed by a chain.
- Single Crocheting: Perform single crochet stitches across the chain, turning after completing each row until you achieve a rectangular shape.
- Repeat Process: Create an identical second rectangular piece following the same steps.
- Preparing Edges: Trim excess yarn, leaving enough for sewing.

Making the Strap
- Chain Formation: Start with a slip knot and chain 121 stitches to form a long strap.
- Single Crocheting: Crochet across the strap for additional reinforcement.
- Finishing: Trim and secure the yarn while ensuring the strap remains smooth without twists.
Adding a Flap
- Select one rectangular panel of the bag body to add a flap.
- Make a slip knot and start single crocheting rows along the edge of the panel.
- Build up eight rows to create a sturdy flap for closure.
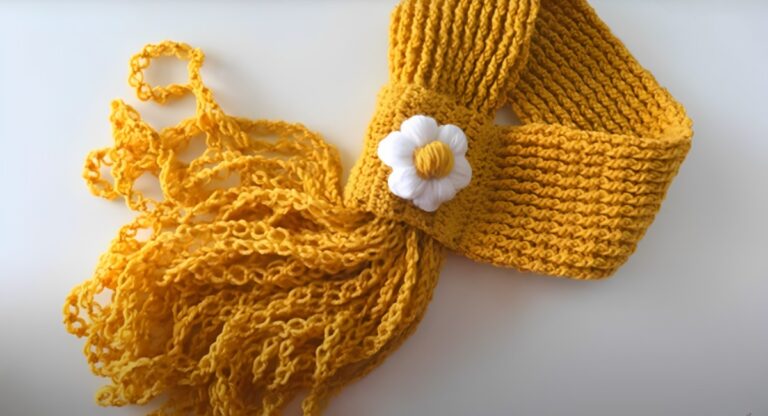
Creating and Attaching Flowers
- Flower Design: Crochet flowers utilizing thinner yarn. Each flower consists of multiple petals formed from double crochets and chaining.
- Quantity: Create approximately 7–8 flowers.
- Placement: Arrange the flowers on the bag to determine an aesthetically pleasing design.

- Sewing Flowers: Use a yarn needle to attach each flower securely to the bag. Sew by inserting the needle through the petals and into the bag, ensuring tightness.
- Leave Button Space: Reserve space on the flap for the button mechanism.
Adding the Button
- Select the button and sew it to the reserved space using thread and a sewing needle.
- Use diagonal stitches (an X-pattern) for a secure attachment.
- Tie the thread on the inside of the flap for a clean finish.

Assembling the Handbag
- Attach the Strap: Use remaining yarn and sewing supplies to fasten one strap end to the inside of the flap, ensuring no twists and structural integrity.
- Secure Front and Back Panels: Sew the bag’s front and back panels together along the edges using the zigzag method for durability.

Final Look
The completed handbag features a charming floral display with a functional flap and button closure. The roomy interior allows space for essentials, making it both stylish and practical.
Video Guide
https://youtu.be/9X4gTIDfxsM