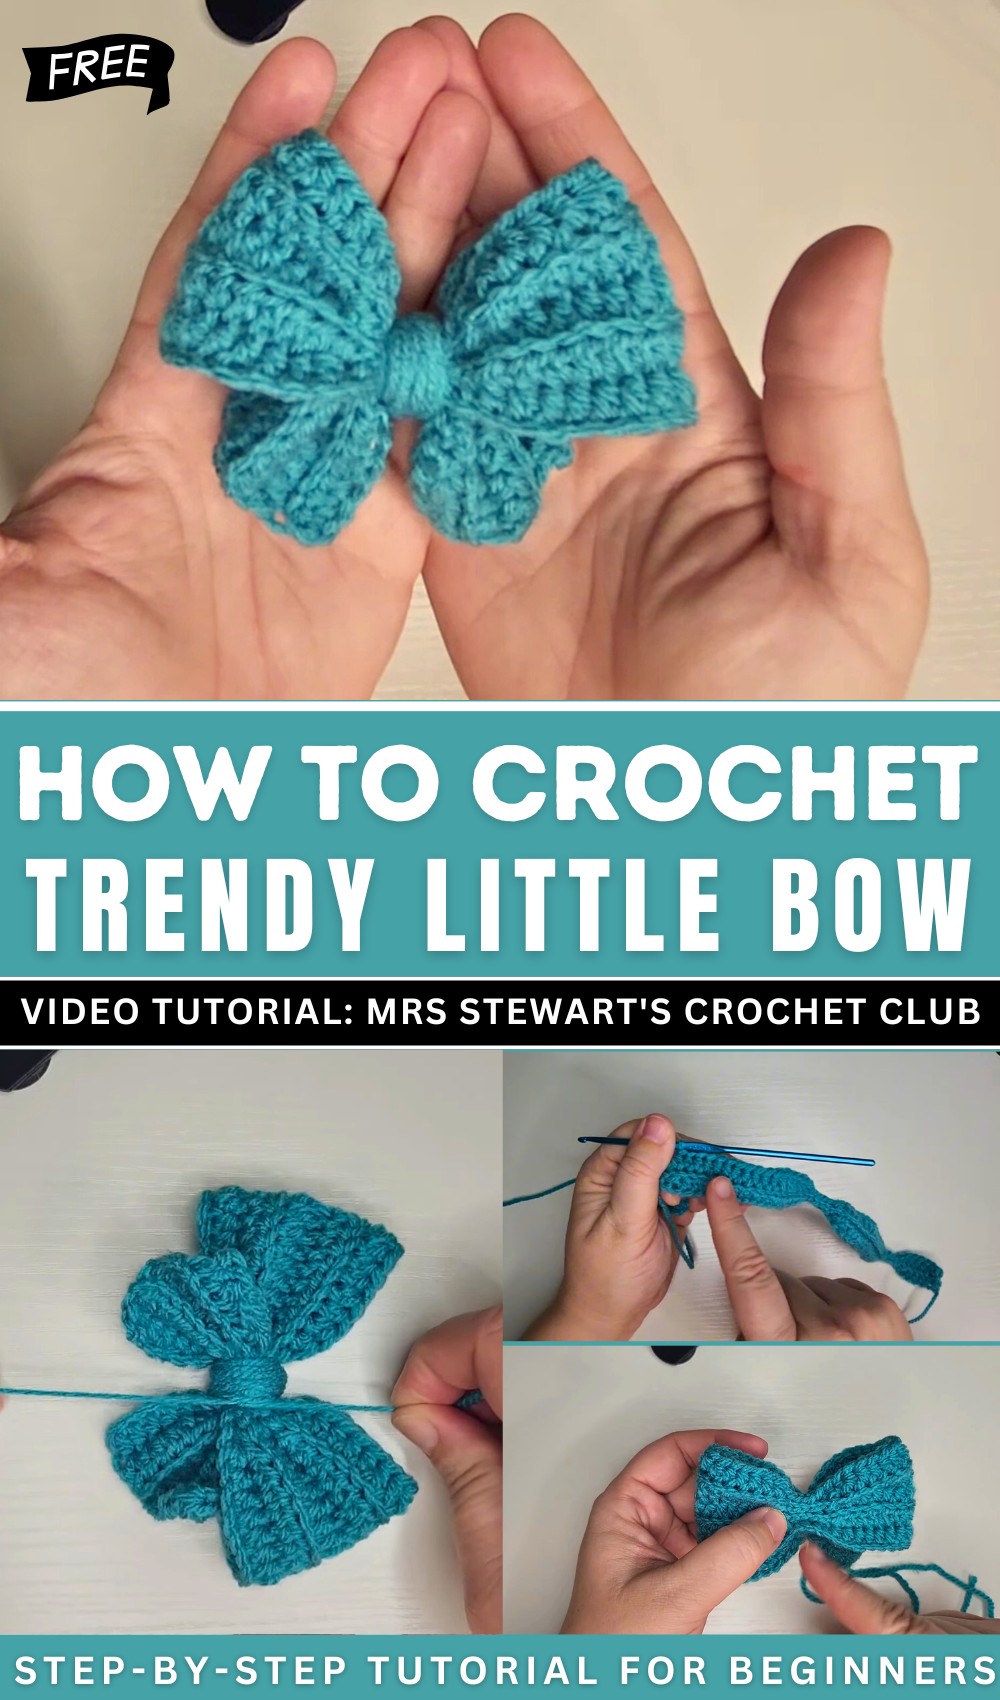
How To Crochet Trendy Little Bow Easy Pattern
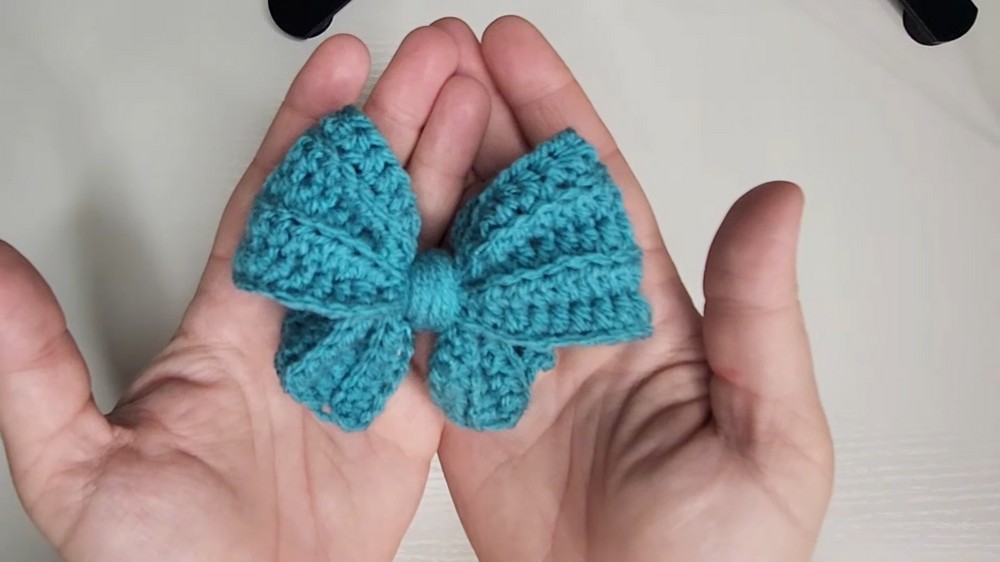
This is a step-by-step tutorial on making a charming crochet bow, perfect for embellishing toys, hair accessories, or other crafts. Using only five rows, the tutor demonstrates techniques such as half-double crochet and slip stitches in back loop-only patterns, ensuring the design is quick and beginner-friendly.
The bow’s size is customizable based on the yarn and hook used, making it ideal for using up scrap materials. It’s a simple yet versatile project for any occasion!
trendy little bow EASY Tutorial
Crochet A Trendy Little Bow
The tutorial explains how to crochet a simple bow using five rows in a pattern. The bow assembly is quick and easy, making it a great project for beginners. The bow can be customized to different sizes based on yarn or hook size, and it’s ideal for using scrap yarn. Suggested uses include embellishments for toys, hair accessories, or decorative crafts.
Materials
- A crochet hook (the tutorial uses a 3.5mm hook).
- Yarn of your choice (smaller hooks and thinner yarn create smaller bows, while larger hooks and thicker yarn create larger bows).
- A darning needle for weaving ends (though the creator demonstrates using a crochet hook as an alternative).
- Optional: Hair elastic or clip for attachment.
Pattern Structure
- The bow is crocheted in five rows, using various crochet techniques such as:
- Half Double Crochet (HDC): Creates texture and structure.
- Slip Stitch (SL): Used to narrow the bow edges.
- Back Loop Only (BLO): Adds a unique ridge effect for decorative detail.
- Repeating the pattern across all five rows ensures the bow’s shape is uniform.
Step-by-Step Process
Starting the Bow
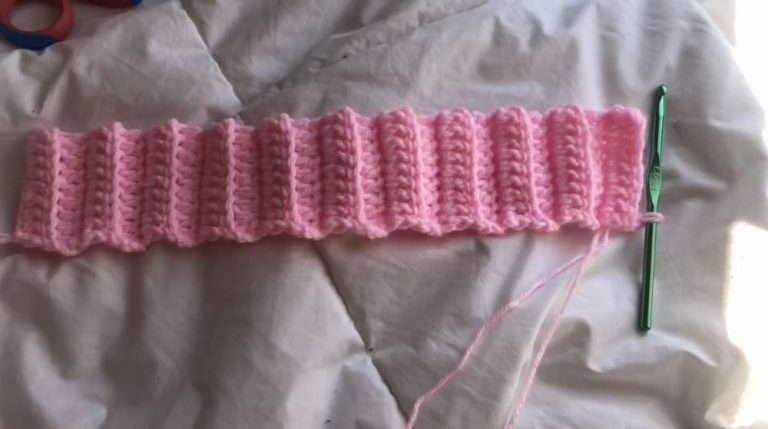
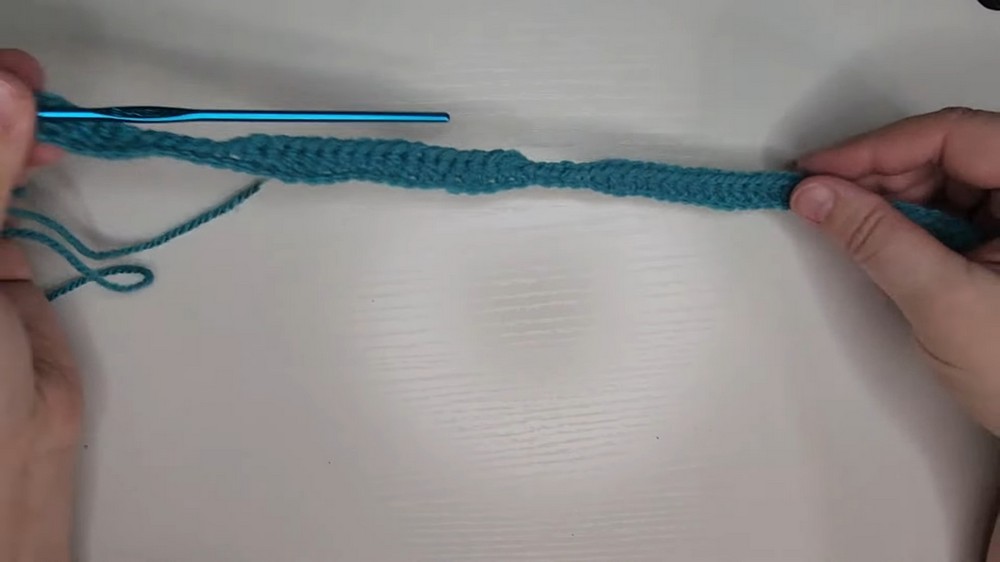
- Begin with a foundation chain, creating the desired length for the bow.
- Follow the pattern sequence: alternating sections of HDCs and SLs.
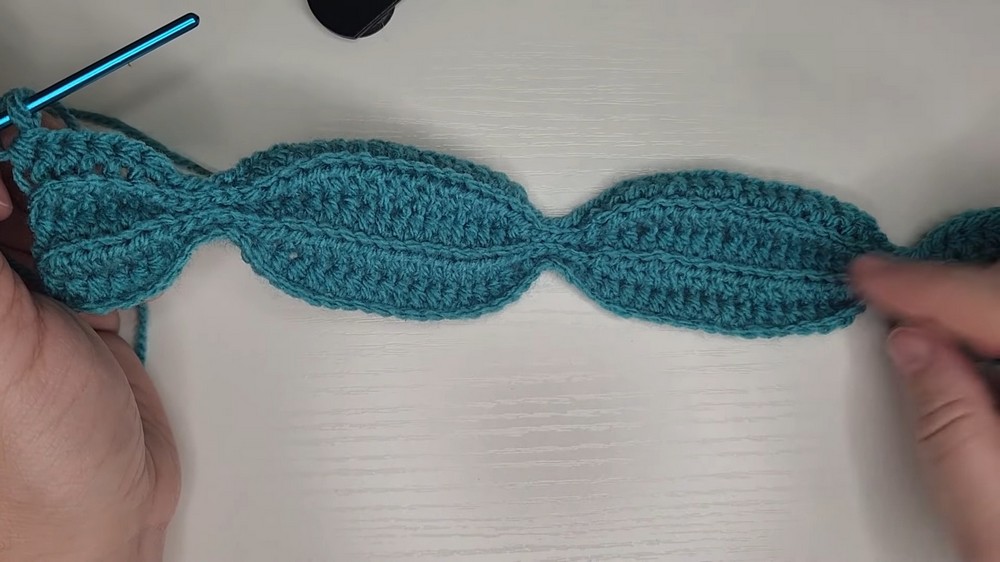
- By the end of the first row, the bow’s foundational structure will resemble a long “worm-like” piece.
Building Texture with Back Loop Crochets
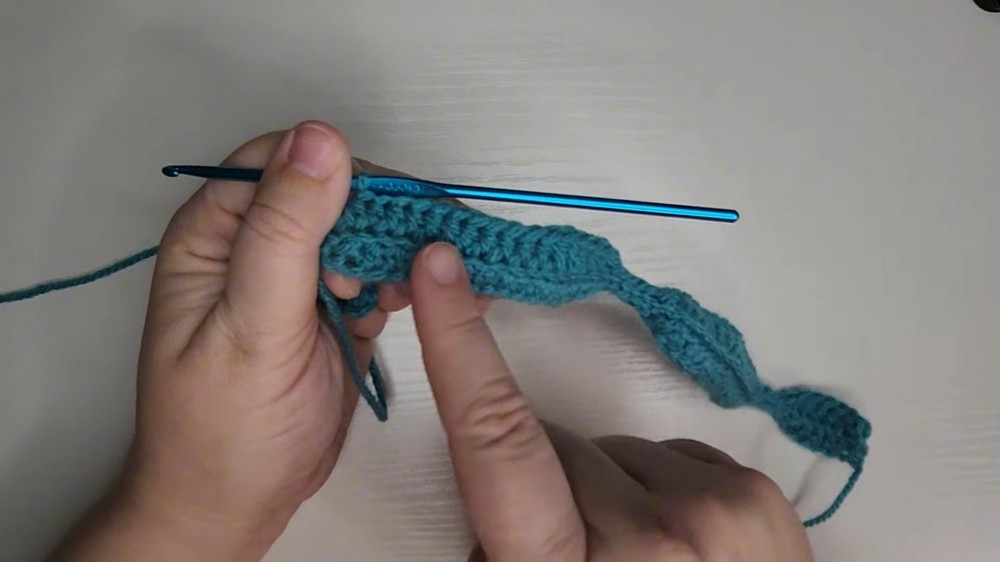
- From Row 2 onward, work stitches only into the Back Loop to add ridges for texture.
- Repeat the same sequence of stitches (HDCs and SLs) across each row, maintaining the pattern structure.
- Continue crocheting until you complete all five rows.
Assembly
Preparing the Bow
- Once all rows are completed, finish off by cutting the yarn and weaving in the ends with a hook or darning needle.
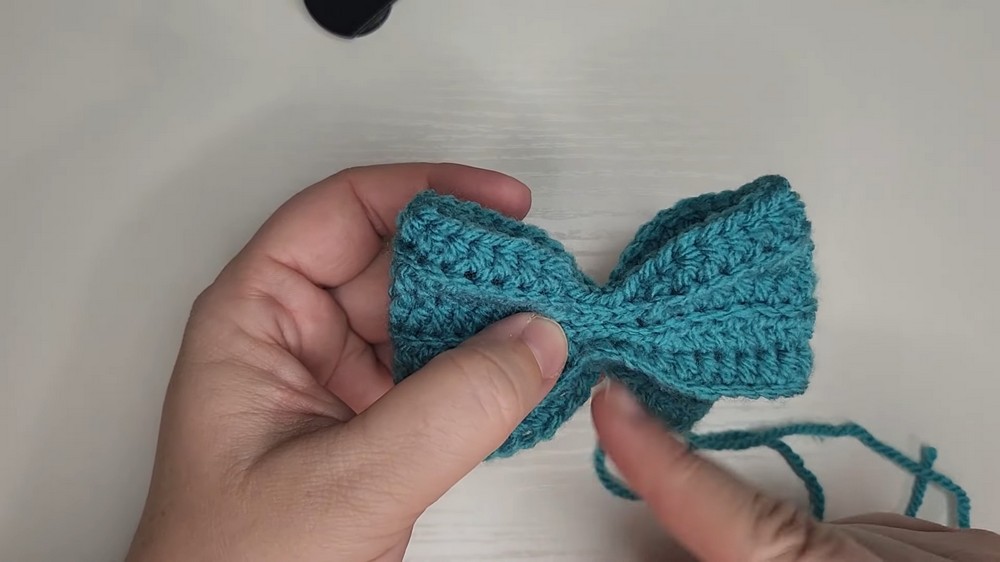
- Fold the piece into a bow shape by aligning the ends and creating symmetry.
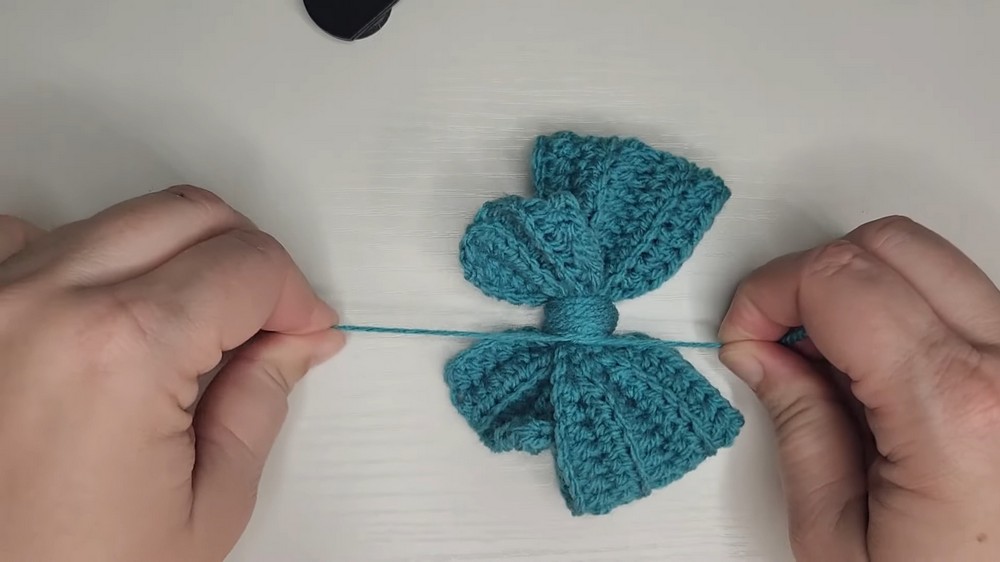
Securing the Center
- Wrap yarn around the center tightly to hold the bow’s shape. Adjust tension to ensure the bow stays securely in place.
- Optionally, add a hair elastic or clip during the wrapping stage to make the bow functional.
Customization
- The bow’s size can be adjusted by using thicker yarn and larger hooks or smaller materials for miniature bows.
- Larger bows can serve as headbands or bold embellishments, while smaller bows are more suitable for delicate crafts.
Finishing Touches
- Once wrapped, secure the yarn with a knot and bury the ends.
- Further customize the bow by adjusting the edges to make them sharper or more rounded.
- Optional: Attach the bow to hair clips or elastics using hot glue or sewing.