How to Crochet a Waffle Stitch Pillow Cover for Beginners
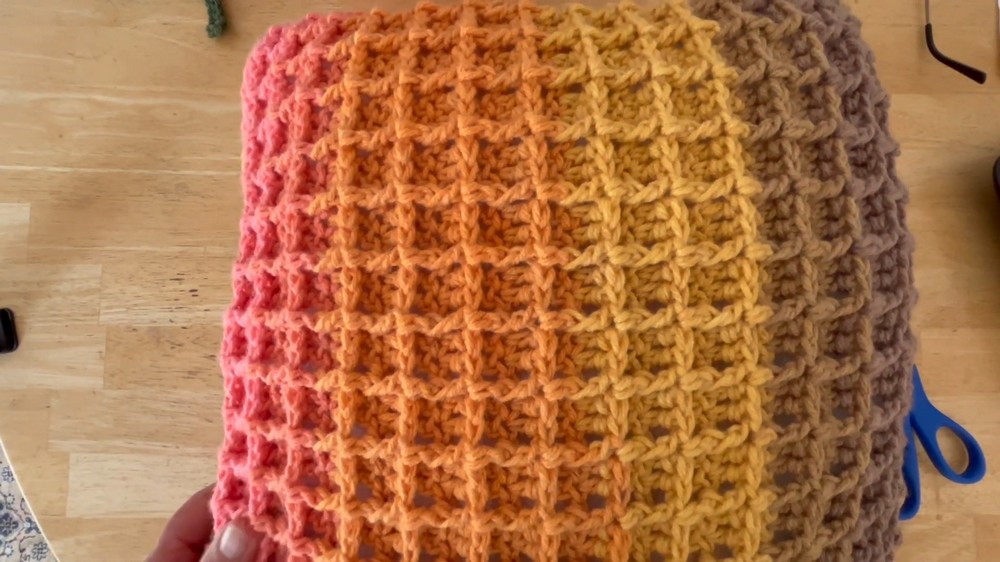
In this tutorial, you’ll learn how to crochet a beautiful, 15×15-inch textured pillow cover using the waffle stitch pattern for beginners. The process involves alternating rows of double crochet and front post double crochet, forming a waffle-like texture.
After completing two identical panels, single crochet is used to sew the edges together, leaving an opening for stuffing or inserting a pillow. So, follow through with us for the complete tutorial.

Crochet a Waffle Stitch Pillow Cover
The Cozy Loop Crochet tutorial demonstrates how to create a textured pillow cover using the waffle stitch pattern. This detailed guide is ideal for beginners and intermediate crocheters who want to craft a beautiful 15×15-inch pillow cover. Below is a summary structured by key steps, without including specific stitch counts.
Materials Needed
- Yarn: The tutorial uses two types of medium-weight, size 4 yarn—Caron One Pound (16 oz) and Caron Jumbo Ombre (12 oz).
- Hook Size: A 5mm crochet hook (H size).
- Additional Tools: Scissors and a yarn needle for hiding loose ends after finishing the project.
Creating the Base Chains
The process begins by creating a foundation chain using a slip knot. The base chain determines the width of the pillow cover. The instructor demonstrates how to properly start the chain and ensures it is long enough to match the intended pillow size.

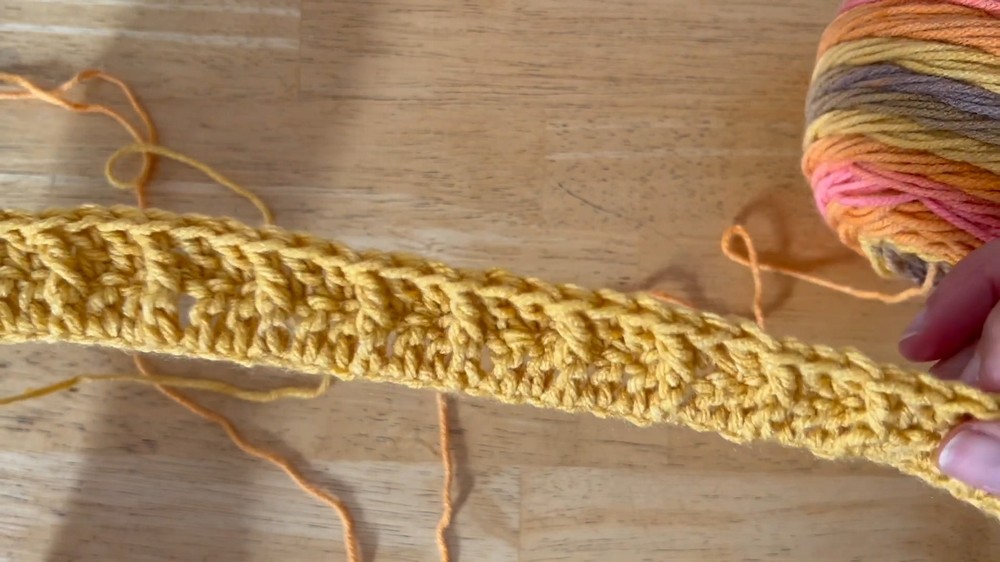
Row 1: Double Crochet
In Row 1, double crochet stitches are used to build the foundation of the pattern. This row sets the groundwork for subsequent waffle stitch rows. The tutorial provides clear instructions on how to execute double crochet step by step, ensuring proper stitch placement for beginners.
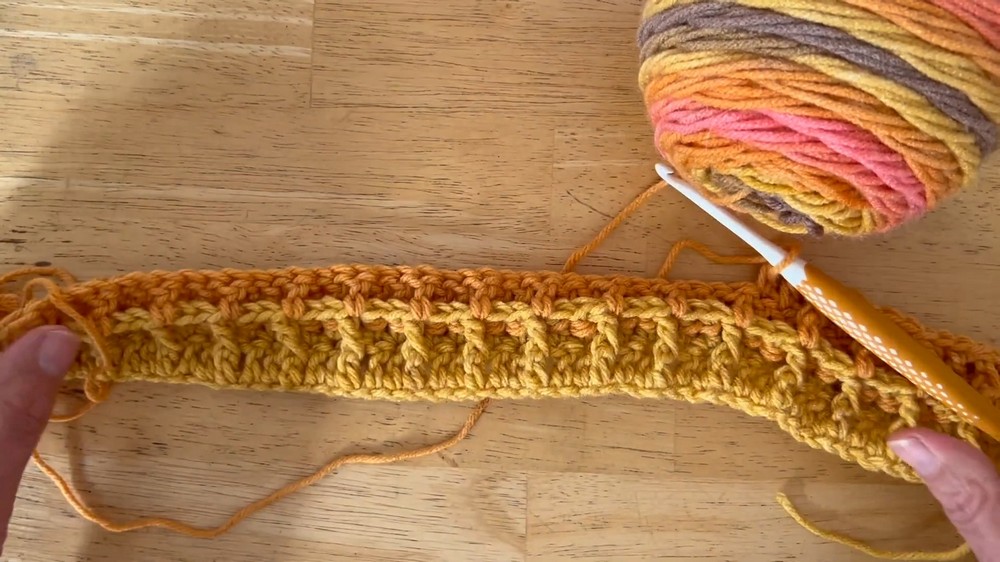
Row 2: Alternating Double Crochet and Front Post Double Crochet
Row 2 introduces the waffle stitch texture by alternating regular double crochet stitches with front post double crochet stitches. These front post stitches are worked by inserting the hook around the “post” of the stitch from the previous row, creating the signature waffle-like ridges. The instructor explains the stitch technique in detail, highlighting key tips for accuracy and consistency.
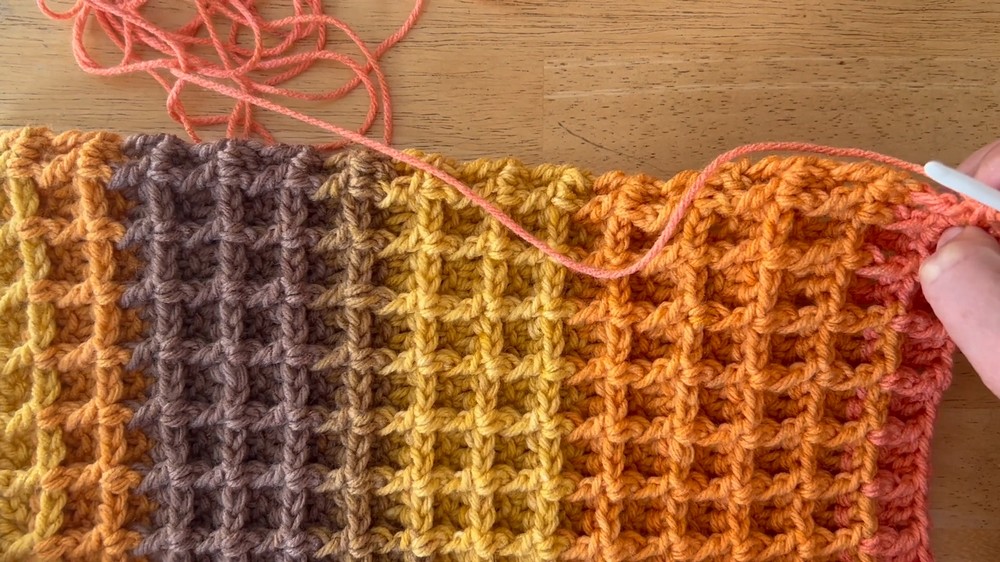
Row 3: Enhancing the Waffle Pattern
Row 3 alternates between two front post double crochet stitches followed by one regular double crochet stitch. This row builds on Row 2’s texture while slightly varying the stitch sequence. The instructor emphasizes how alternating rows (Row 2 and Row 3) form the classic waffle stitch pattern. Viewers are reminded that repeating these rows will set the overall texture of the project.

Continuing Rows
The tutorial guides viewers to repeat Rows 2 and 3 until the desired size of the panel is achieved. The instructor suggests measuring the panel to ensure it fits the pillow dimensions, typically 15×15 inches.
Single Crochet Edging
Once one panel is completed, the edges are finished with single crochet stitches. This step ensures a clean and even edge for the panel. The same process is repeated for the second panel, which is identical to the first one.
Assembling the Pillow Cover
With both panels completed, the tutorial explains how to attach them using single crochet stitches along three sides. One side is left open to insert the pillow or stuffing. After filling, the opening is closed with single crochet stitches. The instructor also shares tips for hiding loose ends with a yarn needle.