How to Crochet an Evil Eye Wind Spinner for Beginners
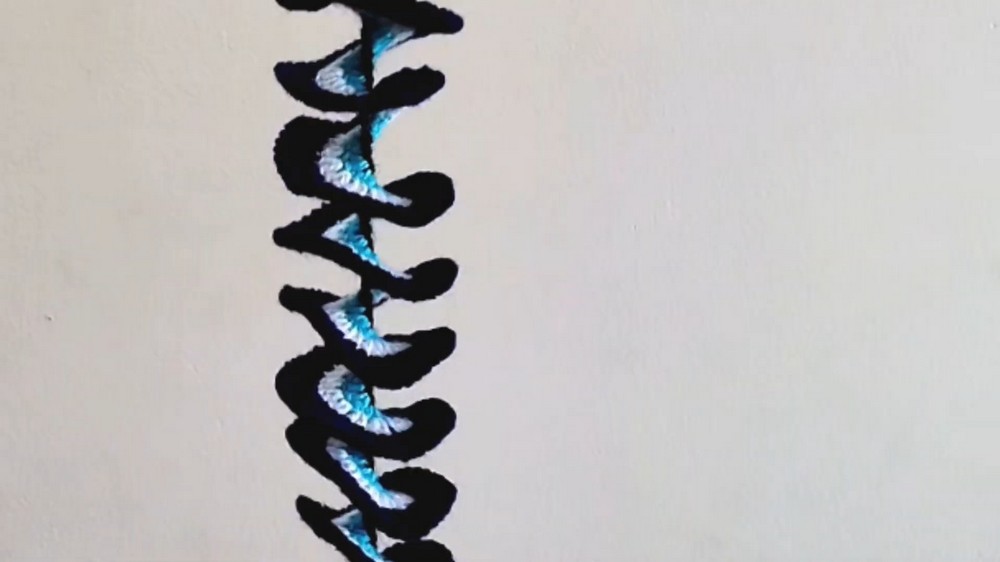
Learn how to crochet an evil eye wind spinner, ideal for decorating balconies or windows, following a step-by-step tutorial for beginners. Using a combination of colored threads, the spinner is crocheted through techniques like chaining, double crochets, single crochets, and finishing touches. The design includes a border, a rope for hanging, and optional pendants or tassels for personalization. Follow through with us for the complete tutorial!
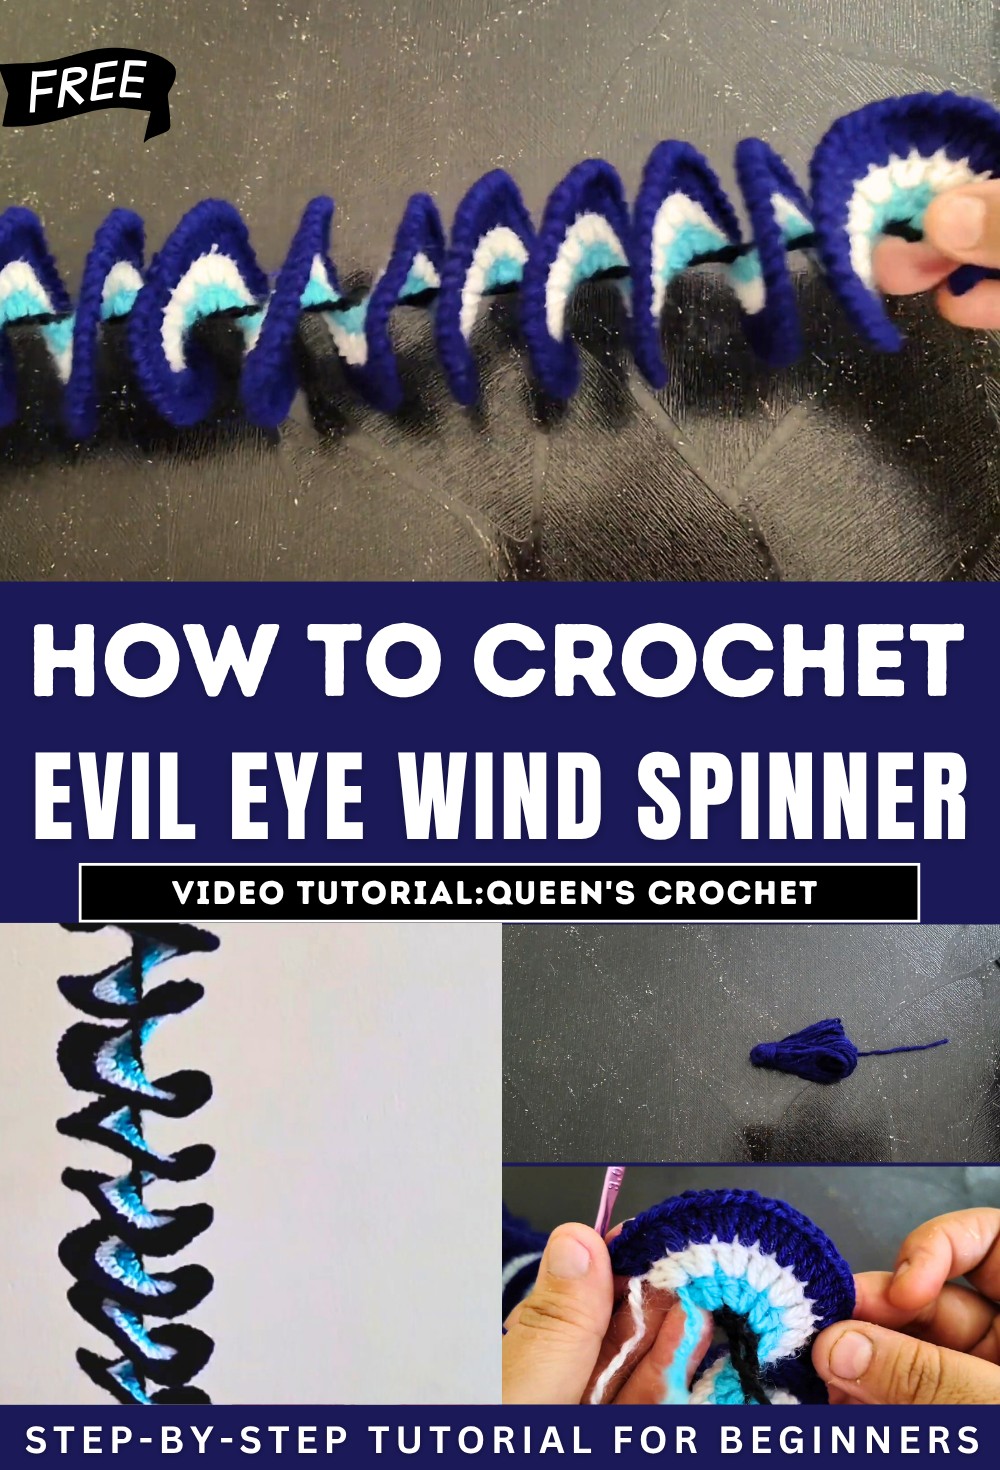
The video tutorial is hosted by Tumac Queen’s Crochet, where viewers are welcomed warmly. The focus of the tutorial is on making a Nazar Kavach Wind Spinner, an eye-catching crochet design ideal for hanging in balconies or near windows. The instructor highlights that the wind spinner is a decorative and functional project meant to suit any home setting.
Materials Required
- The materials required for this project include:
- Four colored threads: Black, sky blue, white, and blue.
- A crochet hook.
- Pair of scissors.
- A small card for making tassels or “gondya.”
Steps to Create the Wind Spinner
Step 1: Creating the Base with the First Thread (Black)
- The creator starts with a slip knot and proceeds to make a chain.
- The desired length of the spinner is based on the number of chains, and the instructor emphasizes that this is adjustable to personal preference.
- After completing the chains, the thread is cut to finish the base layer.
Step 2: Adding the Sky-Blue Thread
- A sky-blue thread is attached to the base’s starting point.
- The tutorial explains a crochet technique to build up a double-layered design by crocheting into each chain of the base layer.
- This process is repeated across the entire row.
- The thread is cut after finishing the row.
Step 3: Incorporating the White Thread
- A white thread is introduced to the work at the starting point of the previous row.
- The instructor demonstrates how to crochet consistently across the row by repeating the double crochet method, creating a layered and vibrant look.
- The thread is cut after completing this row.
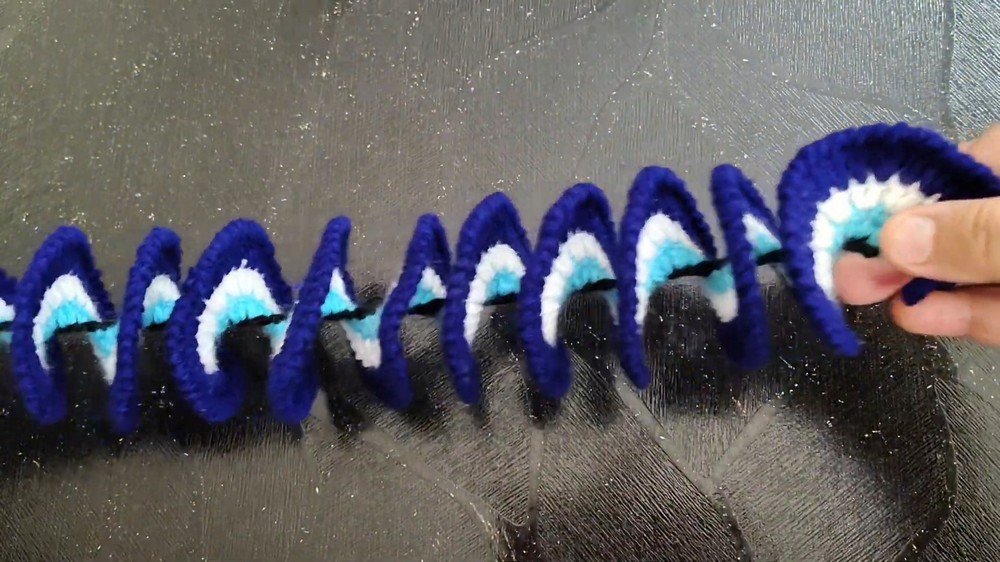
Step 4: Adding the Final Blue Thread
- Lastly, a blue thread is attached to the work.
- The same crocheting method is used to complete the final row, ensuring smooth transitions between the colors.
- The instructor explains how this technique helps maintain the spinner’s shape and adds texture.
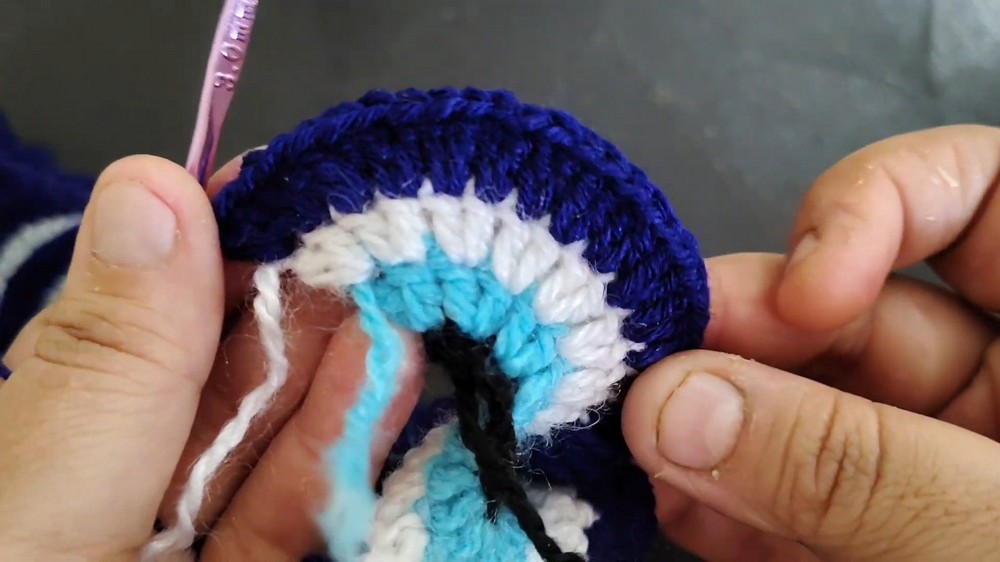
Step 5: Creating the Border
- The tutorial moves to creating a border for the spinner using the single crochet technique.
- The border is worked in reverse by stitching along the opposite side of the spinner.
- This adds durability and a polished, symmetrical finish.
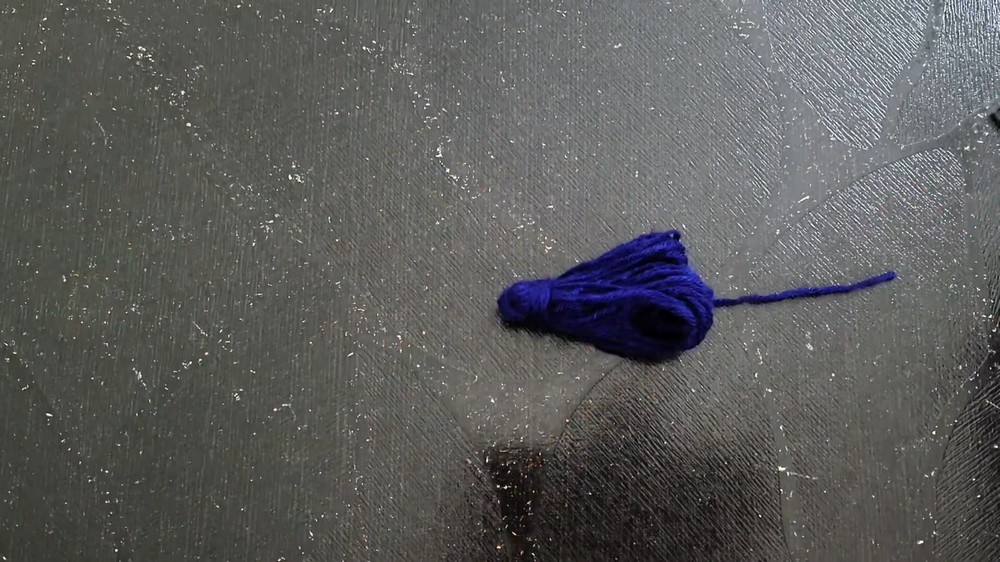
Step 6: Adding the Rope and Tassels
- A rope is created by making a chain at the top of the spinner for hanging.
- The tutorial then demonstrates how to craft tassels (“gondya”) by wrapping thread around a card 20-25 times.
- The threads are neatly tied, shaped, and sewn securely to the bottom of the spinner.
- Alternatively, pendants or other decorative items can be attached as per personal preference.
Finishing Touches and Assembly
- The spinner threads are twisted neatly to ensure a professional finish.
- Any loose ends are tightened and secured for durability.
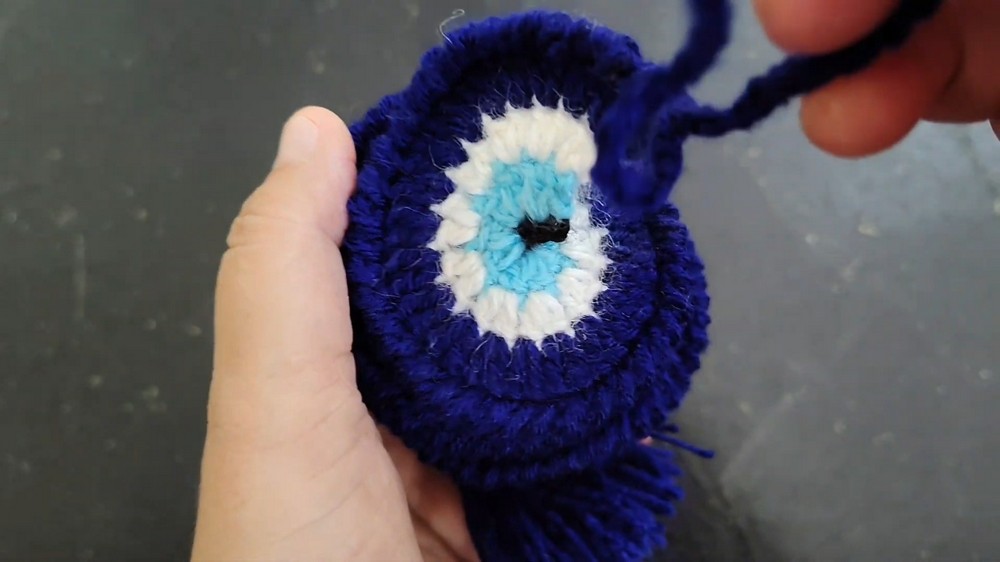
- The final wind spinner is displayed, showing its vibrant, layered design and decorative tassels.

Conclusion
- The creator advises viewers to get creative with color choices and embellishments to make it unique.
- She encourages viewers to like, subscribe, and follow her on social platforms for more tutorials.
- The video wraps up with well wishes for happy crocheting and a promise of new videos soon.
Key Takeaways
- The tutorial showcases an easy-to-follow process for creating a stylish and functional wind spinner.
- Viewers are encouraged to experiment with designs and personalize the spinner to their liking.
- The project is beginner-friendly and uses basic crochet techniques like chaining, double crochet, and single crochet.