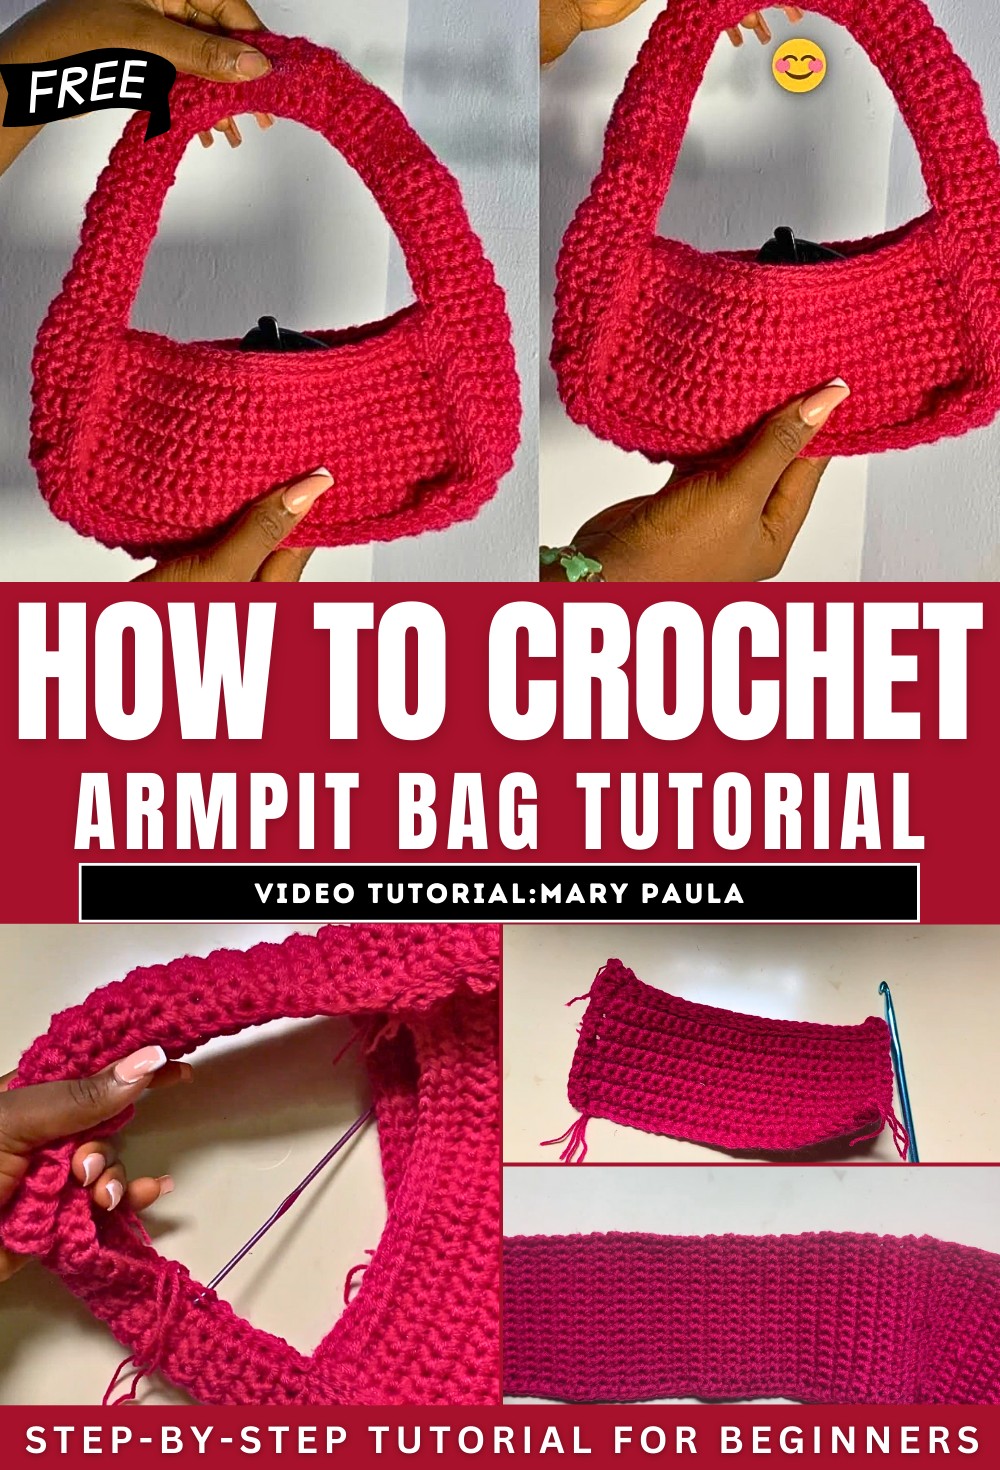
How to Crochet Armpit Bag Tutorial for Beginners
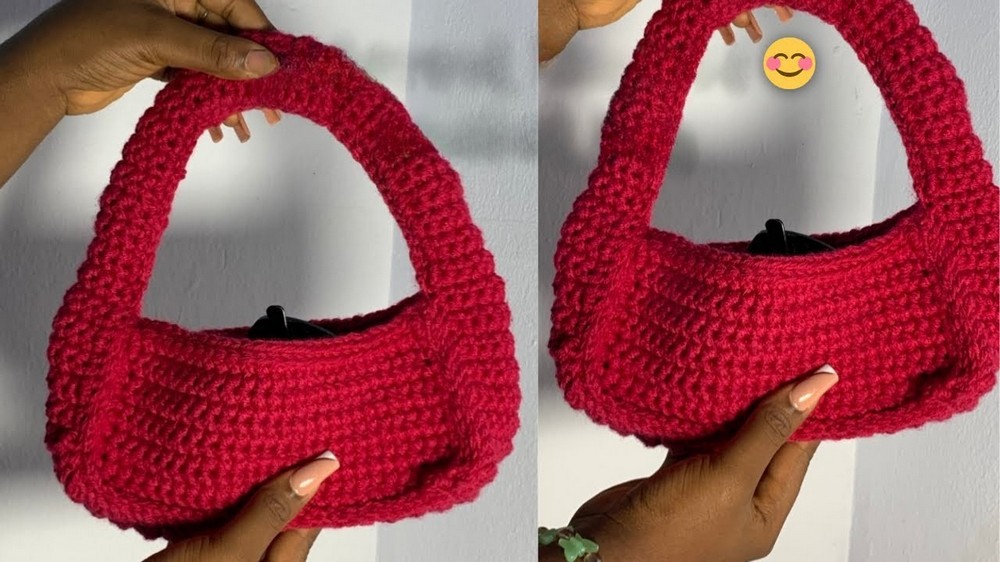
With a step-by-step tutorial, learn how to crochet a beautiful, sturdy crochet bag inspired by a Pinterest design. Using three strands of yarn for a chunky texture, the instructor demonstrates essential crochet techniques such as making slip knots, single crochet stitches, and slip stitches. The tutorial includes guidance on measuring, constructing panels, attaching edges, and weaving ends to give the bag a clean and professional finish.
The creator also shares tips for customizing the bag’s length and design, ensuring it meets your preferences. It’s a helpful guide for both beginners and experienced crocheters looking to create stylish handmade accessories. So, follow through with us for the complete tutorial.
rochet Bag Tutorial
This tutorial demonstrates how to make a beautiful and sturdy crochet bag inspired by a Pinterest design. The creator walks viewers through building a simple but stylish bag using basic crochet techniques, carefully explaining each step for beginners. Below is a breakdown of the key steps and instructions provided in the video.
Materials and Preparation
- The project uses three strands of yarn to achieve a firmer and chunkier texture. T-shirt yarn is highly recommended for the best results.
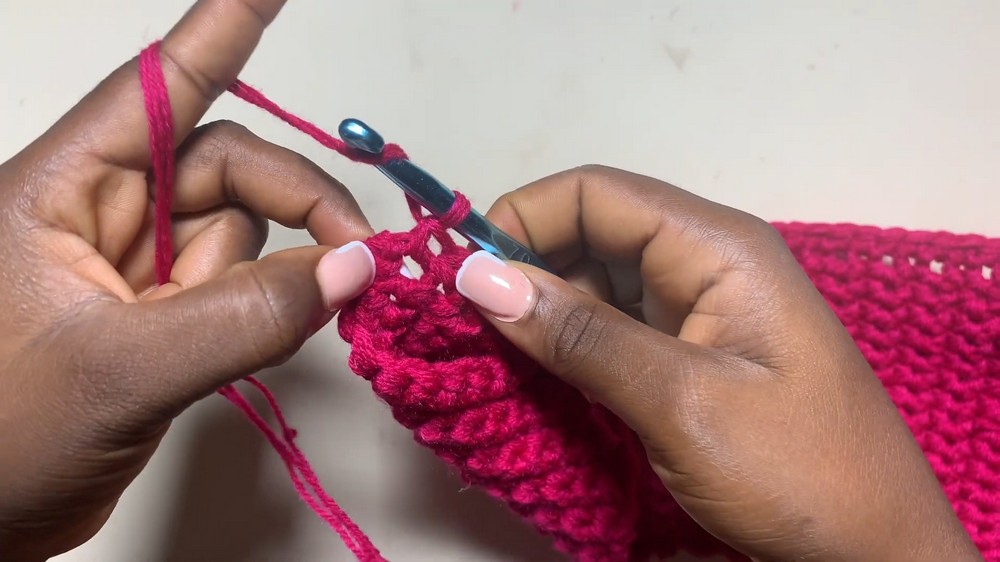
- The tutorial begins with creating a slip knot, transitioning into a foundation chain that sets the base for the bag’s structure.
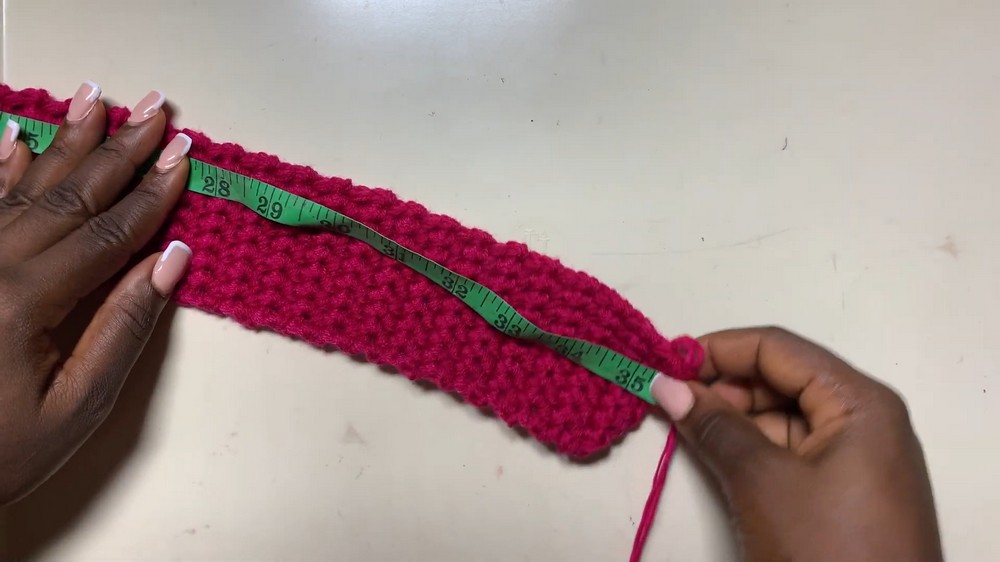
- Measurements are emphasized throughout, ensuring the dimensions align with the desired bag size.
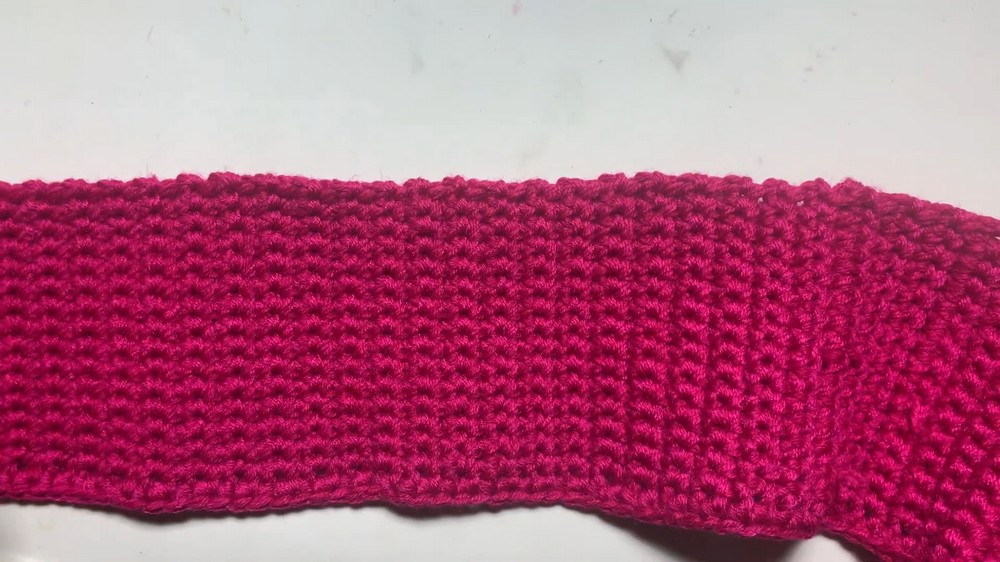
Base Panel Creation
- Using single crochet stitches, the instructor shows how to create the bag’s long base panel.
- The panel is worked in rows, with consistent repetition until it reaches the required length.
- At the end of the base panel, the edges are prepared for attachment by adding single crochet stitches along their sides.
Creating the Side Panels
- The side panels are constructed by crocheting smaller rectangular pieces.
- As with the base panel, single crochet stitches form the structure of the sides, with slip stitches optionally added for decorative purposes.
- The edges of the side panels are finished off with additional single crochet stitches for easier alignment and attachment to the base.
Assembly of the Bag
- Once the panels are complete, the assembly process begins. The side panels are attached to the center of the longer base panel.
- The tutorial explores two options for attaching: slip stitches or single crochet stitches, with the slip stitch providing a seamless appearance but being slightly more advanced for beginners.
- Alignment is carefully emphasized to ensure the panels are evenly stitched together and create a clean, professional look.
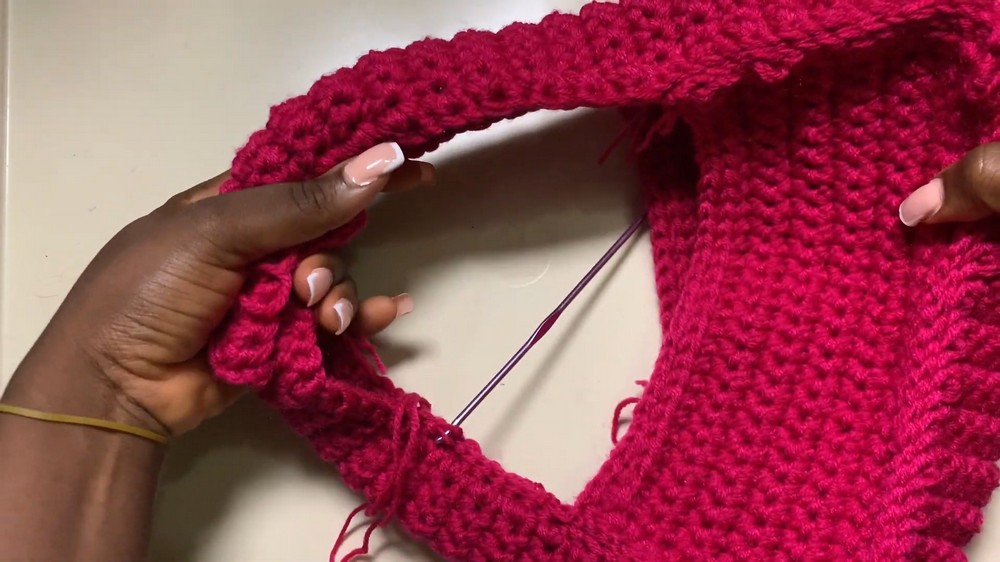
Adding Handles
- The tutorial demonstrates how to add handles to the bag by carefully weaving and stitching the ends together.
- The creator shares two options for attaching handle parts: leaving the handle long or folding it for a shorter, chunkier style.
- The folded method adds a unique look to the bag while ensuring durability.
Finishing Touches
- Loose ends are woven in with a smaller crochet hook to give the finished bag a clean and polished appearance.
- The instructor stresses the importance of taking time to align all pieces properly during assembly to maintain neatness and functionality.
Tips for Beginners
- The video offers tips for those new to crochet, including using smaller hooks during assembly for easier stitching.
- Beginners struggling with slip stitches can substitute single crochet stitches for similar results.
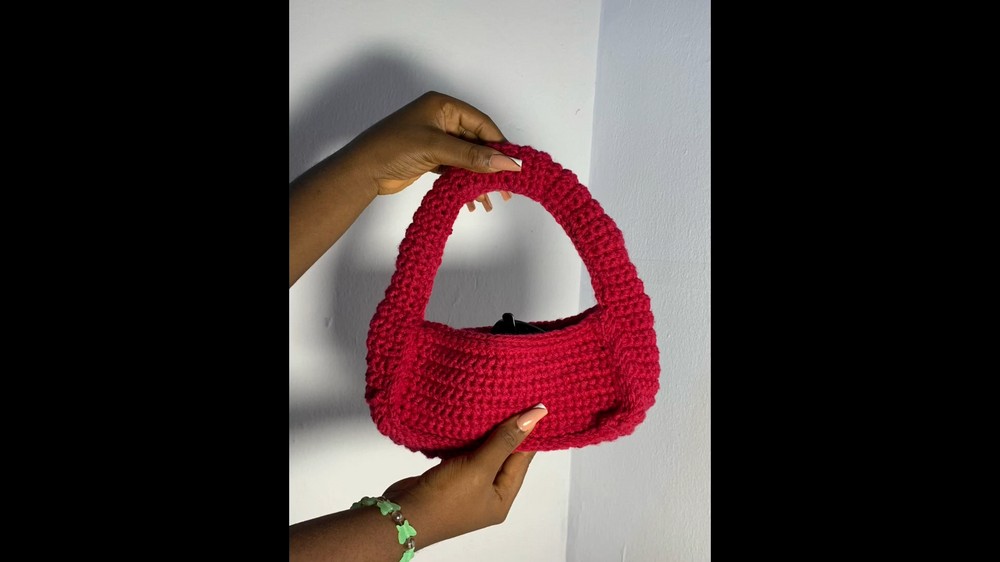
Conclusion
The tutorial concludes with a fully assembled bag featuring a sturdy build and stylish design. The instructor encourages viewers to customize their bags by adjusting sizes and handle lengths. The video closes with a call to subscribe for more crochet tips and tutorials.