How to Crochet Baby Poncho Dress for Beginners

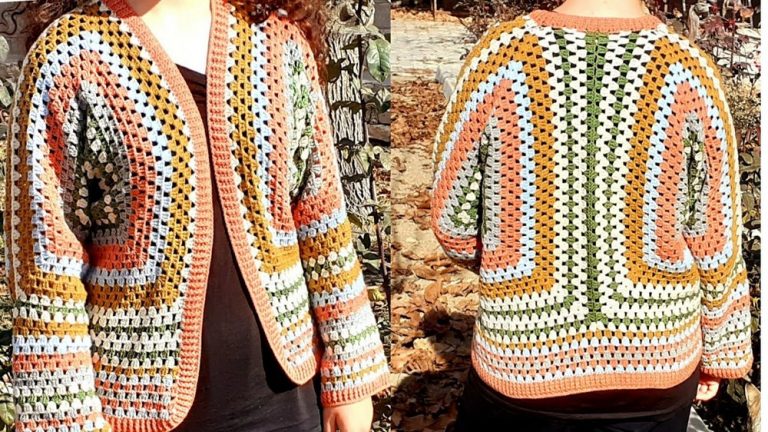
Learn how to crochet a striped poncho dress suitable for girls aged 1 to 3 years, for beginners and experts. Using two yarn colors, a 4.5 mm hook, and a pattern based on double crochet, chain stitches, and front/back post stitches, the tutorial provides detailed steps for creating the dress. The design includes corners, sleeves, and repeated rows to achieve the desired shape and size. The tutorial emphasizes counting stitches accurately and outlines techniques for adding tassels for a decorative touch.
The finished dress measures approximately 22 rows, offering versatility for adjustments to fit various sizes. Beginners can confidently follow this simple design. So, follow through with us for the complete tutorial.

Baby Poncho Dress Tutorial
The tutorial demonstrates how to crochet a beautiful poncho dress suitable for 1 to 3-year-old girls. The materials used include two colors of yarn (approximately 200 g) and a 4.5 mm crochet hook. The design features a mix of stitches and a tassel finish, making it a fun and easy project for beginners.
Getting Started: Foundation
- Begin with a slip knot and create a chain of the required length.
- Form the chain into a loop, ensuring it does not twist, and secure it with a slip stitch.
- The chain length must be a multiple of six to maintain the pattern’s symmetry.
- First round: Work single crochet stitches into every chain to form the base layer.

Creating the Corners and Shaping the Yoke
- Initiate the second round by adding corners with a combination of double crochet stitches and chain spaces.
- Work double crochet stitches in sequential chains, adding the corners at appropriate intervals for structure.
- Alternate colors of yarn at specified rounds to enhance the poncho’s design.
Working the Stitch Patterns
-
Round 3: Front Post and Back Post Design
- Begin the round with a combination of double crochet corner stitches.
- Alternate between front post and back post double crochets across the row.
- Repeat this alternating pattern to provide texture and dimension to the garment.
-
Round 4: Chain and Skip Stitches
- Add variety to the pattern with double crochet stitches, chain spaces, and skipped stitches.
- Create decorative spacing in the fabric by consistently repeating the new sequence.
-
Round 5: Solid Double Crochet
- Work continuous double crochet stitches into both chain spaces and stitches to establish a dense row.
- Repeat rounds 3, 4, and 5 sequentially for the main body, maintaining the alternating design.

Dividing for Sleeves
- Identify the sleeve portions by dividing the stitches evenly using markers.
- Work the sleeve areas separately while continuing the front post, back post, and chain-space patterns across rounds.
- Ensure the sleeves are symmetrical by consistently counting identical stitch markers on both sides.
Final Adjustments and Optional Decrease Rounds
- Introduce a slight decrease to shape the poncho and prevent it from flaring excessively.
- Use chain spaces in between double crochets for a seamless transition and aesthetic appeal.
- Continue repeating the established stitching pattern until reaching the desired length.

Adding Tassels (Optional)
- Create tassels by wrapping yarn, cutting uniform pieces, and attaching them to alternating chain spaces.
- Secure the tassels tightly for durability and trim them for a neat finish.

Finishing Touches
- Measure the final dress dimensions to ensure it suits the baby’s size, with approximate width and length provided.
- The poncho can be customized for any size by adjusting the initial chain length and the number of rounds.
- The design is simple yet elegant and perfect for beginners to practice and master crochet fundamentals.

Closing Remarks
- This poncho dress is an easy and enjoyable crochet project suitable for all skill levels.