How to Crochet Beautiful Clutch Wallet for Beginners
With a complete tutorial, learn how to crochet a stylish clutch bag designed for beginners and experts. It covers all necessary materials, including Nautical and Lurex yarns, a 4mm hook, and magnetic buttons. The tutorial details the crochet instructions for the main body and flap, using a “doubled single crochet” stitch. It also explains finishing touches like creating clean edges, hiding yarn tails, assembling the clutch, and attaching magnetic buttons and a decorative chain.

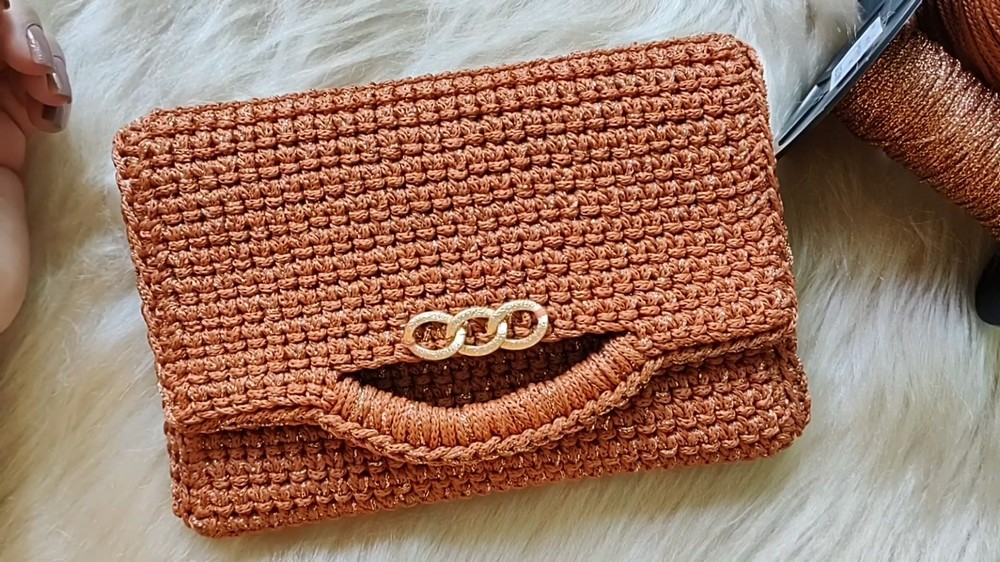
Crochet Clutch Tutorial
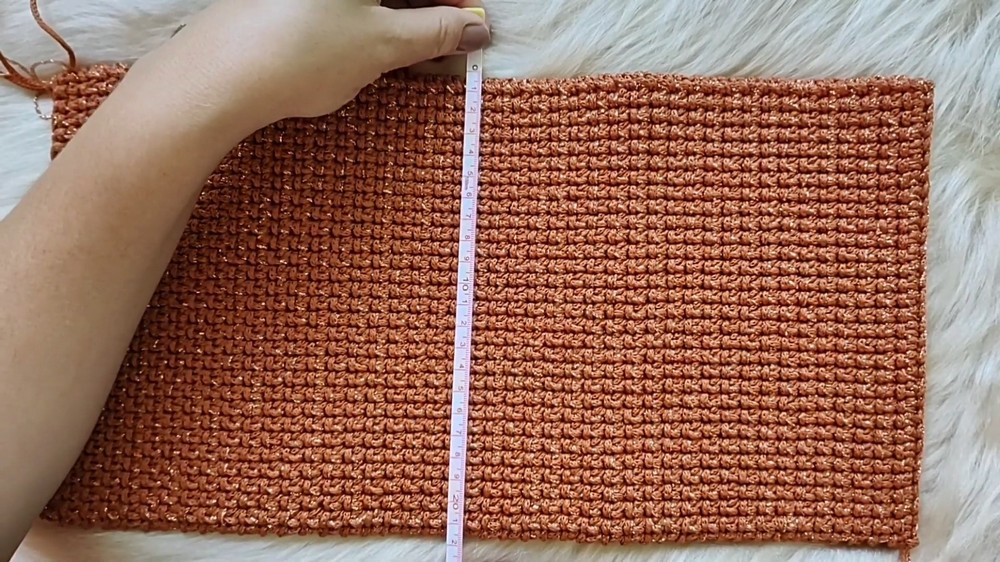
Focuses on creating a beautiful clutch using Náutico yarn and Lurex thread. Fernanda highlights the versatility and aesthetic appeal of combining these materials. The final clutch measures 23 cm in width by 15 cm in height.
Materials Required
Fernanda provides a comprehensive list of materials to complete the clutch:
- Yarns:
- Náutico yarn (3mm, 400 meters roll in tile color).
- Lurex thread (1.5mm, 200 meters roll in copper color).
- Tools and Supplies:
- 4 mm crochet hook.
- Tape measure.
- Tapestry needle for finishing yarn ends.
- Two magnetic buttons for closing the clutch.
- Sewing thread (preferably matching the yarn color).
- Lighter for sealing yarn ends.
- Scissors.
- Optional decorative chain or other embellishments from haberdashery stores.
Project Overview
- Fernanda starts by clarifying that the Lurex thread adds decorative effects but is optional.
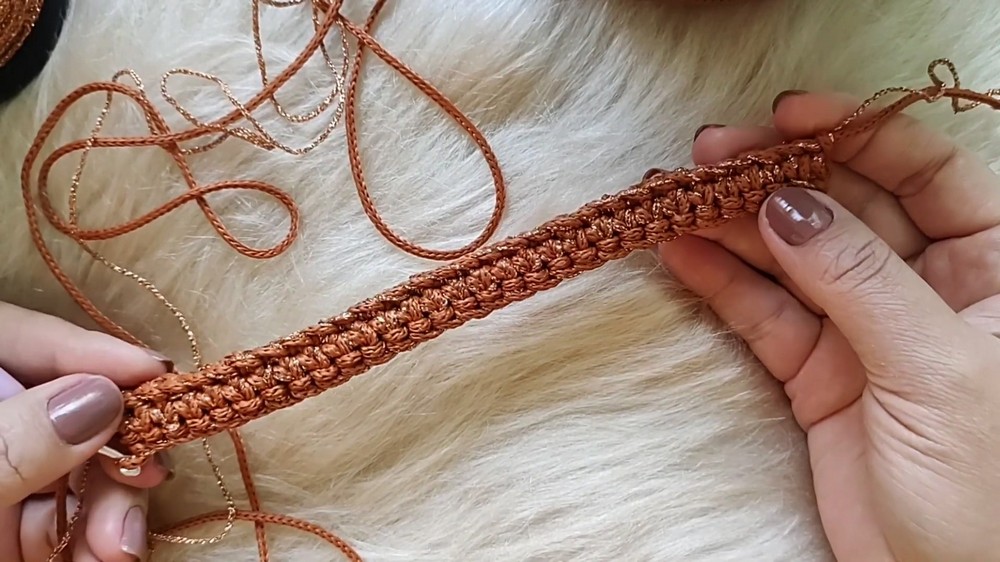
- She demonstrates how to create the foundation and move step by step with basic crochet stitches.
- The process includes making chains, single crochet stitches, and a unique “doubled single crochet” technique for texture.
Step-by-Step Process
Base Construction
- Begins with chaining to create the base for the clutch.
- Single crochet stitches are used to complete the initial rows.
- Notes are made about how to pick the loops for even stitches, creating a neat base.
Body of the Clutch
- The pattern alternates stitches row by row to create a textured look.
- Emphasizes consistency and accuracy in counting rows.
- The body of the clutch requires several rows of stitches, creating a rectangular shape.
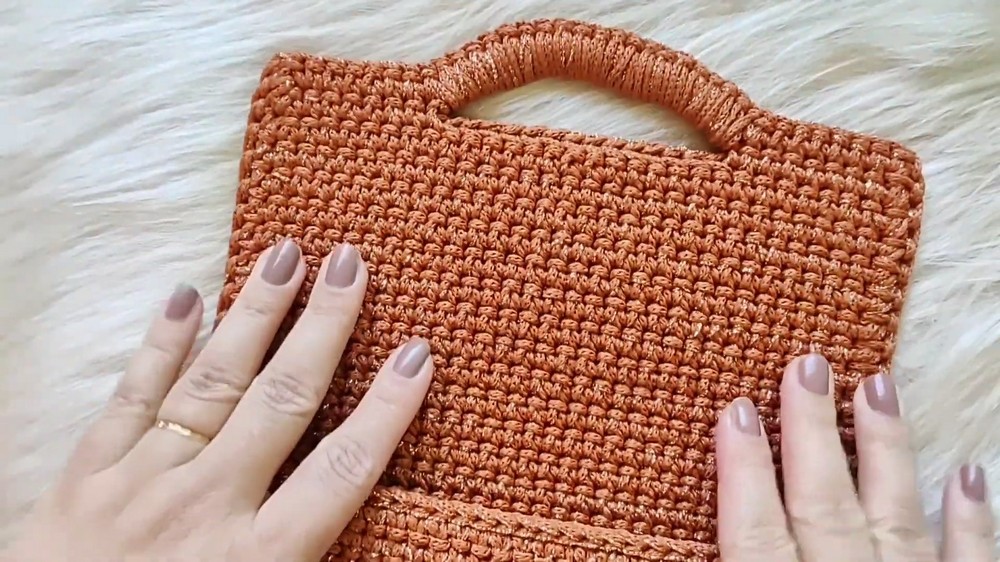
Clutch Flap
- Fernanda explains how to create an overlapping flap for the clutch to secure the closure.
- Includes creating a gap for functional and decorative purposes.
- She works carefully to align stitches and ensure proper dimensions for symmetry.
Edging and Finishing
- Each side of the clutch is completed with slip stitches for reinforcement.
- Fernanda stresses the importance of finishing edges neatly for a polished look.
- The tapestry needle is used to hide excess threads and achieve a clean finish.
- A lighter is used to seal the ends of the yarn to keep them secure.
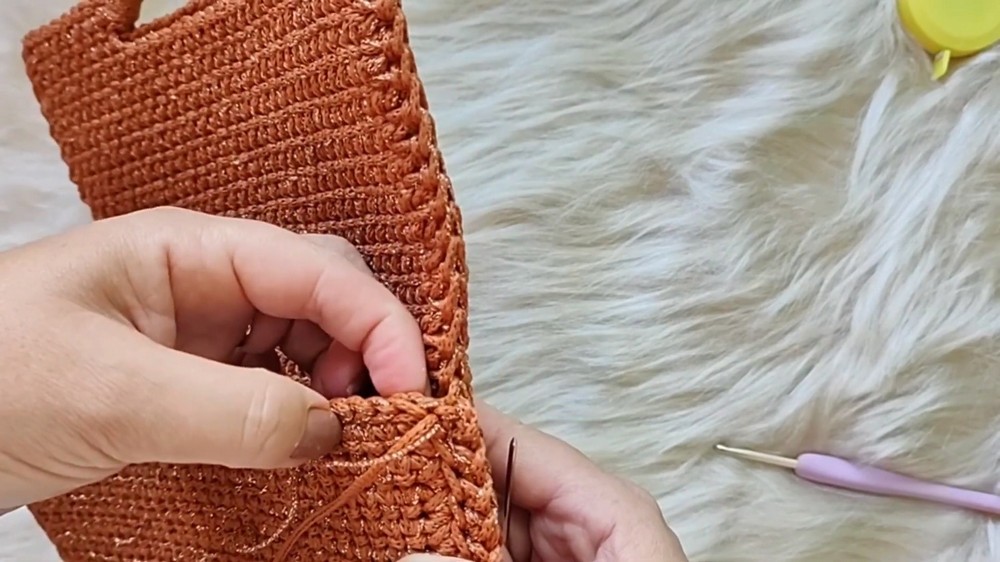
Side Seaming
- The clutch is folded, and Fernanda demonstrates how to seam together the sides.
- Only the inner loops of stitches are worked on for a visually clean edge.
- She uses either slip stitches or single stitches as the preferred technique for joining the sides.
Magnetic Button Installation
- She explains the placement of magnetic buttons on the flap.
- Two buttons are recommended for better stability and functionality.
- Fernanda uses a strong sewing thread matching the clutch’s yarn to ensure durability.
Optional Decoration and Lining
- Fernanda adds a decorative chain as a personal touch.
- She mentions that you can use similar embellishments for customization.
- Notes are given about adding a lining using an invisible stitching technique (details available in another video).
This detailed tutorial is ideal for intermediate-level crafters and provides instructions on creating a clutch with professional-quality finishing. Demonstrating both functionality and creative artistry, Fernanda’s tutorial helps viewers expand their crochet skills!