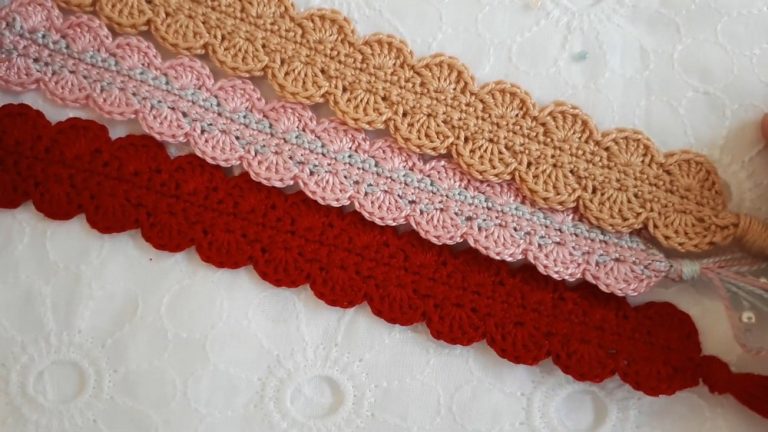
How To Crochet Bow Bag Charm Keychain for Girls
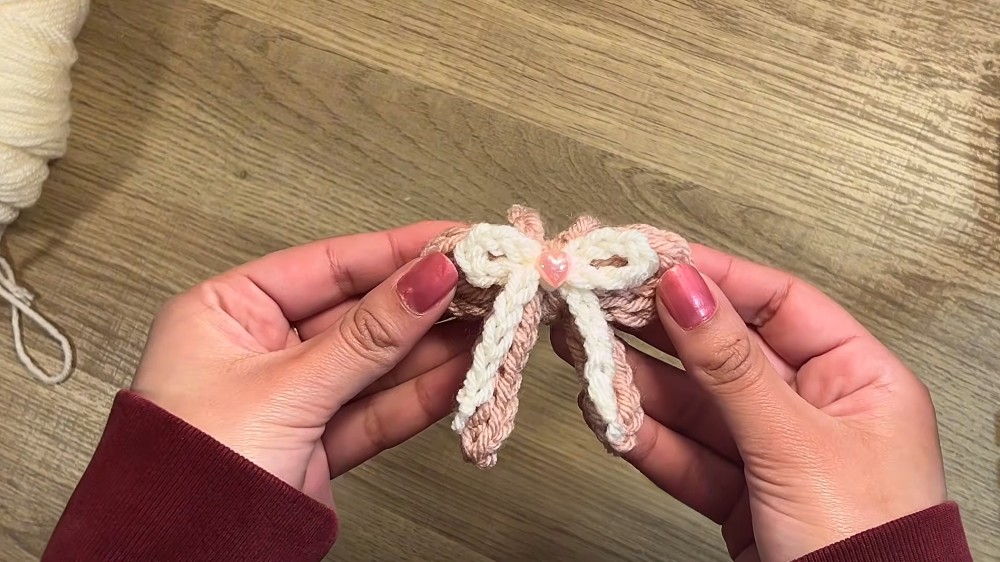
In this post, you’ll learn how to crochet adorable bow tie charms that can be used as keychains or decorative accents. Using two colors of acrylic yarn, a 5.5 mm crochet hook, and optional embellishments like beads or charms, she walks through each step in detail. The project involves making a larger bow, a thinner bow, and a loop for hanging, with tips on weaving ends and securing pieces using a hot glue gun or sewing.
This fun and customizable project is perfect for beginners and seasoned crocheters alike, offering endless possibilities for creativity and personalization. So, follow through with us for the complete tutorial.
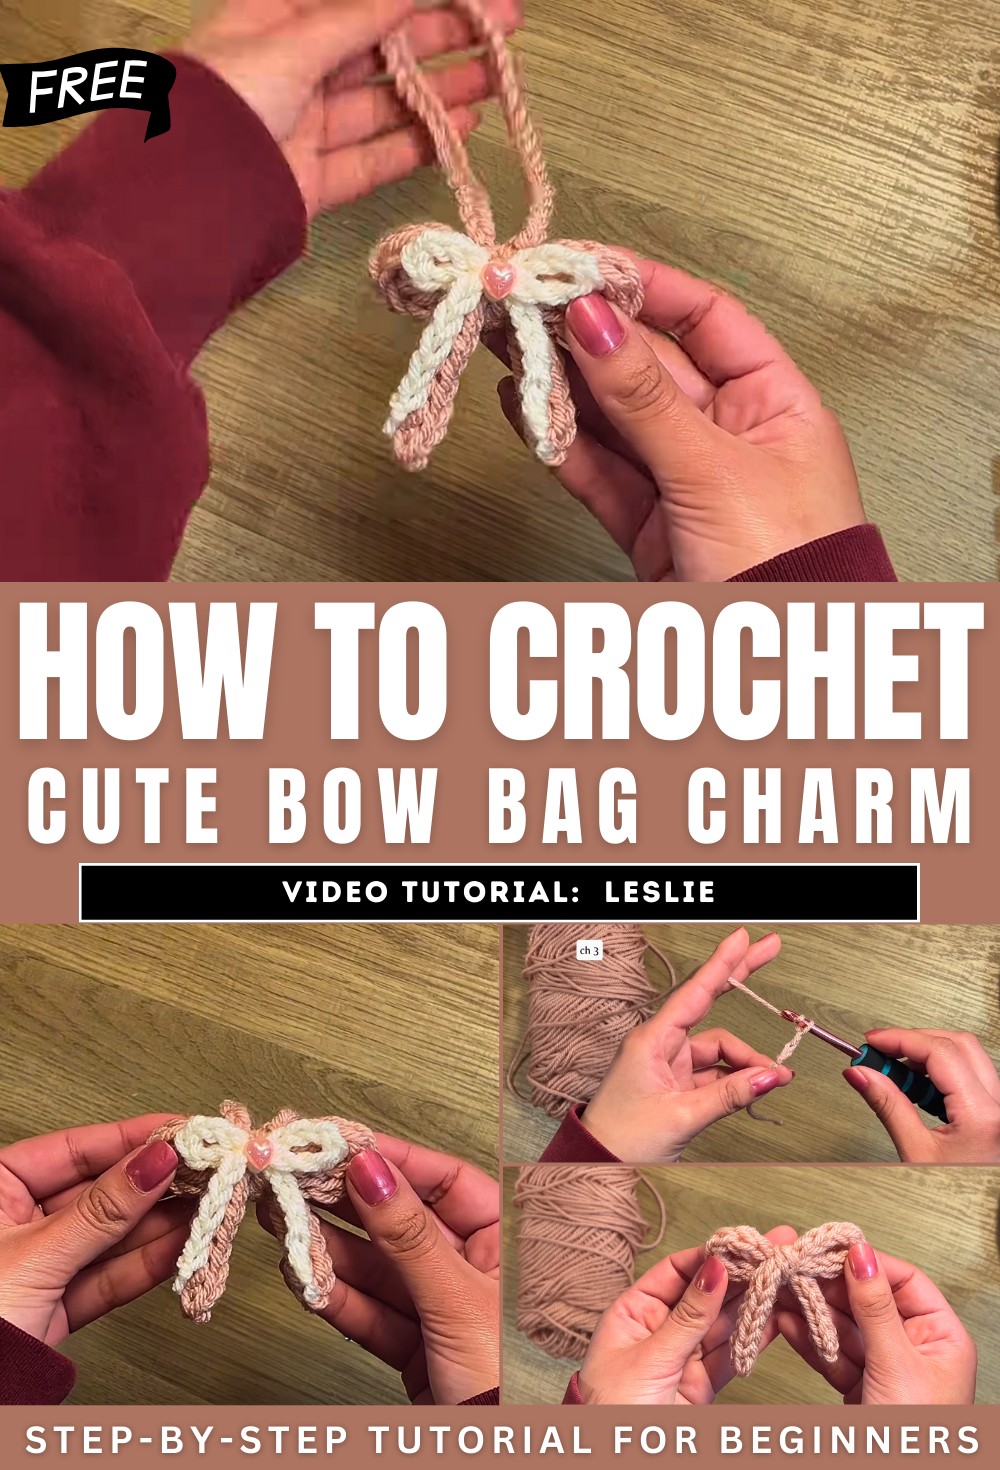
Crochet Bow Charm Tutorial
Leslie from “Crochet for Icons” walks through a creative and easy tutorial to make crochet bow charms. These versatile charms are perfect as decorations or keychains and are suitable for beginners while offering customization options for advanced crocheters. Using acrylic yarn, basic crochet tools, and optional embellishments, Leslie demonstrates how to craft adorable bow charms efficiently.
Materials Needed
To create bow charms, Leslie recommends the following materials:
- Acrylic yarn in two colors (one for the large bow and loop; another for the small bow).
- Crochet hook (5.5mm is suggested, but variations in hook size can change the bow’s dimensions).
- Scissors for cutting yarn.
- Yarn needle for weaving ends (alternatively, a crochet hook may be used).
- Optional embellishments like beads or charms.
- Hot glue gun or sewing needle for attaching bows.
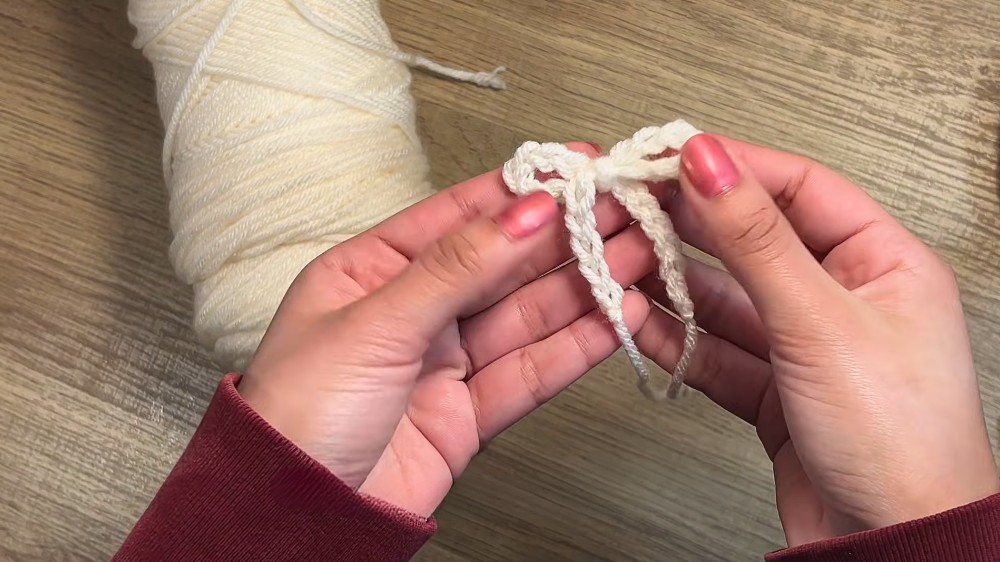
Steps to Create the Large Bow
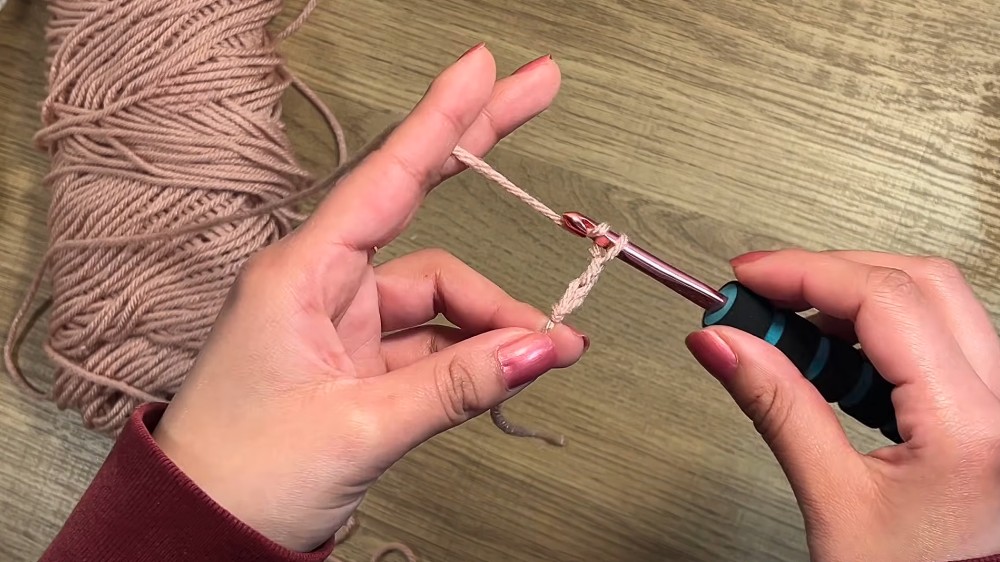
Creating the Base
- Begin with a slip knot. Leslie thoroughly explains how to make a slip knot using fingers and a crochet hook.
- Chains are used to form the base, followed by weaving loops to create a ribbon-like structure.
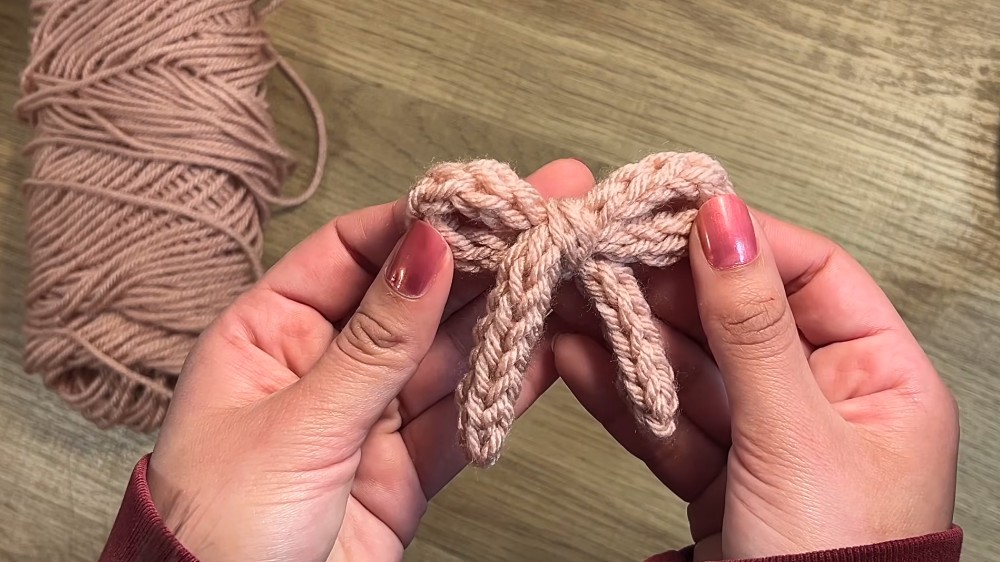
Building the Bow Pattern
- Leslie guides viewers on creating and manipulating loops for the larger bow.
- Tips include loosening tight loops and taking care not to close loops too tightly.
- The process follows a repetitive pattern until the bow ribbon is complete.

Finishing the Large Bow
- Once the ribbon is ready, Leslie demonstrates how to tie it into a bow by forming two loops, crossing them, and pulling one through the bottom hole.
- She explains how to weave in the ends on the back side using a yarn needle or hook, ensuring a clean finish.
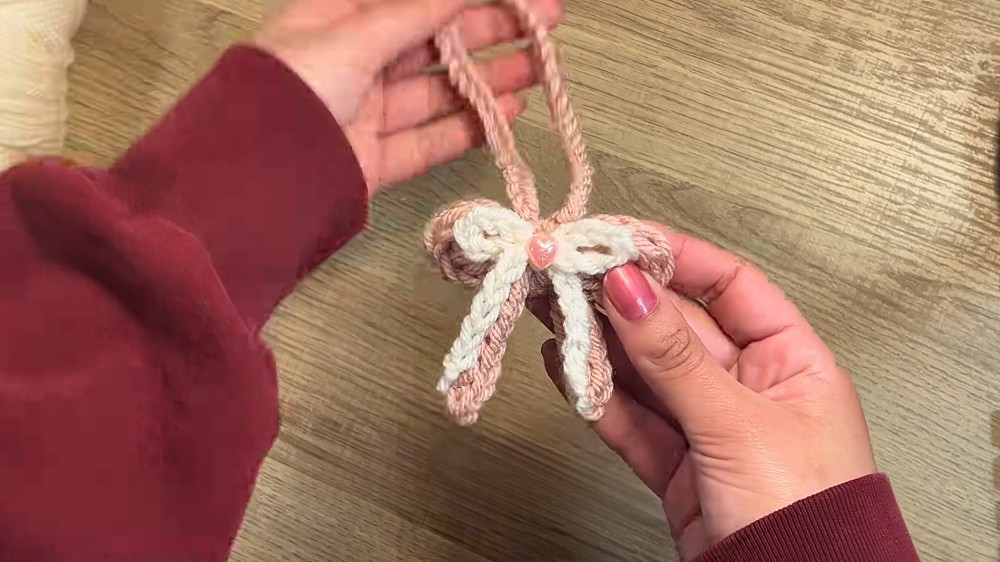
Creating the Loop for Hanging
- A long tail is left at the slip knot, connecting the loop to the bow’s center using slip stitches.
- Chains are used to form the loop’s length, adjusted as per preference.
- After the loop is completed, Leslie shows how to weave in ends and push the loop slightly backward for proper placement.
Making the Thin Bow
- Using the second color of yarn, Leslie creates the thinner bow by simply chaining.
- Once the chain is made, she ties it into a small bow, adjusts its shape, and trims the ends for neatness.
Attaching the Thin Bow to the Large Bow
- Using a hot glue gun or sewing needle, the thin bow is attached to the larger bow. Optional extra charms can be added for decoration.
- Leslie emphasizes filing the back of flatback charms for better adhesion when using hot glue.

Final Touches
- After attaching the bows, the charm is ready for use. Leslie suggests experimenting with different yarn types, colors, and sizes to add variety.
- To hang the charm, the loop is threaded through a strap, and the bow is pulled through the loop.
Conclusion
Leslie encourages creativity and personalization while crafting these crochet bow charms. With easy-to-follow steps and tips, she ensures beginners can confidently complete this project.