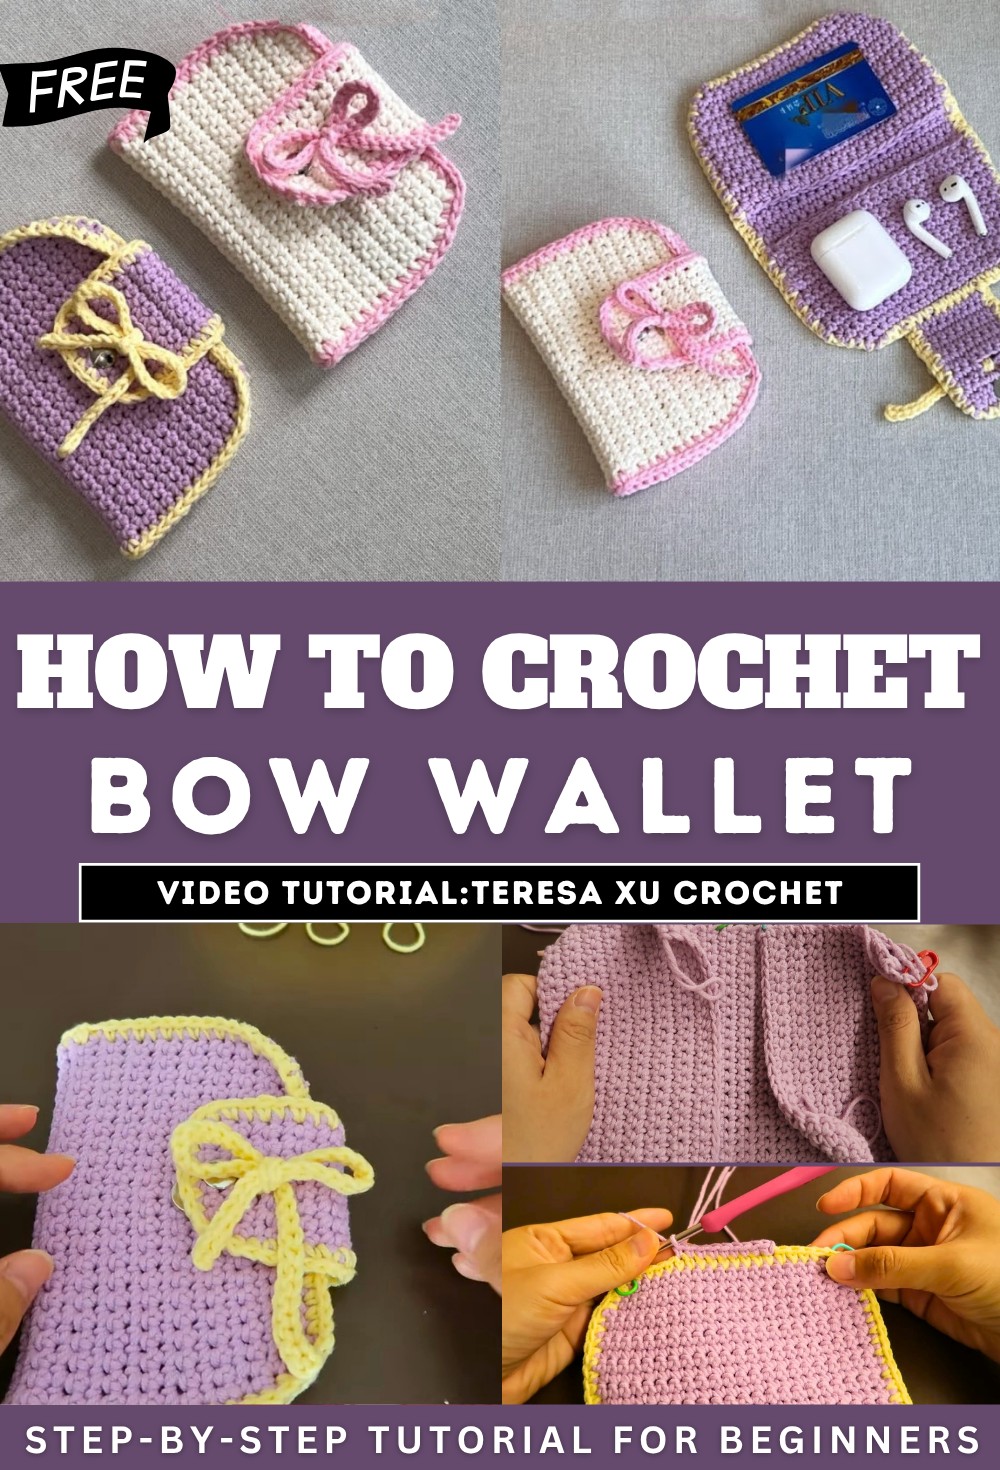
How to Crochet Bow Wallet for Beginners
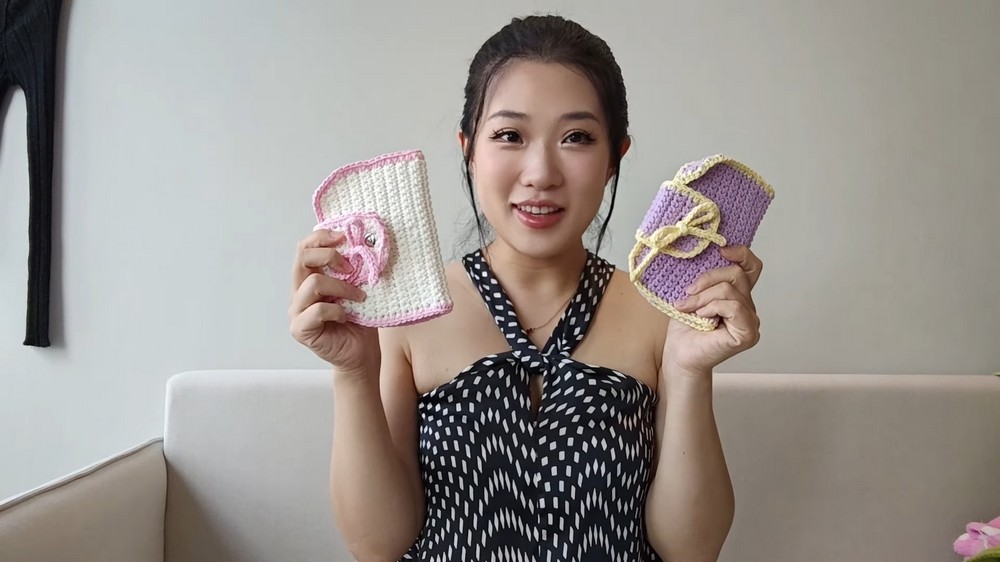
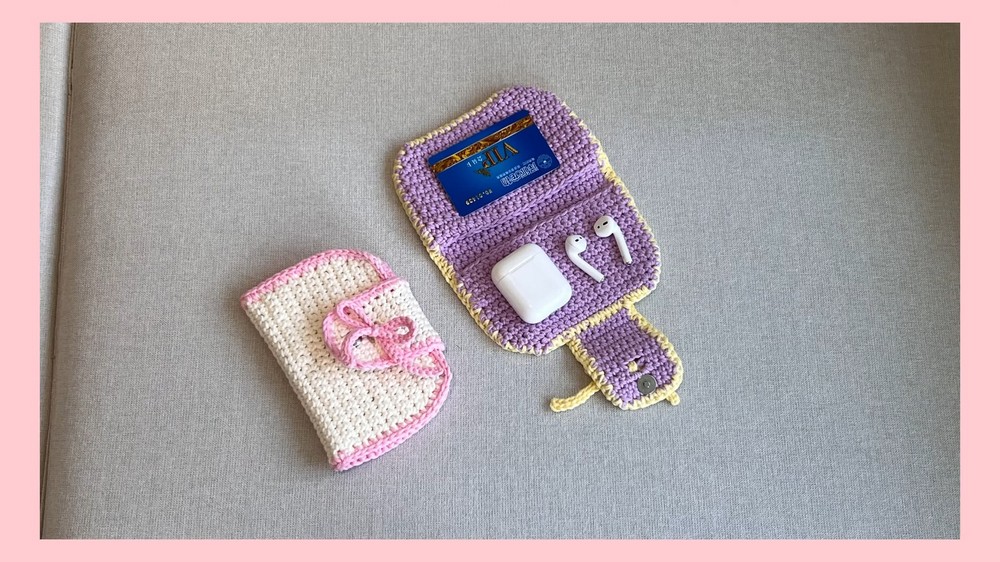
With a step-by-step tutorial for beginners, learn how to crochet a cute and functional wallet that opens up. Using purple and yellow yarn, the process starts with the body, followed by pockets, and finishing touches like edges and a bow knot. The wallet is perfect for holding cards, Air Pods, or lipstick and even includes added snaps for safety.
Easy to make and beginner-friendly, this crochet project doubles as a thoughtful gift idea. So, follow through with us for the complete tutorial to crochet this wallet.
Crochet Cute Wallet Tutorial
This tutorial provides a step-by-step guide for creating a cute and functional crochet wallet. The wallet is perfect for storing small items like cards, AirPods, lipsticks, or other small personal belongings. It also makes an ideal handmade gift.
Using two yarn colors (purple and yellow) and a crochet hook, the project involves three main parts: the body, the pockets, and the finishing details. Below is a structured summary of the tutorial:
Materials Needed
- Yarn in two colors (purple and yellow)
- Crochet hook
- Stitch markers
- Scissors
- Snaps (optional, for safety)

Step 1: Creating the Body of the Wallet
The body of the wallet is the main section where items will be stored.
-
Starting the Base:
Begin with a slip knot and chain to create the foundation of the wallet body. -
Building Rows:
The tutorial outlines alternating rows with increases, decreases, and simple single crochets to shape the body. The rows are repeated to create a rectangular body, with consistent single crochets in certain sections. -
Finishing the Body:
Once the required number of rows has been completed, cut and secure the yarn. The body will serve as the base for the rest of the wallet.
Step 2: Making the Pockets
-
Pocket Design:
The pocket is a smaller, rectangular piece made by crocheting rows similar to the technique used for the body. -
Attaching the Pockets:
Using stitch markers, the pockets are attached to the front and back of the wallet body, leaving space between them to align properly. -
Single Crochet Around Pockets:
Work a border of single crochets around the edges to create a neat finish and firmly secure the pockets to the base.

Step 3: Adding the Finishing Touches
-
Edges and Cleaning Up:
Purple yarn is used to border the piece, but a yellow edge is added later to enhance the look and make the wallet cleaner. Yarn tails are hidden as the stitching progresses. -
Creating the Buttonhole:
A buttonhole is added by skipping specific stitches at the top section, leaving an opening for later closure. -
Adding Safety Features:
An optional step includes adding a snap button to secure the wallet and prevent the contents from falling out. -
Decorative Bow Knot:
A bow knot using yellow yarn is made by creating chains and slip stitches. This bow is then stitched onto the wallet as a decorative element.