How to Crochet Bread Keychain for Beginners

Learn how to create a cute crocheted bread keychain with simple steps. Using two yarn colors (4-weight) and a 3.5mm hook, you’ll crochet two identical rectangular pieces with rounds of single crochet, incorporating increases in specific rounds. These pieces are then joined with single crochet stitches, adding increases at the corners for a smooth finish. Before fully closing, a bit of stuffing is added for shape.
The eyes, crafted from felt and enhanced with nail polish details, are attached using hot glue. The final result is an adorable keychain, perfect as a handmade gift or accessory. So, follow through with us for the complete tutorial.

Crochet Keychain Tutorial
This tutorial provides a detailed guide on how to crochet a small, easy-to-make keychain. The video is broken down into sections, covering the materials, the step-by-step crochet process, and adding the final details.
Materials and Tools
The project uses two different colors of a number four weight yarn. A 3.5-millimeter crochet hook is also required. For the eyes, you have the option of using either yarn or felt.
Crochet Process
Starting the Base
The tutorial begins with a slip knot, followed by a chain of stitches to create the foundation for the piece.
Creating the Body
The creator demonstrates how to make single crochet stitches for several rounds, resulting in a series of rows that form the main body of the keychain. This process is repeated to build up the necessary height.

Increasing the Size
To shape the piece, the creator shows how to add increases at the beginning and end of two consecutive rounds. This is done by making two single crochets in the same stitch, which widens the piece. The creator then finishes this section by making a slip stitch, chaining one, and cutting the yarn.

Joining the Pieces
After a second identical piece is made, the two parts are joined together using the second color of yarn. Increases are made at the corners, while single crochets are worked along the straight sides. Before completely closing the piece, a small amount of stuffing is added to give it volume. The piece is then finished with a slip stitch, and the yarn is cut and hidden.

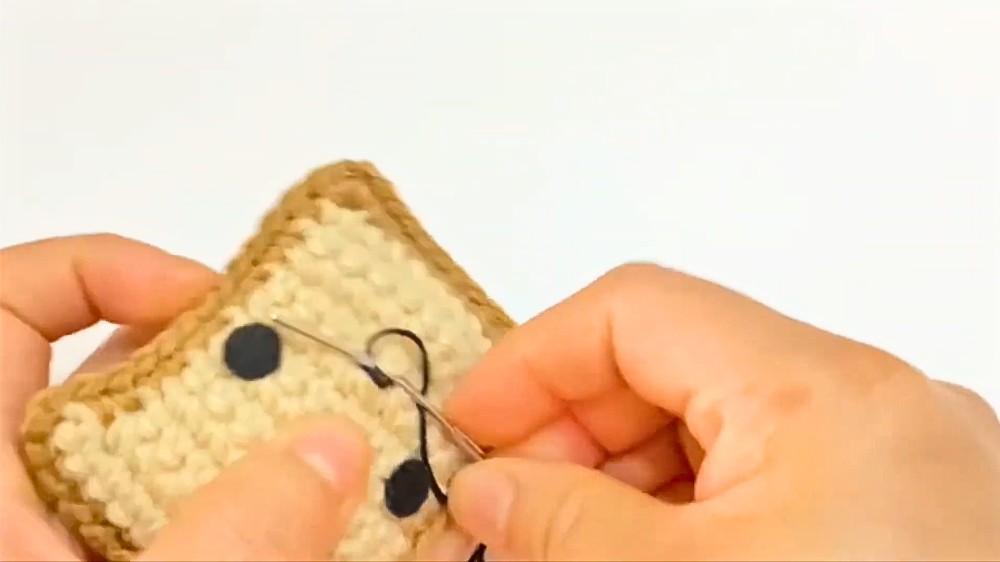
Adding Details
Attaching the Eyes
The creator shows how to add the eyes using two small felt circles, which are attached with hot glue.
Final Touches
To complete the look, the creator adds a tiny dot of nail polish to each felt eye for a highlight. The video concludes by showcasing the finished keychain.