How To Make A Crochet Butterfly Motif for Beginners
In this post, learn how to crochet a beautiful butterfly motif step by step using three colored yarns, perfect for squares and clothing. Clear instructions in the step-by-step tutorial ensure a polished and elegant design, making it best for spring decor and embellishment. Follow through with us for the complete tutorial!
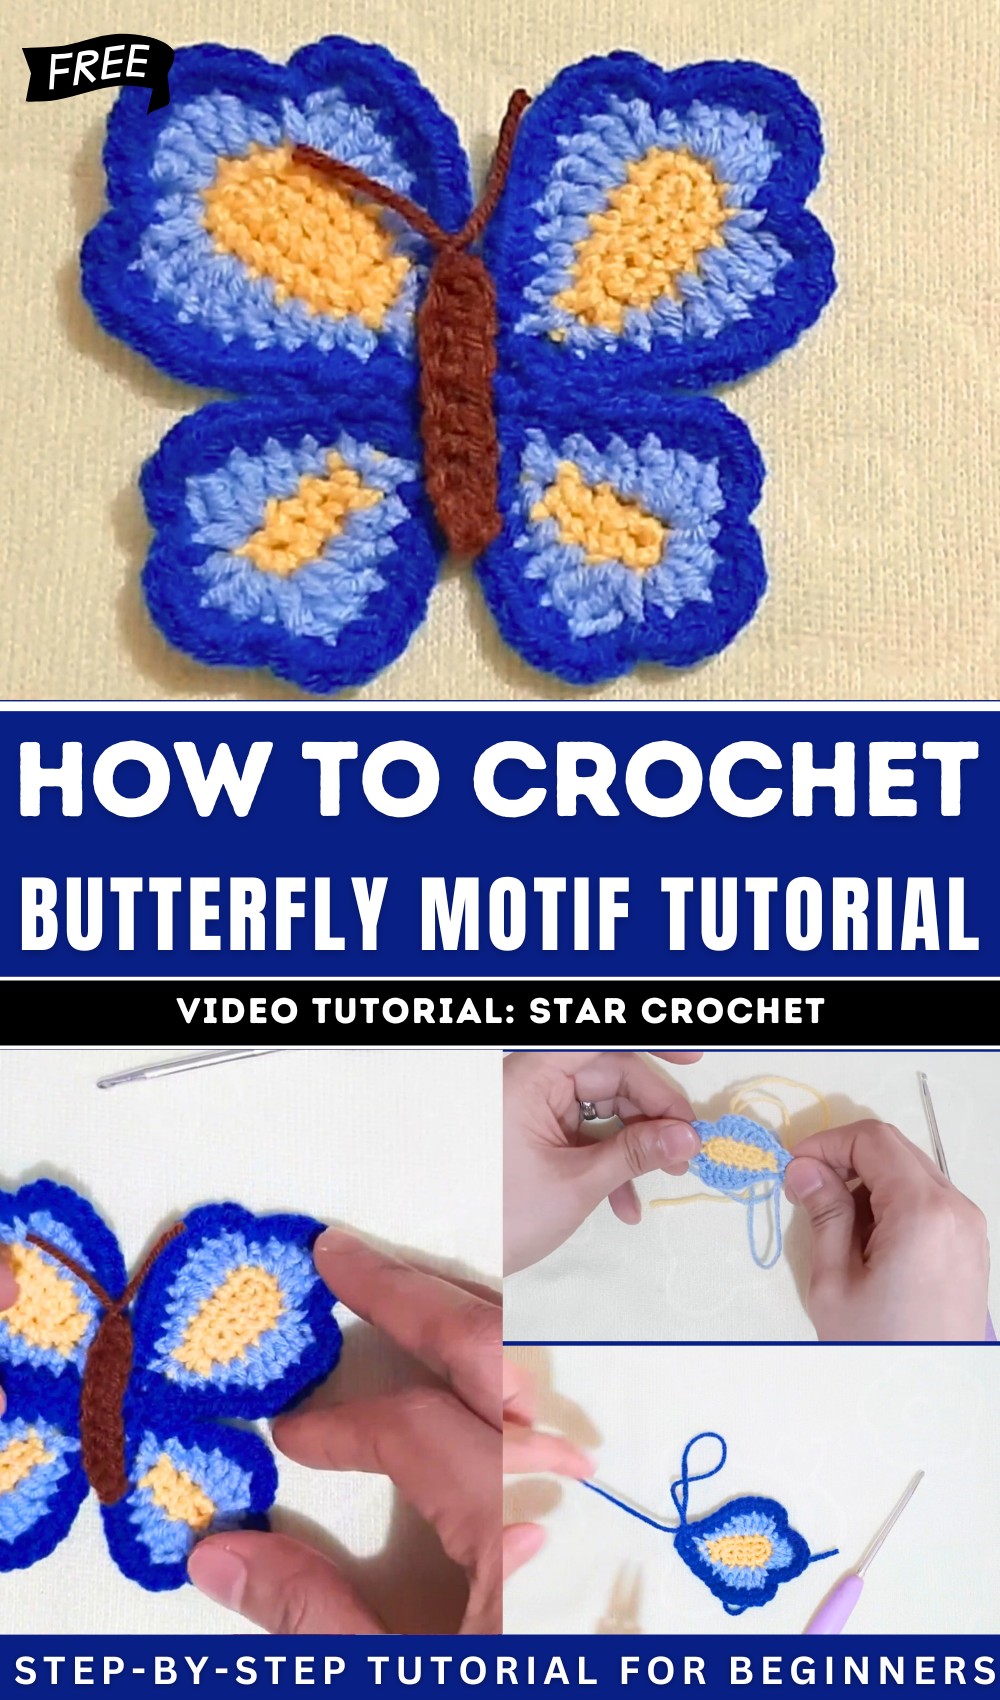
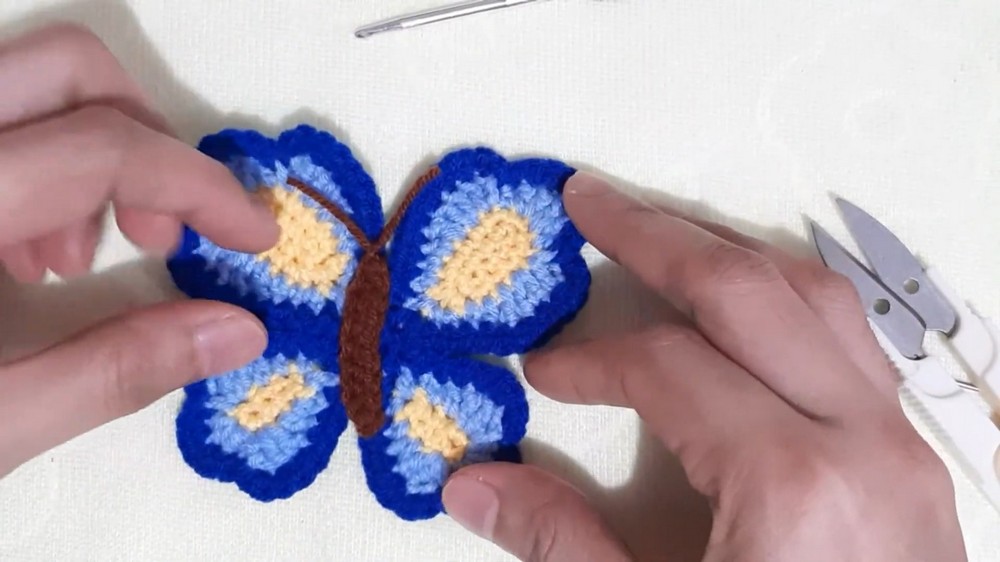
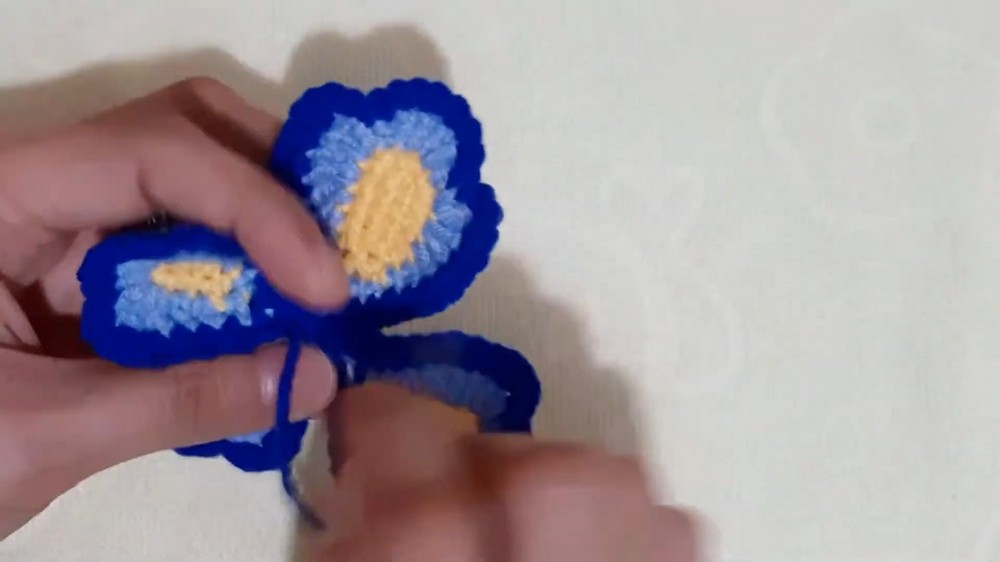
A Crochet Butterfly Motif Tutorial
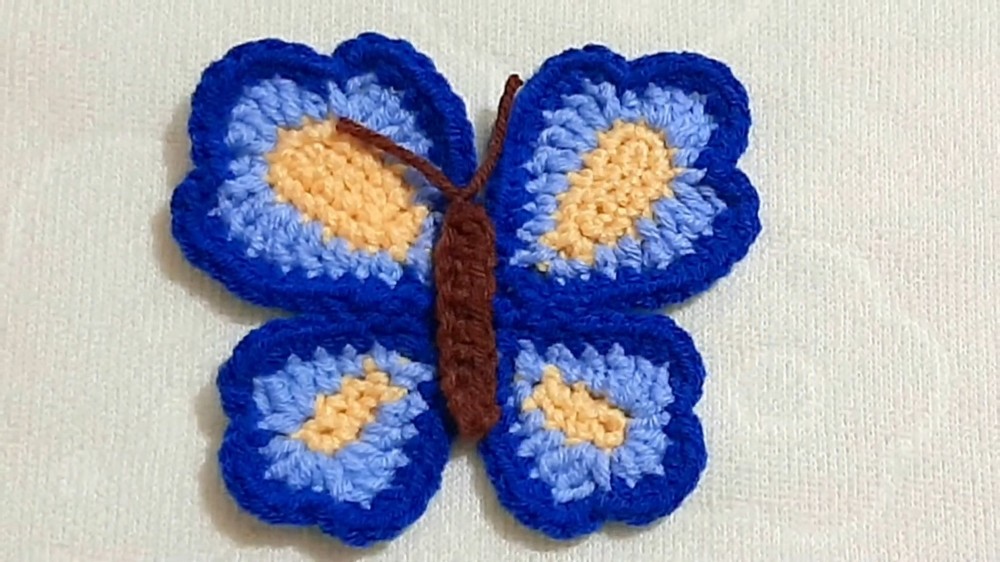
The process involves forming structured wings crocheted in rounds with slip knots, chains, single crochets, half-double crochets, and increases. Once the wings are complete, they are sewn together to give the butterfly its shape. Finally, the body is crocheted using chains and single crochets, then tied and attached to the wings.
The project is broken down into several rounds, each building upon the previous to create beautifully textured wings and a distinct body. Below is a detailed breakdown of the tutorial with key highlights.
Introduction
- The tutorial begins with an introduction to the materials required, including yellow, light blue, and dark blue yarns.
- The creator emphasizes the importance of following the steps closely for a neat and symmetrical butterfly.
First Wing (Yellow)
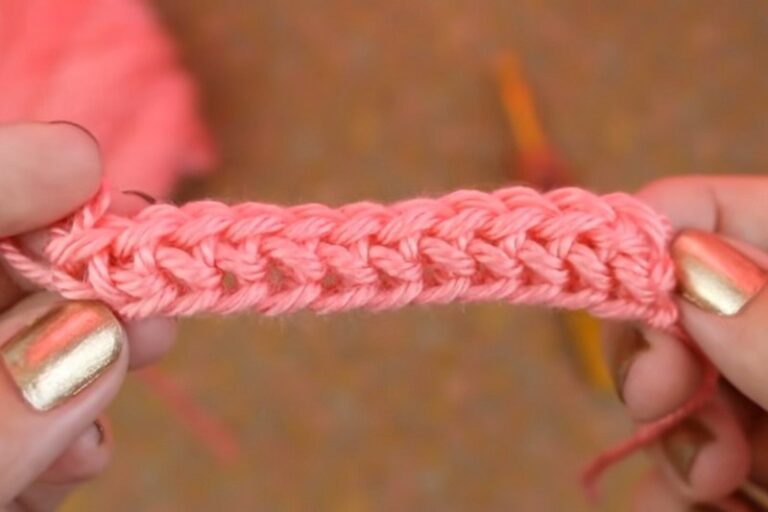
- Slip Knot and Chain: The butterfly’s first wing starts with a slip knot and chains.
- Round 1: The foundation round is created by working around the initial chain. The round is closed, yarn is cut, and tails hidden.
- Round 2: Builds upon the first round with strategic increases to create a textured edge. The round is closed, yarn cut, and tails hidden.
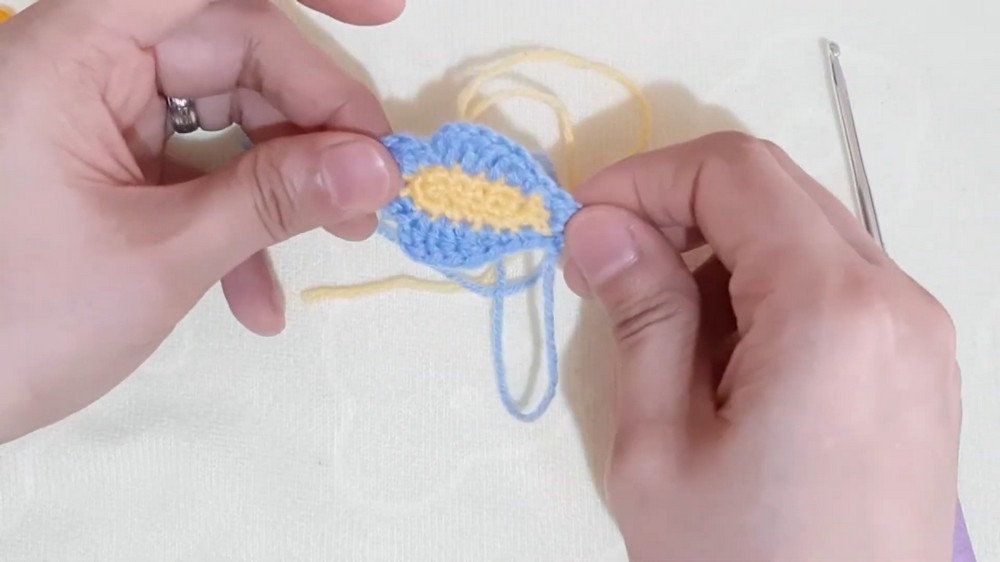
Second Wing (Light Blue)
- Slip Knot and Chain: Begin with a slip knot and attach to the chain space created in the previous wing.
- Round 3: Various stitch types are used to form the intricate wing pattern, adding height and definition. Yarns are cut, and tails neatly hidden.
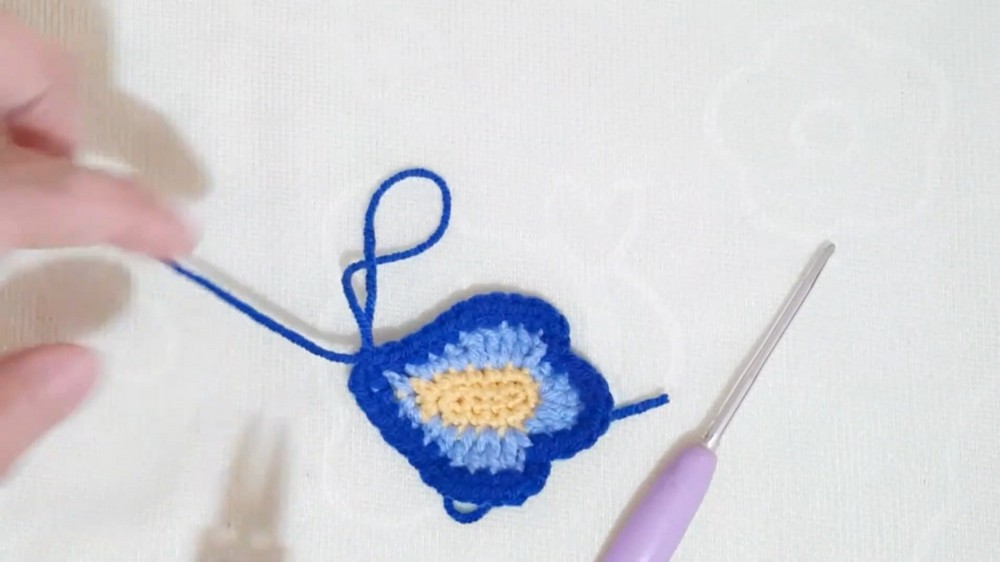
Third Wing (Dark Blue)
- Slip Knot and Chain: Starting again with a slip knot, attaching to the chain space from the previous round.
- Round 4: This round introduces more complex stitching to enhance the wing’s shape and texture. After completing the round, yarn is cut, and tails are hidden.
- Creating a Second Wing: Repeat the entire process to create another wing mirror image of the first.
Small Wings (Yellow)
- Slip Knot and Chain: The smaller wings start with a slip knot and chains.
- Round 1: Similar to the first wing, but with fewer stitches to make it smaller. Yarn cut and tails hidden.
- Round 2: Adds detailed work with increases, creating defined edges. Again, yarn is cut and tails hidden.
Small Wings (Light Blue)
- Slip Knot and Chain: Begin with a slip knot and attach to the chain space from the previous round.
- Round 2: Uses varied stitches to develop the smaller wing’s texture. Yarn cut, tails hidden.
Small Wings (Dark Blue)
- Slip Knot and Chain: Start with a slip knot and join to the chain space from the previous round.
- Round 3: Similar to previous dark blue wings with complex stitches to enhance shape. Yarn cut, tails hidden.
- Creating a Second Small Wing: Repeat to create another small wing matching the first.
Assembly
- Sewing Wings Together: All wings (large and small) are sewn together to form the butterfly shape.
- Body Construction:
- Slip Knot and Chain: Start with a slip knot and chain.
-
- Row 1: Create the central body by working several rows, then closing off.
- Tying Ends: Securely tie ends to form the body.
- Attachment: Sew the body into the middle of the joined wings.
Final Touches
- Finishing: Ensure all tails are hidden neatly, and the butterfly is symmetrical.
- Customization: The creator encourages viewers to experiment with different color combinations and yarn types for a personalized touch.
By following this comprehensive tutorial, you can create an elegant and detailed crochet butterfly suitable for a variety of decorative uses.