
How to Crochet Cat Coaster for Kids Tables
In this post, learn how to crochet a beginner-friendly cat head coaster with white or brown shades. Using simple techniques like magic rings, double crochets, and triple crochets, the tutorial guides viewers to crochet the coaster’s base, ears, and optional whiskers. The project is quick, straightforward, and perfect for using leftover yarn or making small gifts. With clear instructions, the creator ensures even novices can follow along and finish the coaster in a single sitting!
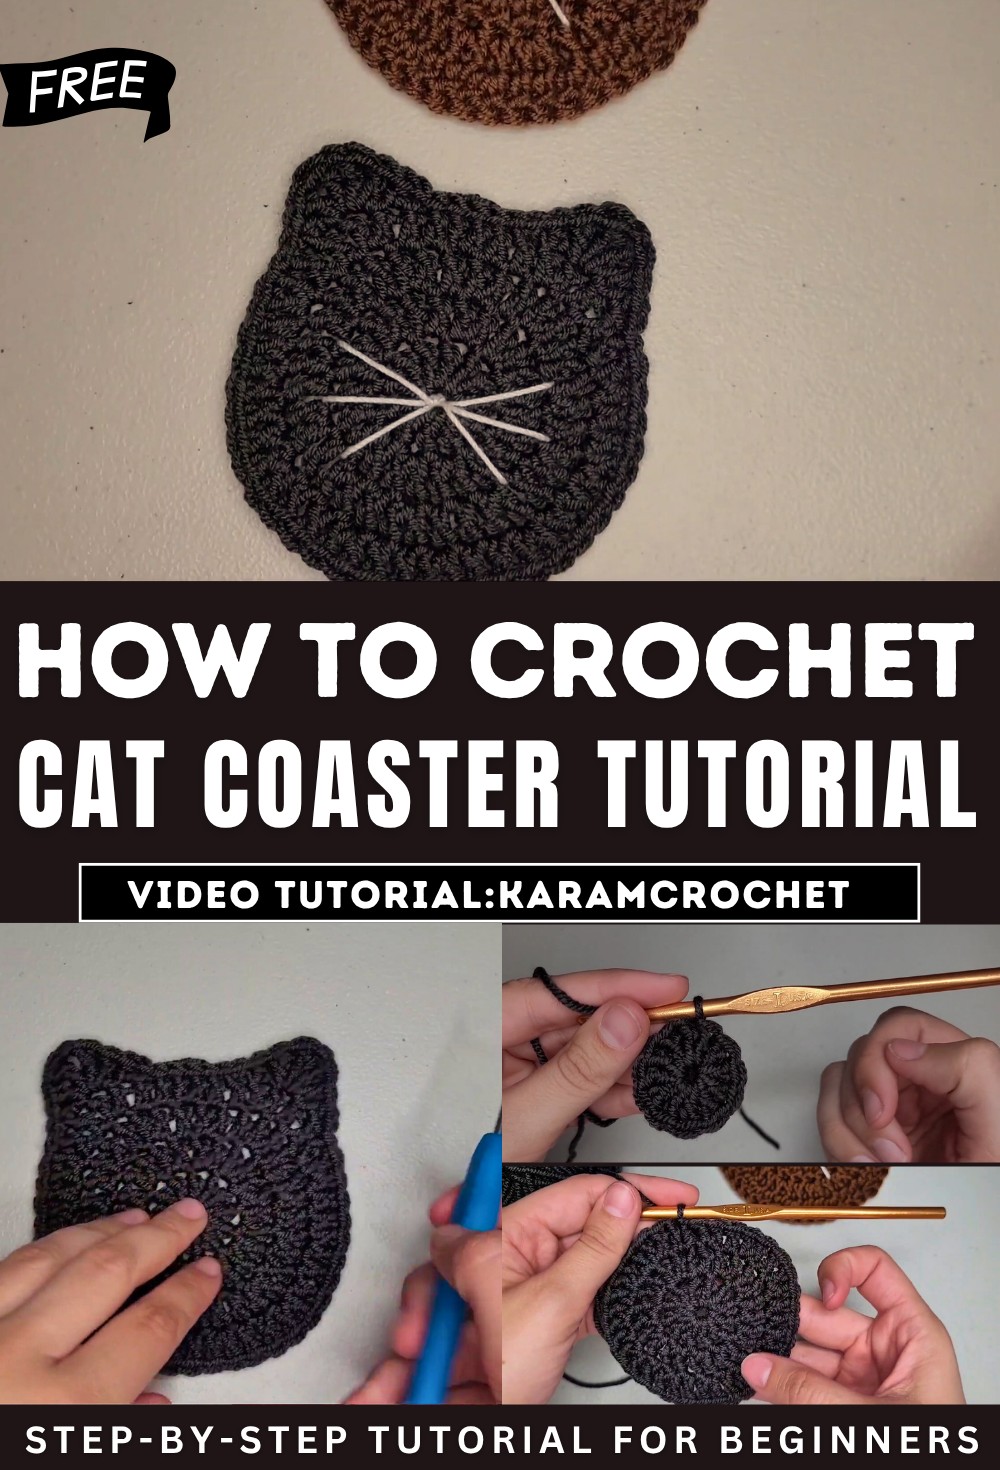
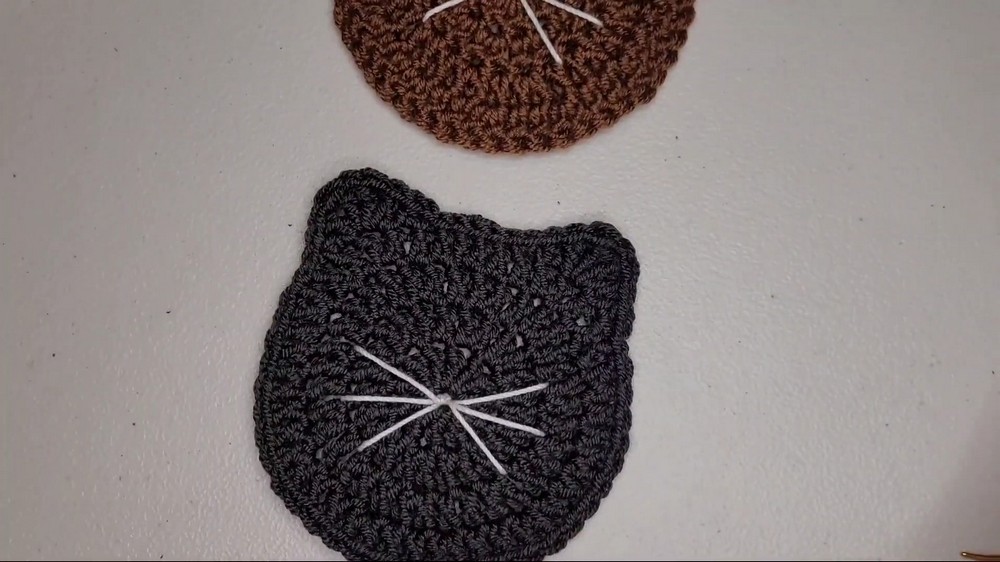
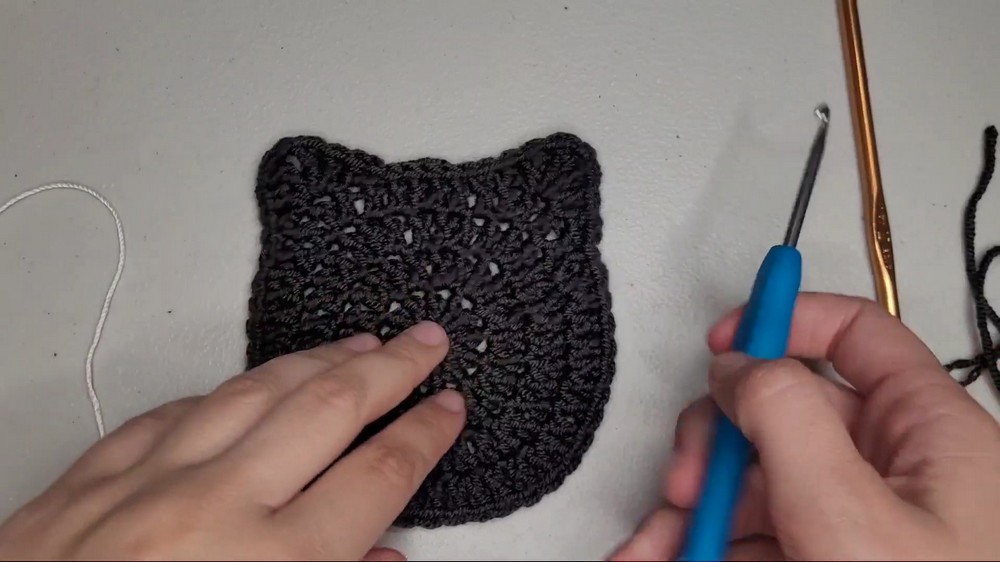
Crochet Cat Coaster for Kids
The tutorial demonstrates how to crochet an adorable and beginner-friendly cat-shaped coaster. It’s a simple and quick project designed to use leftover yarn, making it perfect for gifts or fun DIY crafts. The tutorial uses clear instructions for creating the circular base, adding cat ears, and optionally incorporating whiskers.
Materials Needed
- Yarn: Any yarn type can be used, but the creator uses a medium-weight yarn for the main coaster. A thinner yarn is suggested for whiskers (optional).
- Hook Size: A crochet hook picked to match the yarn weight. In this video, the creator uses a hook in the “gunmetal” color, purchased from Hobby Lobby.
- Additional Tools:
- A smaller hook to thread the whiskers.
- Scissors for cutting yarn.
- A needle to weave in loose ends.

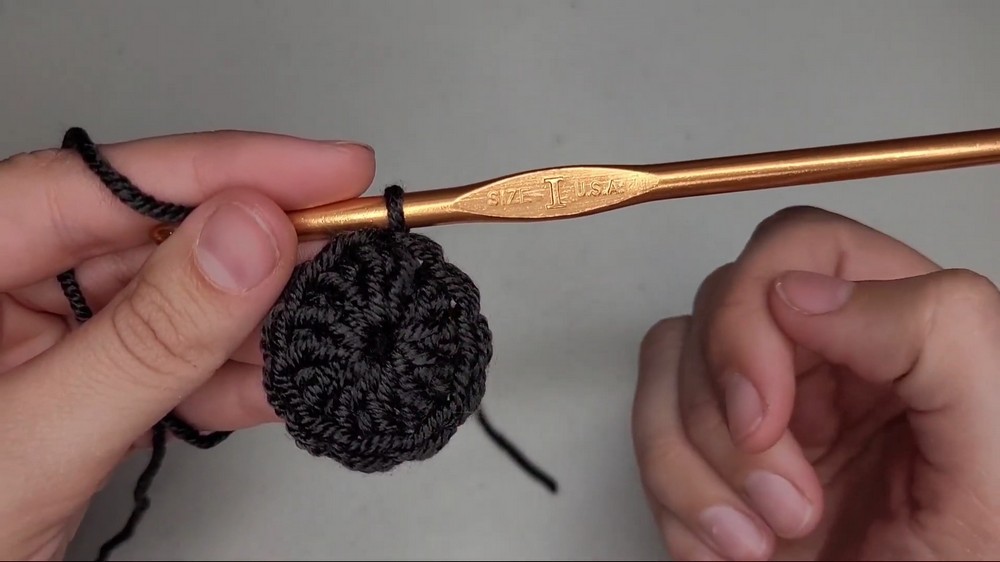
Creating the Circular Base
-
Start with a Magic Ring:
- A step-by-step demo of creating a magic ring is shown, starting with the yarn wrapped around the fingers and pulling through to form a loop.
-
First Round:
- Double crochets are worked into the magic ring, which is then tightened to form a small circle. The round is completed with a slip stitch.
-
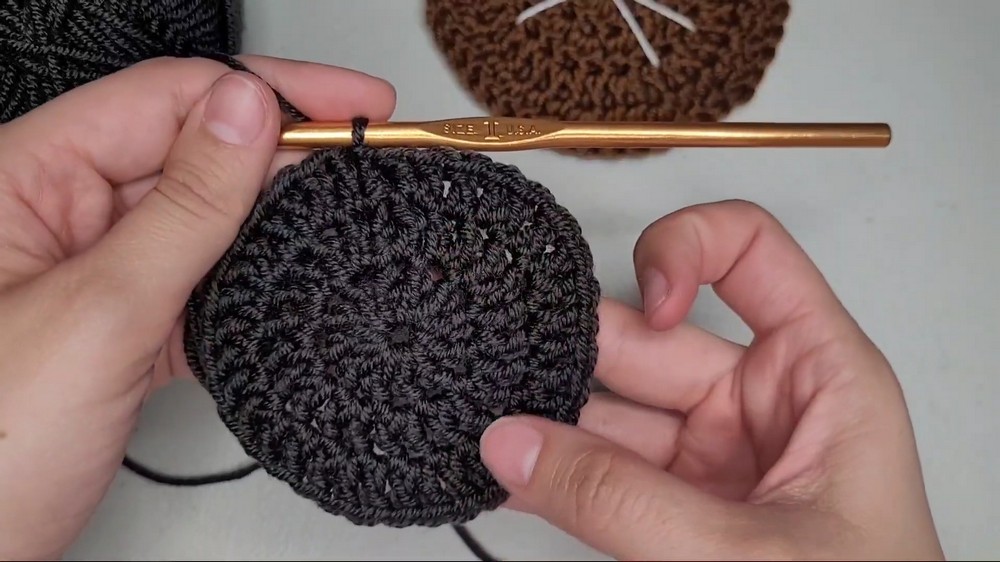
Increasing Rounds:
- The subsequent rounds involve evenly increasing stitches to expand the circle while maintaining its shape.
- The tutorial explains the process of working with an increase pattern, progressing in size with each round.

-
Adjustments for Size:
- The creator emphasizes that you can make the base larger by continuing to increase in a set pattern – useful for custom coaster projects.
Adding Cat Ears
- First Ear:
- The first ear is crocheted in a sequence of stitches (half-double, double, triple crochet) worked into one spot, followed by reversing the process to taper off the ear.
- Spacing and Second Ear:
- After a small gap (determined by the creator’s personal preference), the second ear is created using the same pattern as the first. This ensures symmetry on both sides of the circular base.
Optional: Adding Whiskers
-
Using Thin Yarn:
- Thin yarn or crochet thread is used for the whiskers. A smaller hook is recommended for easier threading and placement.
-
Threading Whiskers:
- Whiskers are pulled evenly through specific spots on the coaster. The tutorial demonstrates how to create and align them symmetrically on both sides.

-
Securing Whiskers:
- Loose yarn ends at the back of the coaster are tied securely but not too tightly to avoid distorting the whiskers. These ends are trimmed neatly.
Finishing Touches
- The creator demonstrates how to weave in the loose ends using a needle, ensuring the coaster looks clean.
- The final product is a cute cat-shaped coaster, ready for use as a functional decor piece or gift.
Conclusion
- This project provides a practical and charming way to use leftover yarn while building crochet skills.


