How to Crochet Colorful Bow for Accessorizing
In this beginner-friendly tutorial, you’ll learn how to crochet a cute crochet bow using just ₹50 worth of yarn for beginners. The project is versatile and can be used as a hat clip, brooch, bag charm, or keychain. With clear step-by-step instructions, it guides you through simple stitches like half double crochet, slip stitches, and working in back loops to create a beautifully textured bow. It’s budget-friendly, fun, and perfect for new crocheters!

Crochet Colorful Bow Tutorial
- Niha welcomes viewers to her cozy crochet space, where she shares budget-friendly and creative crochet projects.
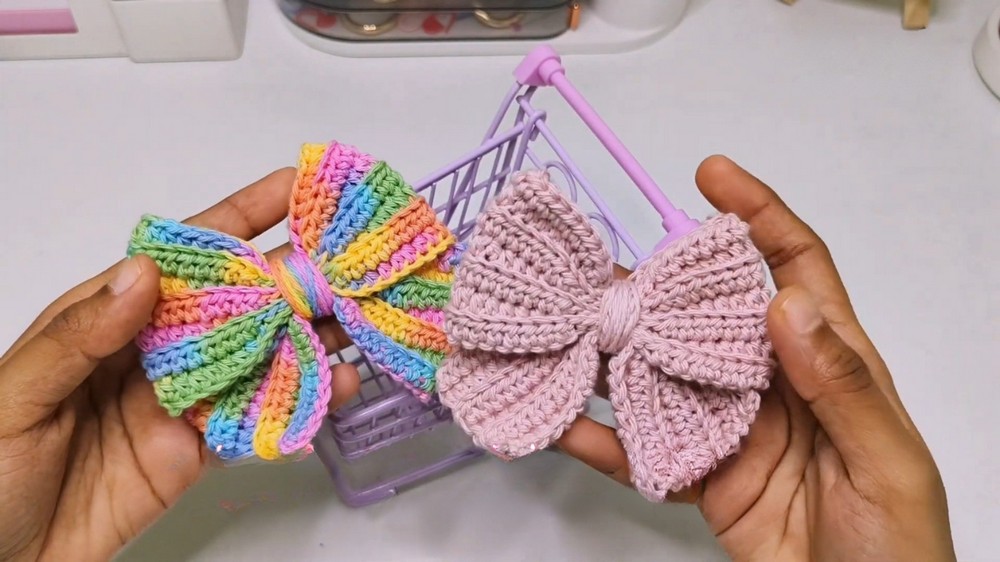
- She introduces the project — a functional and decorative crochet bow made with less than ₹50 worth of yarn.
- The completed bow can be used in various ways, such as a hat clip, brooch, bag charm, or keychain.
- Niha emphasizes that this is a beginner-friendly project and urges viewers to follow the tutorial without skipping steps.
Materials Needed
- Niha lists the required materials for the crochet bow:
- Yarn: 100% cotton yarn (a small portion is needed). Any yarn type can be used if the hook size is adjusted.
- Hook: A 3mm crochet hook.
- Tools: Scissors, a yarn needle or tapestry needle, and a stitch marker for tracking stitches.
- She highlights that even a small amount of yarn can be transformed into something beautiful and functional.

Process Overview
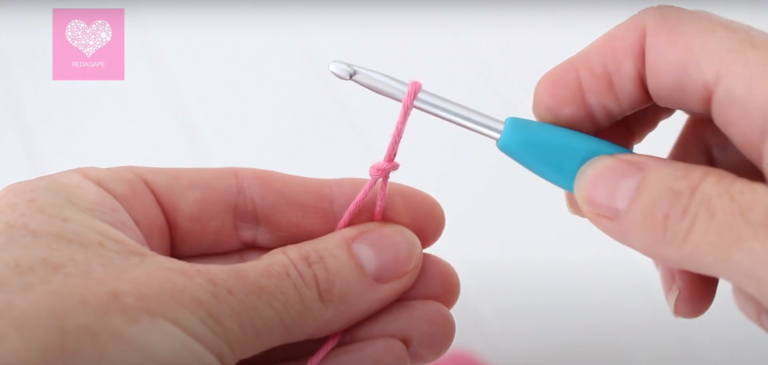
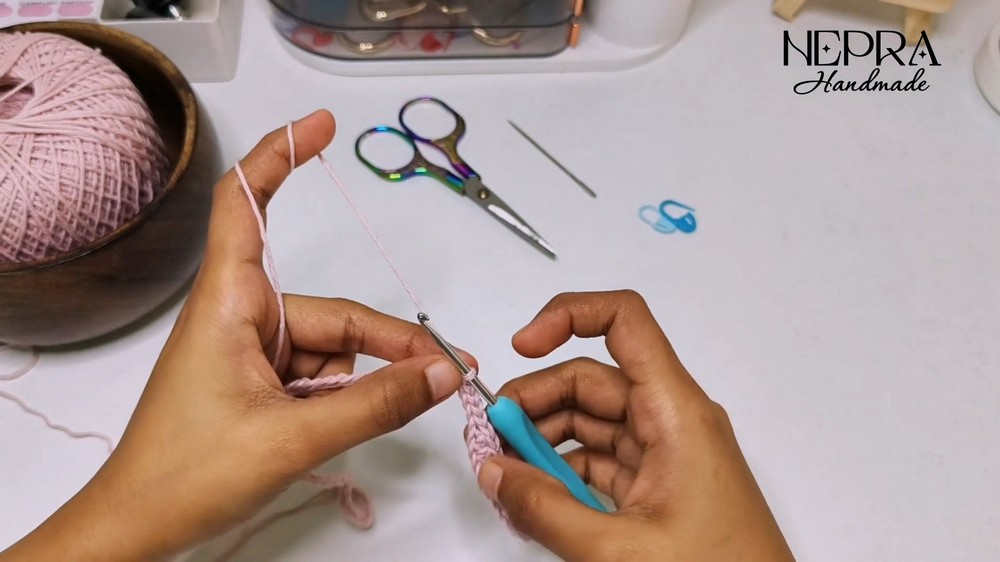
Step 1: Setting Up the Foundation
- The tutorial begins with creating a slip knot followed by a long chain foundation.
- Niha explains that while the chain may feel lengthy, it builds the base of the bow and offers a relaxing rhythm for beginners.

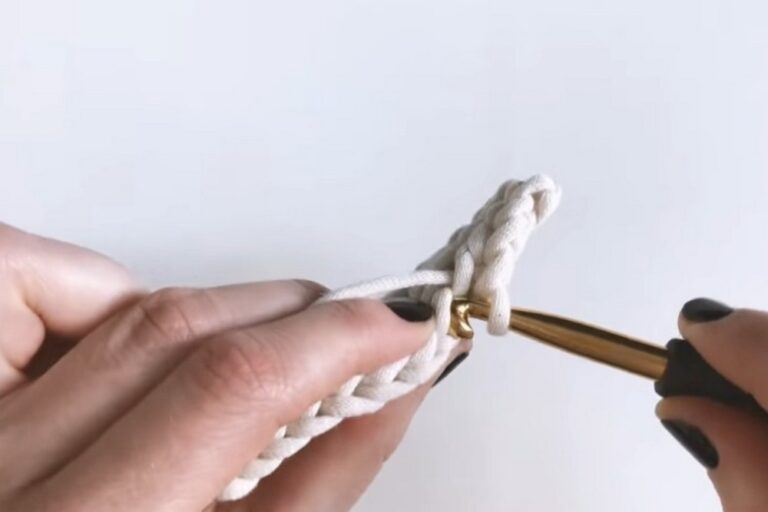
Step 2: Working Row 1
- Viewers are guided stitch by stitch to crochet the first row of the bow.
- Niha introduces different stitch types for texture and shaping, ensuring clarity and repetition for beginners.
- The row features sections of specific stitches that gradually form the bow’s curves and structure.
Step 3: Creating Ribbed Texture with Back Loop Stitches
- Row two involves working stitches into the back loop only.
- Niha explains the importance of the back loop technique for achieving a ribbed texture and flexibility in the bow.
- The same stitch pattern is repeated, row by row, until seven rows are completed, forming a rectangular base.
Finishing the Bow
Step 1: Fastening Off
- After completing all rows, viewers are instructed to fasten off their work by gently pulling and securing the end of the yarn.
- Loose ends are carefully woven into the stitches using a yarn needle for a tidy finish.
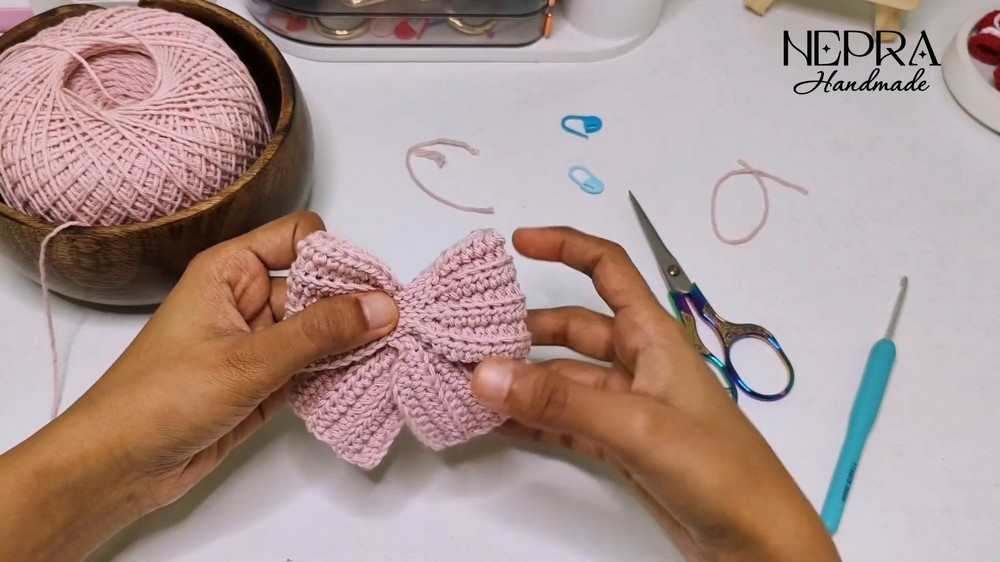
Step 2: Shaping the Bow
- The rectangle is folded neatly to form the bow’s structure.
- Viewers are shown how to pinch the center to create the iconic bow shape.
Step 3: Wrapping the Center
- A piece of yarn is used to wrap the middle of the bow for a clean, polished finish. Niha emphasizes wrapping gently to avoid damaging the shape.
- The yarn is secured at the back with a knot, ensuring the bow remains intact.

Uses and Final Thoughts
- Niha shares ideas for using the bow, such as attaching it to bags, hats, clips, or keychains.
- She expresses enthusiasm for how such a small amount of yarn can be turned into something beautiful and functional.
- Niha encourages viewers to tag her or share feedback if they try this project, fostering a sense of creative community.
This tutorial showcases how minimal resources and simple stitches can be transformed into a delightful crochet project. It’s a great way for beginners to hone their skills while making something decorative and practical.