How to Crochet Couple Teddy Bear Keychain for Gifting
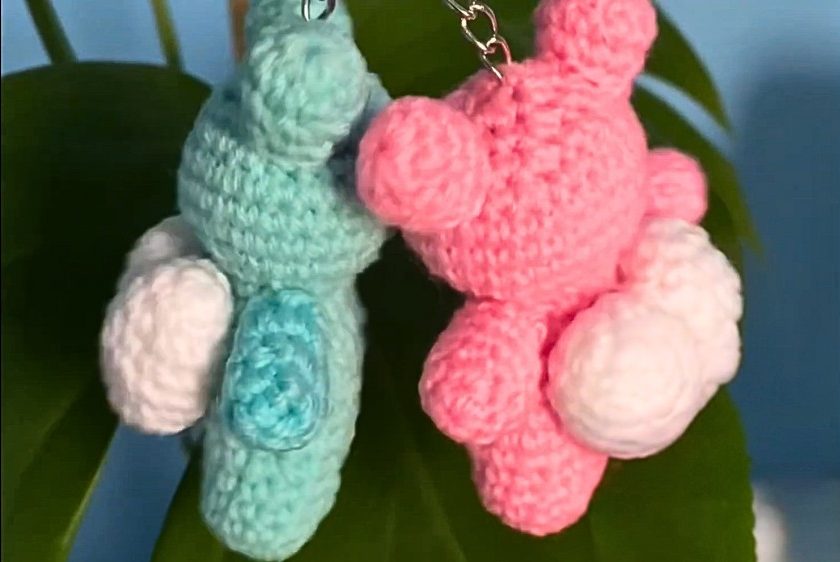
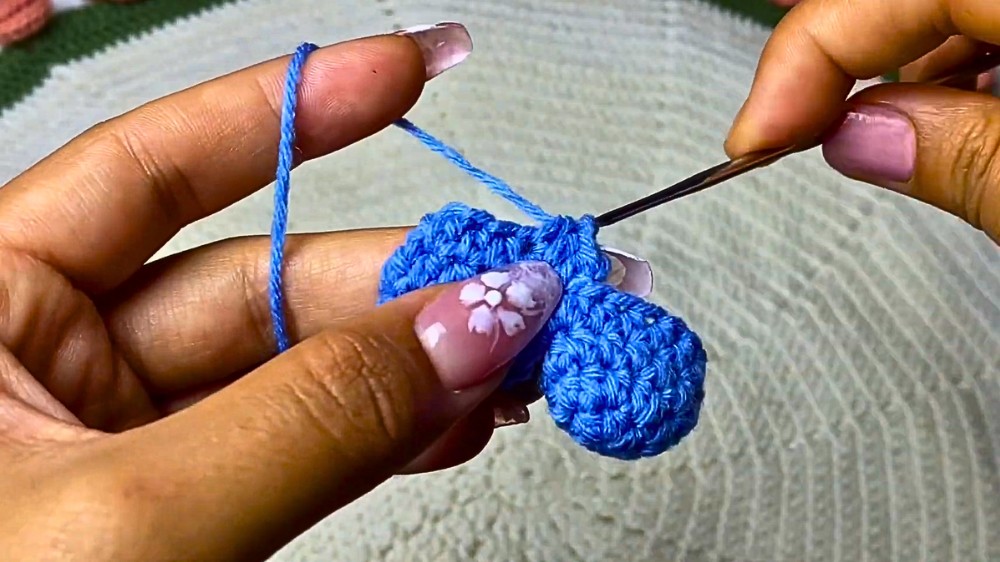
The first part of a tutorial on how to crochet a couple of teddy bear keychains with a step-by-step tutorial for beginners and experts. The focus of this part is on creating the heads and bodies of the teddy bears. The head is made in eight rows, starting with a magic ring and using a combination of half double crochets, increases, and decreases.
For the body, two separate legs are crocheted first and then joined together. The body is then worked in nine rows, using increases and decreases to create the shape. The video concludes with the completed head and body, with the rest of the tutorial to be continued in a second video. So, follow through with us for the complete tutorial.

Crochet a teddy bear with a heart
This video is the first part of a two-part tutorial on how to crochet a teddy bear keychain. This segment focuses specifically on creating the teddy bear’s head and body. The tutorial is designed to guide you through the process step-by-step, using a combination of fundamental crochet techniques to shape the two main parts of the bear. The second part of the tutorial, which covers the remaining steps, is available in a separate video.
Techniques and Stitches
The tutorial demonstrates several key crochet techniques that are essential for this project:
- Magic Ring: A foundational technique used to start crocheting in the round without a visible hole in the center.
- Half Double Crochet (HDC): This is the primary stitch used throughout the project to create the fabric of the head and body.
- Slip Stitch: Used to join rounds and create a seamless transition between them.
- Chain Stitch: Used to begin a new round or to create the foundation for a new piece.

- Increase: A technique of creating two stitches in one to expand the circumference of the piece.
- Decrease: A technique of combining two stitches into one to reduce the circumference and shape the piece.
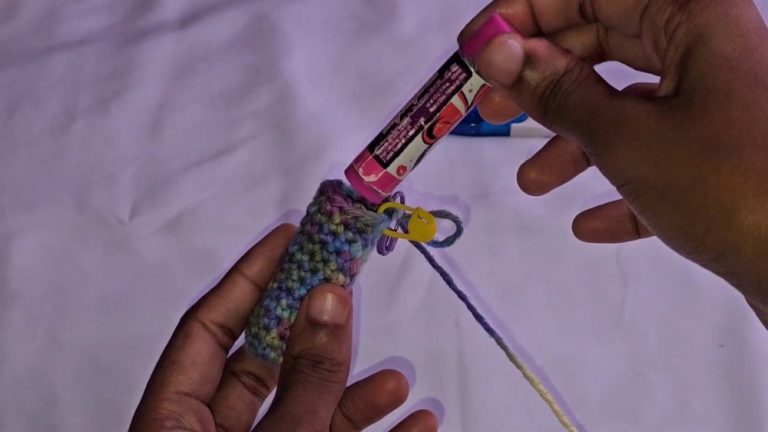
- Stitch Marker: The tutorial recommends using a stitch marker or pin to mark the first stitch of a round to help keep track of your progress and avoid mistakes.
Materials Needed
While the video does not explicitly list the materials, you can see the creator using the following items:
- Yarn
- Crochet hook
- Stitch marker or pin

Step-by-Step Instructions
Head
The head is constructed over eight rounds.
- Rounds 1-4: The head begins with a magic ring. The subsequent rounds use a combination of half double crochets and increases to gradually expand the piece, forming the rounded shape of the head.
- Rounds 5-6: These rounds are worked with a single half double crochet in each stitch, creating height without increasing the circumference.
- Rounds 7-8: These final rounds use a combination of half double crochets and decreases to close the head and create the final shape. The round is finished with a slip stitch, and the yarn is cut.
Body
The body is started by first creating two separate pieces for the legs, which are then joined together to form a base.
- Legs (make two): Each leg starts with a magic ring and is worked over three rounds. The first two rounds use half double crochets and increases to shape the foot, and the third round is a single half double crochet in each stitch.
- Joining and Body: The two completed legs are then joined together to begin the body. The body is worked over six subsequent rounds. The rounds use a mix of half double crochets, increases, and decreases to shape the body and gradually reduce the size as it nears the neck.

- End of Body: The body portion of the tutorial concludes with a slip stitch, and the yarn is cut. The remaining steps, including attaching the head and body, are covered in the second part of the tutorial.