How to Crochet Easy Thalposh | DOILY Coaster

In this post, you’ll learn how to crochet a beginner-friendly coaster, doily, or table mat for beginners. The project uses a 5mm hook and six-ply acrylic yarn. It begins with a slip knot and a chain of stitches to form a ring. The tutorial then guides you through several rounds of different stitch patterns, including double crochets and chain stitches, to expand the piece. The final round adds a decorative scalloped edge by alternating between double crochets and a slip stitch in the chain spaces.
The tutorial concludes by demonstrating how to finish the piece by cutting and weaving in the yarn. So, follow through with us for the complete tutorial.
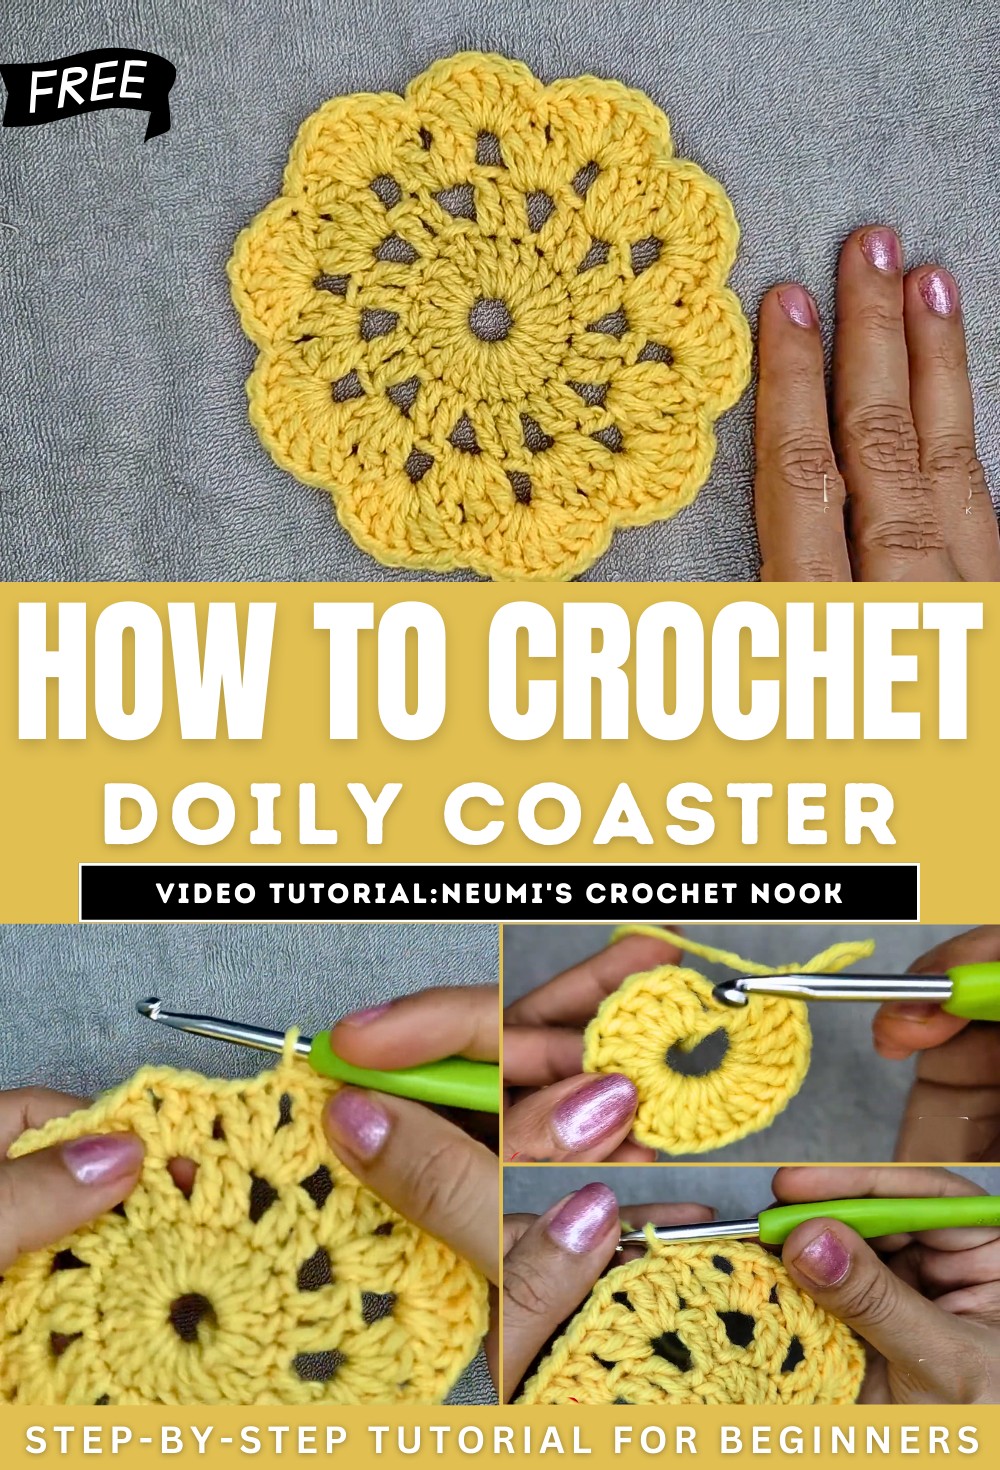
This tutorial by Numi’s Crochet Nook demonstrates how to crochet a versatile and beautiful coaster, doily, table mat, or placemat. The project uses 6-ply acrylic yarn and a 5 mm hook for a sturdy and elegant finish. It’s an easy pattern ideal for beginners, with clear explanations of each step. Includes tips on slip knots, double crochets, and creating scalloped edges.
Materials Needed
- Yarn: 6-ply acrylic yarn (or any yarn of your choice).
- Hook: 5 mm crochet hook.
- Additional Items: Scissors for cutting yarn and a yarn needle (optional) for weaving in the ends.
Step-by-Step Instructions
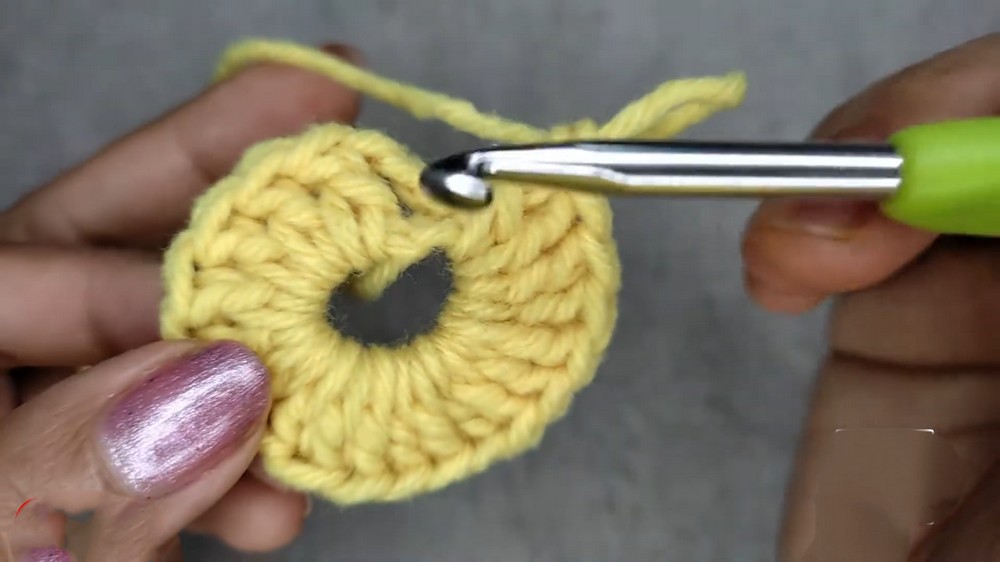
Step 1: Creating the Foundation Ring
- Start with a slip knot and chain six.
- Join the chain into a circle using a slip stitch in the first chain.
- Adjust the ring as needed for size and tightness.
Step 2: First Round – Double Crochets
- Begin the round with a chain of three, counting it as the first double crochet (in UK terms, this is referred to as “treble crochet”).
- Work double crochets into the center ring. Ensure the required number of double crochets are evenly distributed around the circle.
- Close the round by slip stitching into the top of the beginning chain.
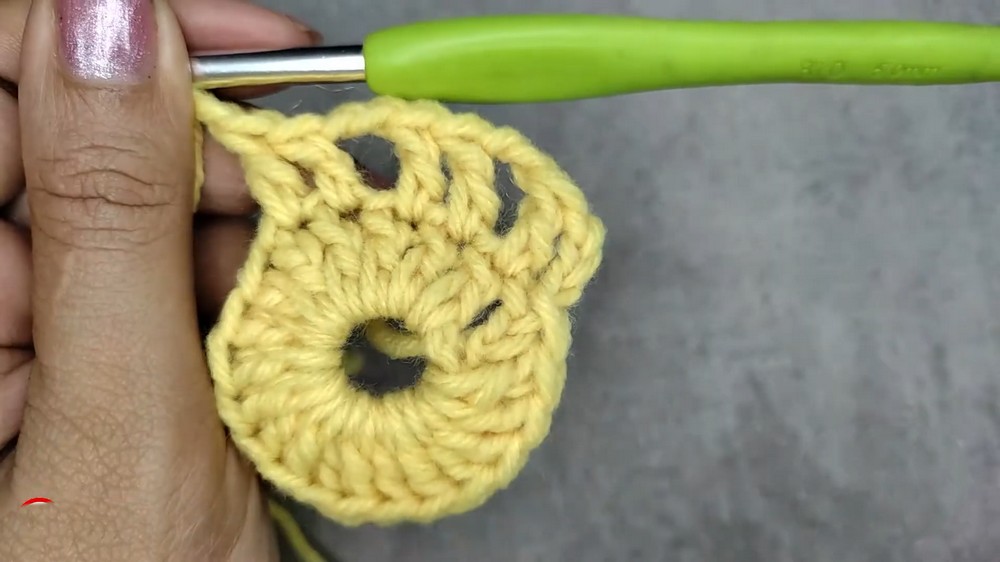
Step 3: Second Round – Introducing Chains
- Chain three to begin, and add double crochets in the next few stitches (one double crochet per stitch across the row).
- Create a chain space by chaining two, then continue double crochets in subsequent stitches.
- The pattern alternates between double crochets and chain spaces, which help define the next layer of the design.
- Complete the round by slip stitching into the top of the beginning chain.
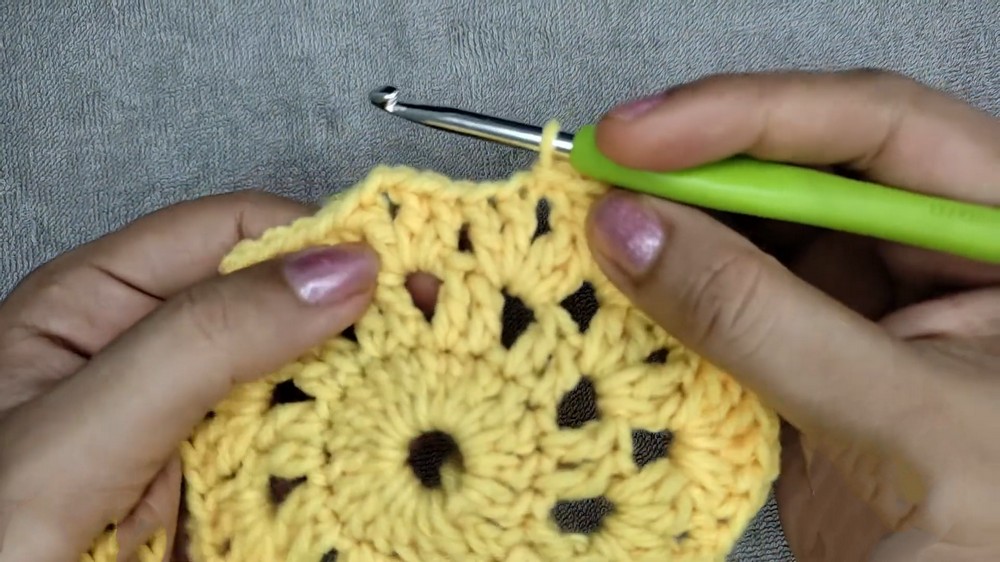
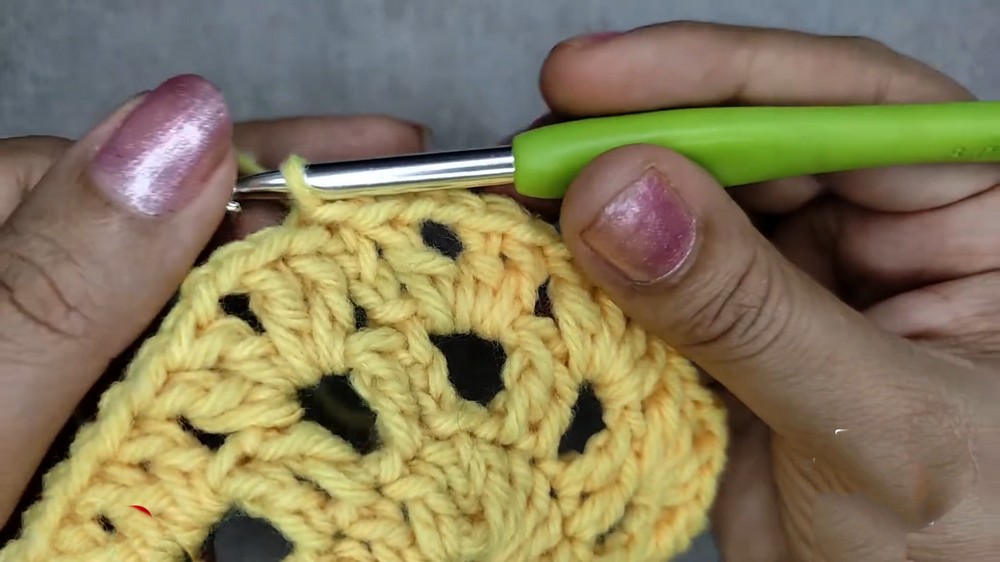
Step 4: Third Round – Building On The Chain Spaces
- Chain three to start and work directly into the chain spaces from the previous round without working into the double crochet stitches.
- For each chain space:
- Work two double crochets, followed by two chains, and then two more double crochets in the same space to build the next layer.
- This repeats all the way around, skipping over the double crochets and only working into the chain spaces.
- Finish the round with a slip stitch.
Step 5: Final Round – Creating Scalloped Edges
- Chain three, then work directly into the chain spaces to form the scallops.
- For each scallop:
- Work a series of six double crochets into the same chain space.
- Slip stitch into the next chain space to secure.
- Repeat the six double crochet scallops in every chain space until the end of the round.
- The final scallop connects with the starting chain using a slip stitch.
Finishing the Pattern
- Cut the yarn, leaving a small tail for weaving. Secure the project by chaining one and pulling the yarn tightly.
- Use a yarn needle or hook to weave in the ends neatly.
- The completed project features elegant scalloped edges and serves as a sturdy, functional coaster or doily.
Tips and Remarks
- The use of 6-ply yarn creates a stiffer and thicker coaster, suitable as a table mat or placemat.
- Experiment with different yarn types and thicknesses for varying finishes and sizes.
- Beginners can find additional tutorials linked in the description for specific stitches like double crochets.
Conclusion
- The tutorial provides clear and easy-to-follow instructions for creating a quick, beautiful, and functional design.
- The final product is versatile and can be used for a variety of purposes.
Video Guide
https://youtu.be/GRMMa1rhfD0