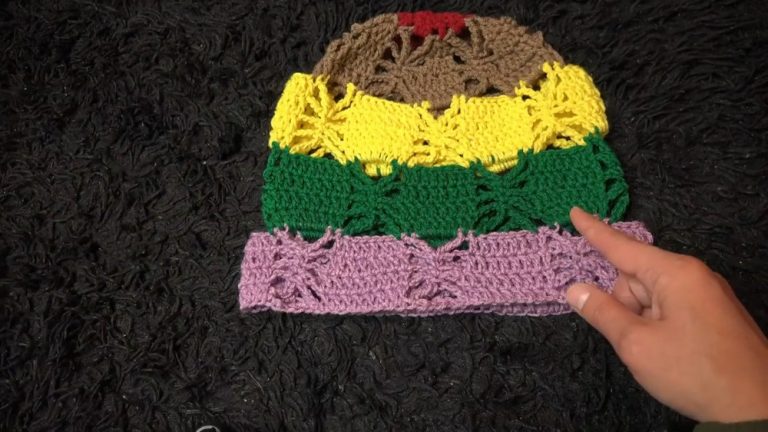
How to Crochet Easy Tulip Hairband Tutorial for Beginners
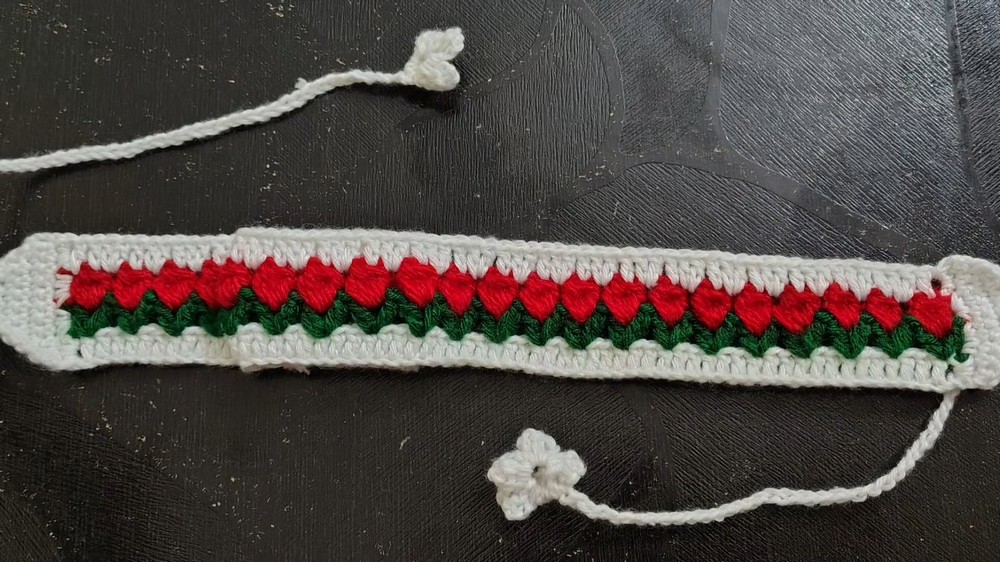
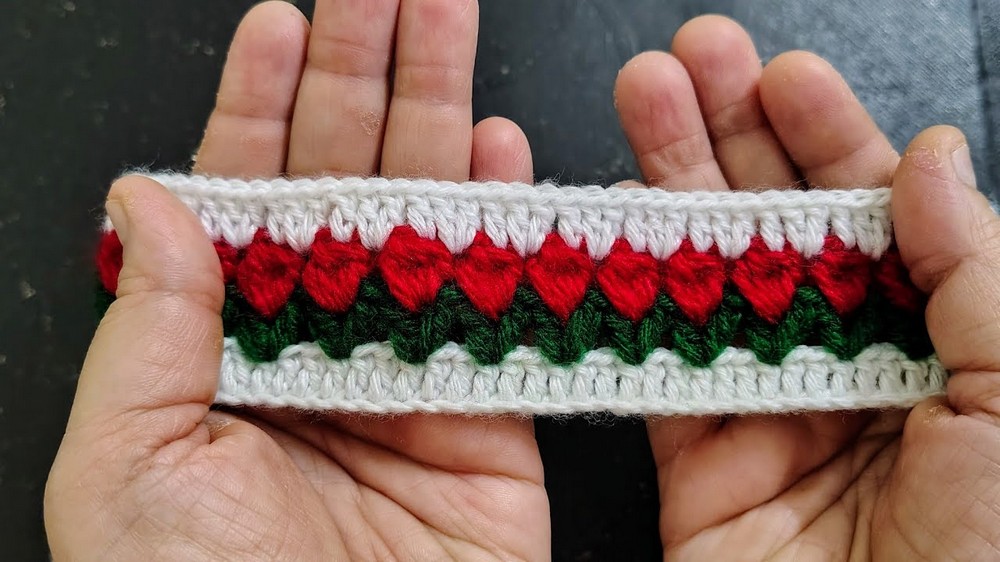
Learn how to crochet an easy tulip design hairband with lovely stitches following a step-by-step tutorial for all skill levels. It covers the materials needed, including three colors of yarn (white, green, and red), a 3mm crochet hook, scissors, and a darning needle. The tutorial details the crochet steps for each row, creating the border, stem, and flower clusters.
It also shows how to finish the hairband by creating tie strings and attaching a separate crocheted tulip flower. Follow through with us for the complete tutorial!
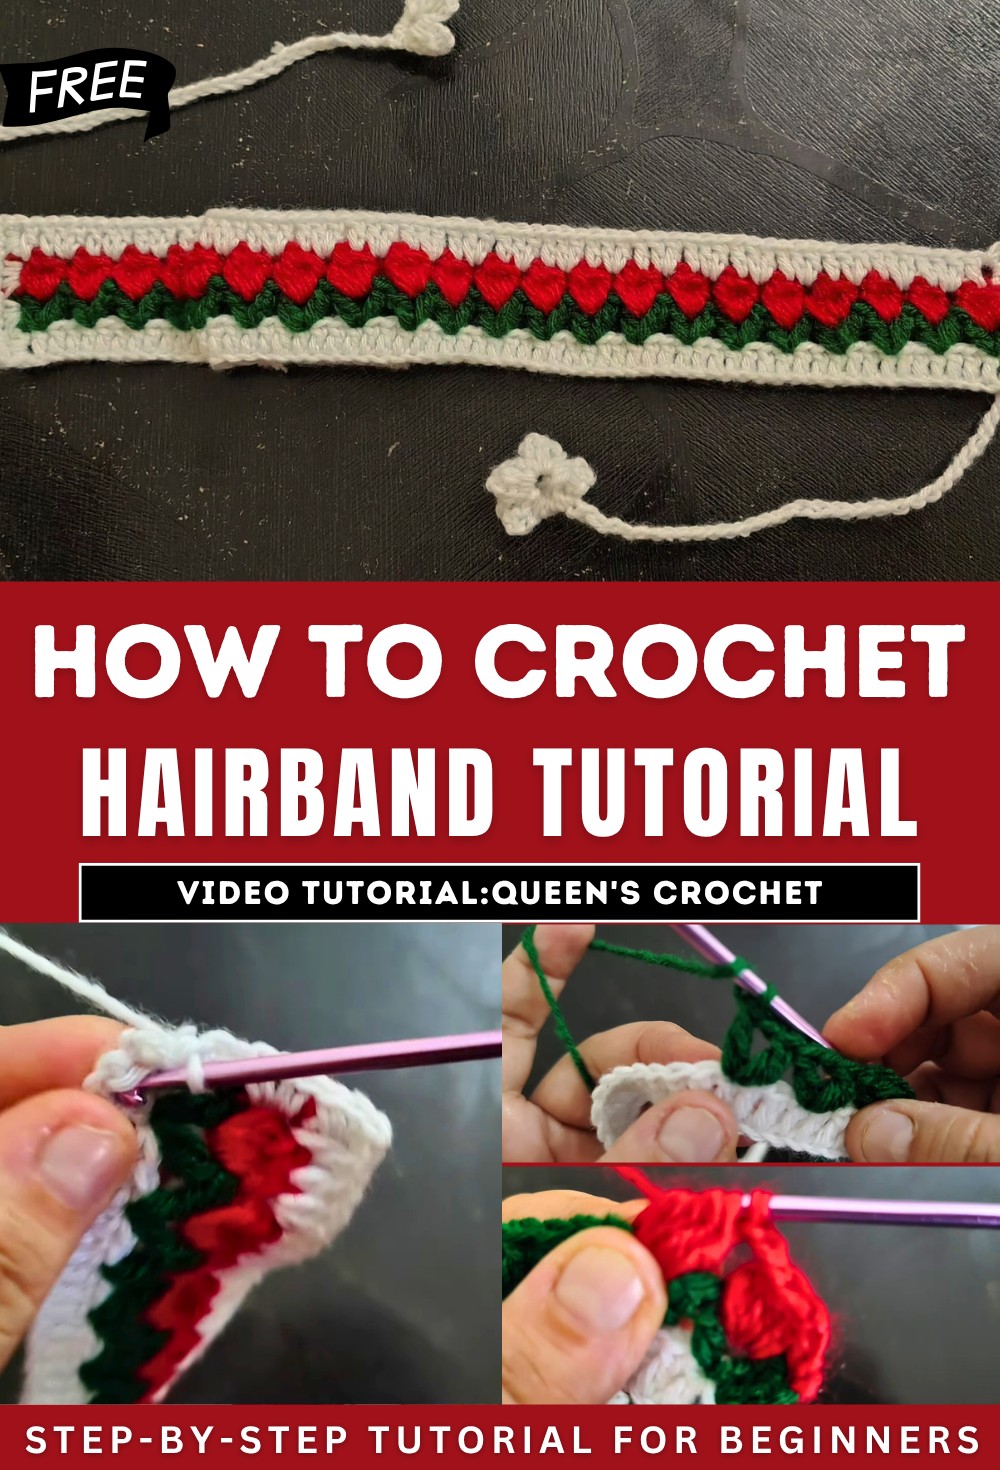
This video provides a tutorial on how to crochet an easy tulip design hairband.
I. Introduction and Materials
-
Project Overview: The video presents a tutorial for crocheting a hairband featuring an easy tulip design.
-
Materials Needed:
-
Yarn: Three different colors of yarn are required: white for the border, green for the stem, and red for the flower.
-
Crochet Hook: A 3mm crochet hook is used for the project.
-
-
-
Tools: Scissors and a darning needle are also listed as necessary tools.
-
II. Crochet Steps
-
First Row (White Yarn – Base):
-
The process begins with a slip knot and creating an even number of chains, followed by additional chains.
-
The creator demonstrates how to make a double crochet in a specific chain from the hook and then a double crochet in each subsequent chain to complete the first row, forming the base of the hairband.
-
-
Second Row (Green Yarn – Stem):
-
The green yarn is joined to the top chain of the initial chains from the previous row.
-
The creator then shows how to create a “V” stitch, which involves making a double crochet, a chain, and another double crochet in the same loop.
-
For each subsequent “V” stitch, a specific number of chains from the previous row are skipped, creating the stem-like pattern.
-
-
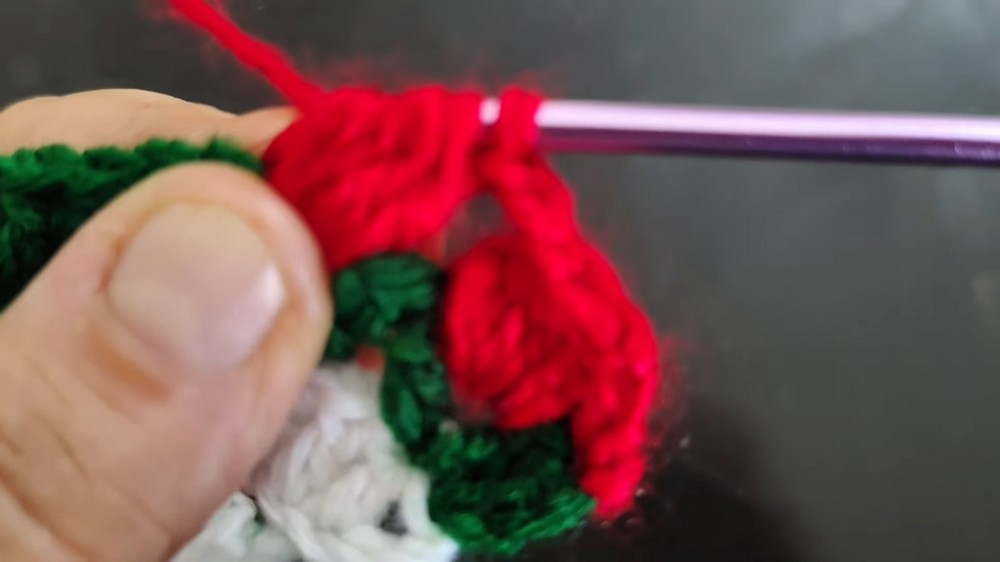
Third Row (Red Yarn – Flower Clusters):
-
The red yarn is attached to the top chain of the initial chains from the previous row.
-
The creator demonstrates how to create a cluster stitch within each “V” loop from the previous row. This involves multiple yarn overs and pulling through loops to form a petal-like shape, followed by chains.
-
-
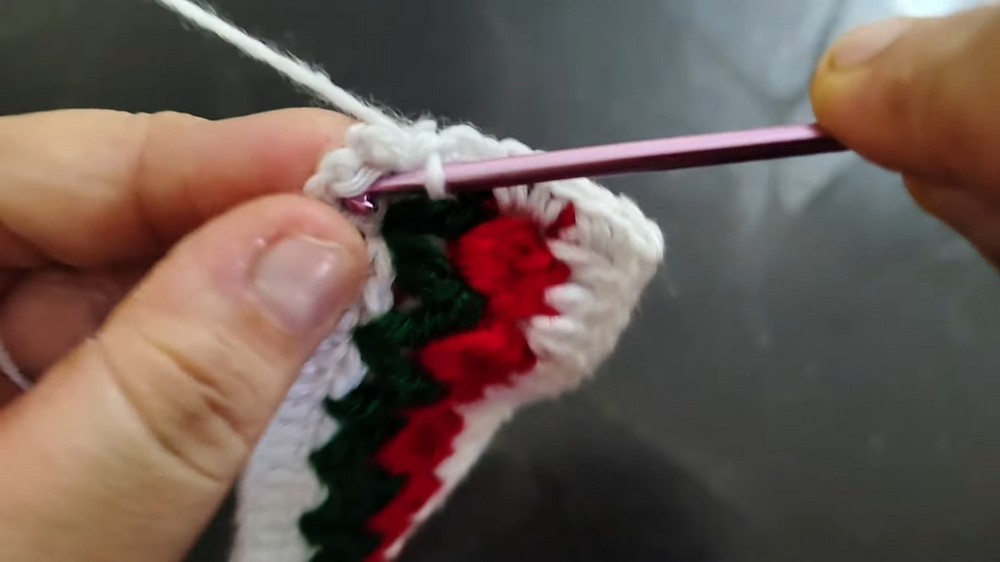
Fourth Row (White Yarn – Border):
-
The white yarn is rejoined to continue the border.
-
The creator instructs on making a double crochet in the chain above each cluster and then multiple double crochets in the gap between clusters, creating a defined border.
-
-
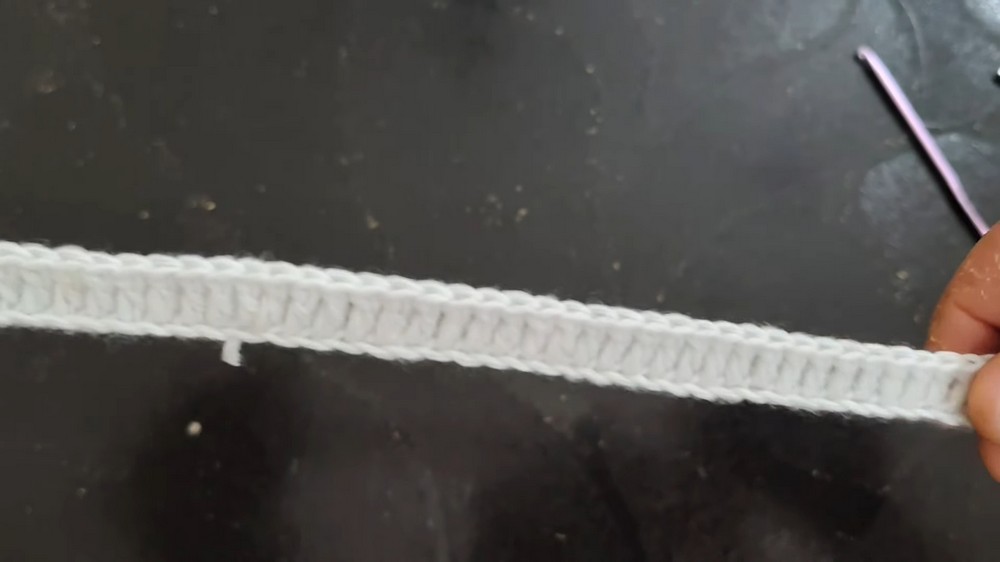
Finishing the Hairband:
-
The video then shows how to create the tie strings for the hairband. This is done by making single crochets along the edge, gradually decreasing stitches to form a tapered end.
-
Finally, chains are made to create the actual tie strings.
-

-
Creating the Tulip Flower (Separate Element):
-
The creator demonstrates how to crochet a separate tulip flower. This flower is designed with multiple petals.
-
Once crocheted, this separate tulip flower is then attached to the hairband as the main decorative element.
-
III. Final Touches and Promotion
-
Securing Loose Ends: The video concludes with instructions on how to secure any loose ends of yarn, ensuring a neat and finished appearance for the hairband.
Video Guide
https://youtu.be/eTanKrPtv6I