How to Crochet Flower Granny Square Headband for Beginners

In this beginner-friendly post, find the steps to crochet a charming granny square headband for a woman. Using a 2.0 mm hook, cotton yarn, and basic crochet skills, you’ll craft five granny square flowers and two triangles to assemble the headband. The tutorial covers everything from creating magic circles for the flower centers to stitching seamless borders and adding a tie strand. Clear demonstrations and helpful tips ensure even beginners can follow along.
This first-time YouTuber provides a creative and engaging guide, inviting viewers to experiment with colors and share their feedback for future projects. So, follow through with us for the complete tutorial.

The Granny Square Headband Tutorial
This tutorial provides a step-by-step guide to crocheting a beautiful granny square headband, making it an excellent project for anyone with basic crochet skills. The presenter walks viewers through the process of creating and assembling the components needed to craft this charming headband. Below is a detailed summary of the tutorial.
Introduction
The creator introduces the headband project as her first-ever YouTube tutorial. It’s a simple yet creative crochet project that requires a few materials and a bit of time. She invites viewers to follow along while she provides clear guidance.
Materials Needed:
- 2.0 mm crochet hook
- Scissors
- Sewing needle
- Three different colors of yarn (or just one color, depending on personal preference)
- The yarn used in the video is 100% cotton, though the choice of yarn is flexible.

Step 1: Creating the Granny Square Flowers
The headband is constructed using five granny square flowers, which are simple yet intricate-looking designs. The tutorial begins by creating the center of each flower, detailing how to make a magic circle and crochet the petals.
Steps for the Granny Square Flowers:
- Magic Circle: Start with a magic circle to form the flower’s center. Tighten the loop and prepare it for the subsequent stitches.
- Crocheting the Petals: Change yarn colors for the petals. Each petal is created using a combination of double and triple crochets, with chains between them to shape individual petals.

- Adding the Border: The border of the granny square is created by crocheting around the flower’s existing structure. Corners are formed using triple crochets and chains to achieve the classic square shape.
Each granny square is completed by weaving in the ends for a clean finish.
Step 2: Making the Triangles
Two triangular pieces are added to the headband to help with proper sizing and structure. These triangles are created separately and attached later.

Steps for the Triangles:
- Begin with a chain and crochet rows to form the triangular shape.
- Add rows by working single crochets and increasing at the edges.
- Once the triangle reaches the desired size, secure and weave in the ends.
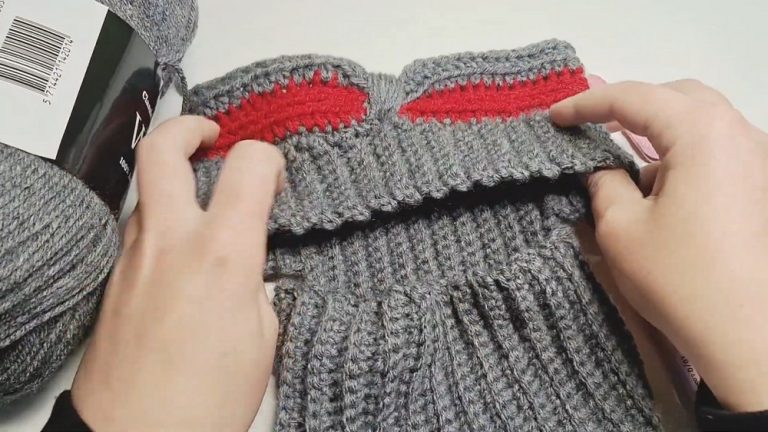
Step 3: Assembling the Headband
After crocheting the five granny squares and two triangles, the next step is to assemble the headband.

Steps for Assembly:
- Lay the pieces out flat, with the correct sides facing each other, and attach them.
- Use a sewing needle and a long piece of yarn to stitch the squares and triangles together.
- Ensure you sew through the outer strands of the stitches on both pieces for an invisible seam.
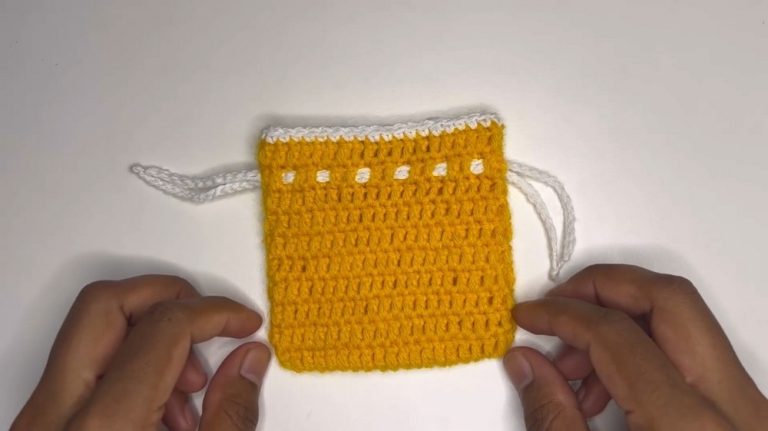
Step 4: Adding the Final Border and Tie Strand
Once fully assembled, the headband is given a finished look with a border crocheted all the way around.

Border and Tie Details:
- Create a simple border with single crochets around the edge, filling gaps as needed.
- Crochet a long tie strand on each end of the headband to make it adjustable.
The creator focuses on making the finishing as neat and professional as possible by carefully weaving in all loose ends.
Final Thoughts
At the end of the video, the creator shows the finished headband and emphasizes the importance of making each piece uniform for a polished look. Viewers are encouraged to experiment with colors and provide feedback on the tutorial.
This project is beginner-friendly, versatile, and allows for lots of creative freedom with colors and yarn types, making it a perfect choice for both new and seasoned crocheters.