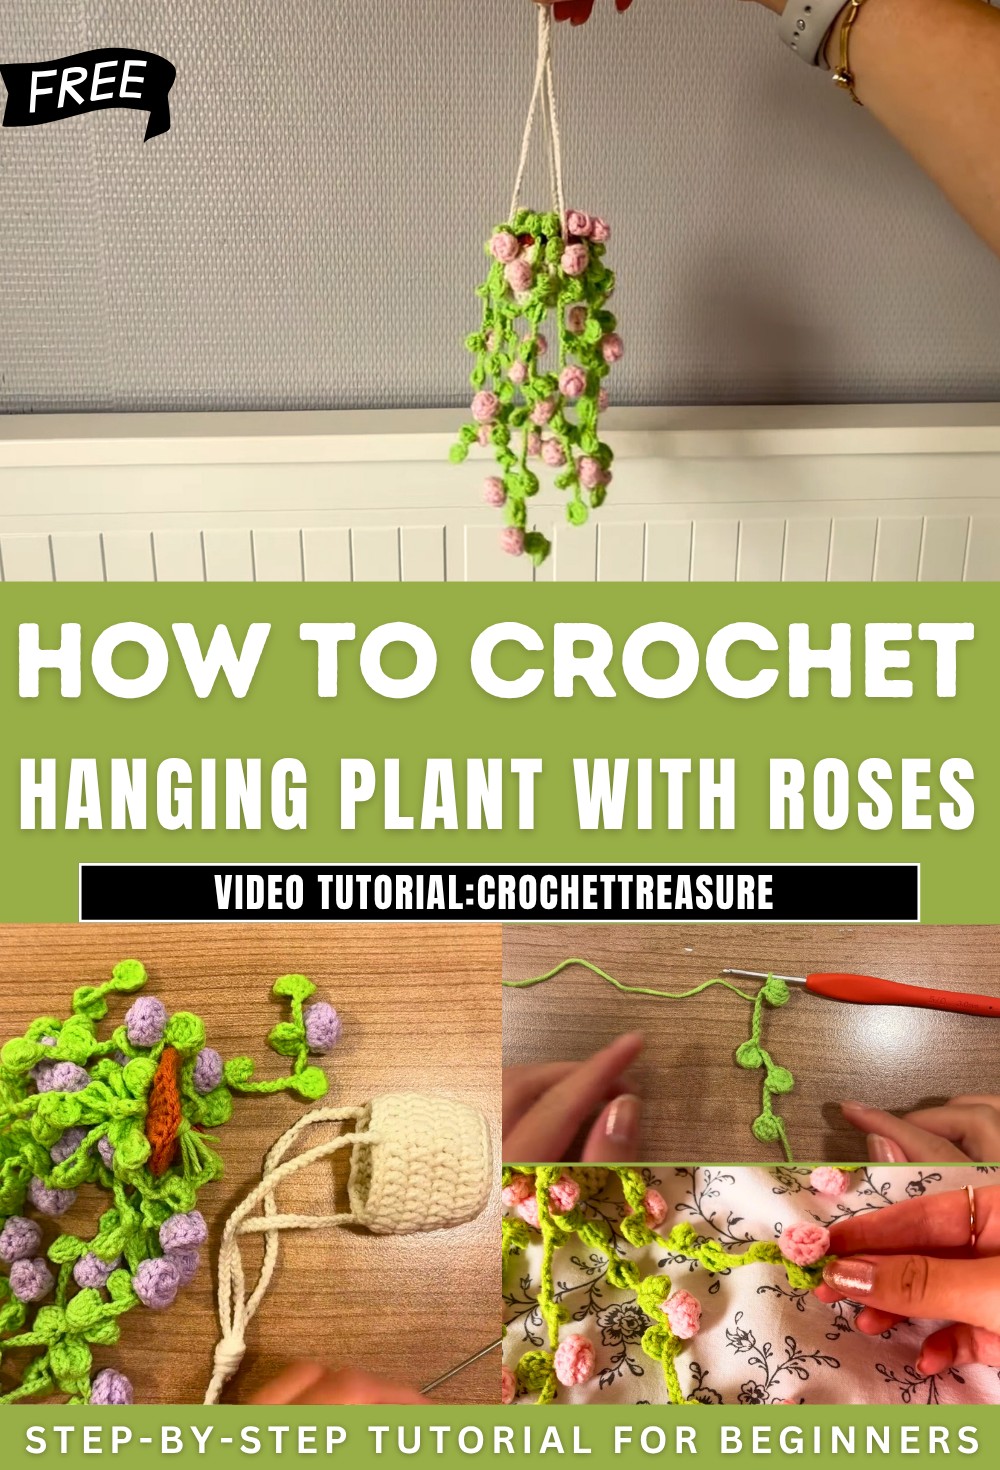
How to Crochet Hanging Plant with Roses for Spring

With this tutorial, learn how to crochet a hanging plant with crocheted roses, perfect for beginners in spring! It covers crocheting the planter, soil, vines, and roses, using materials like cotton-acrylic yarn and more. Perfect for both beginners and seasoned crocheters, this project adds a lovely decorative touch. Follow through with us for the complete tutorial!
Crochet a Hanging Plant Tutorial
Introduction
- The video is a tutorial explaining how to make a hanging plant with small roses using crochet.
- The instructor emphasizes that the tutorial is beginner-friendly and encourages viewers to ask questions in the comments.
- Materials required:
- Beige or white yarn for the planter.
- Brown yarn for the soil.
- Green yarn for the vines.
- Colored yarn for the roses (example shown uses purple).
- Crochet hook (3mm used in the video), scissors, darning needle, stitch marker, and stuffing.
- Yarn composition: 60% cotton and 40% acrylic.
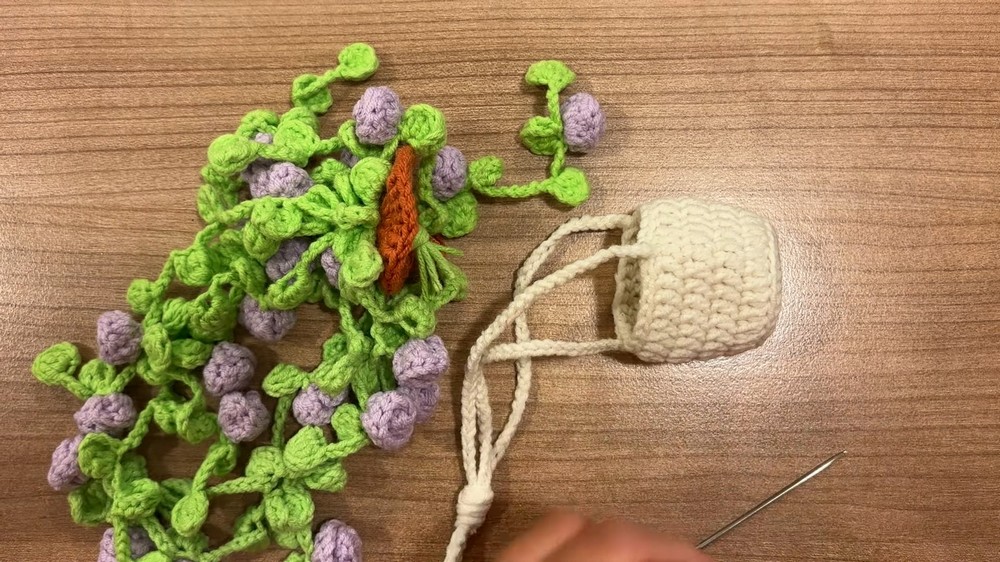
Crocheting the Planter
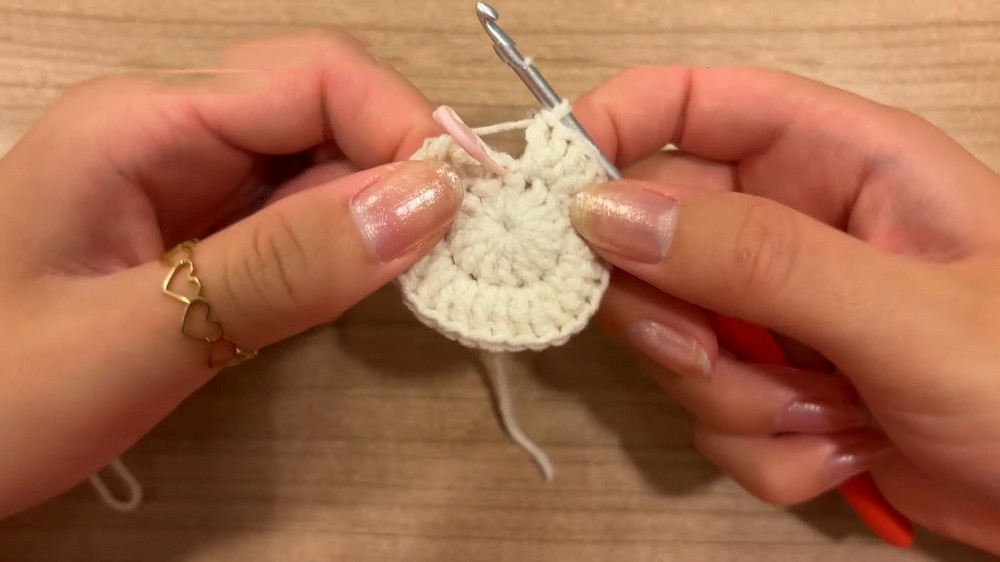
- The instructor begins by creating the planter using beige or white yarn.
- A magic circle is used to start the base of the planter.
- Two methods to start double crochets are explained. The chain-three method is common but can create gaps, so a standing double crochet method is demonstrated as an alternative.
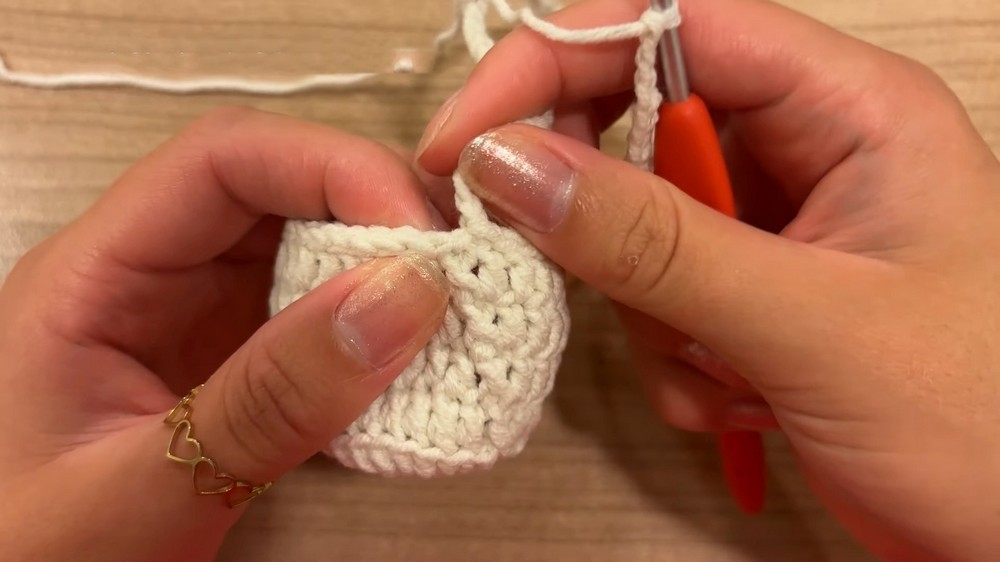
- The base and body of the planter are built using rounds of double crochets. Adjustments such as working into back loops are introduced to modify the shape.
- Additional rounds refine the structure of the planter, enhancing its durability and appearance.
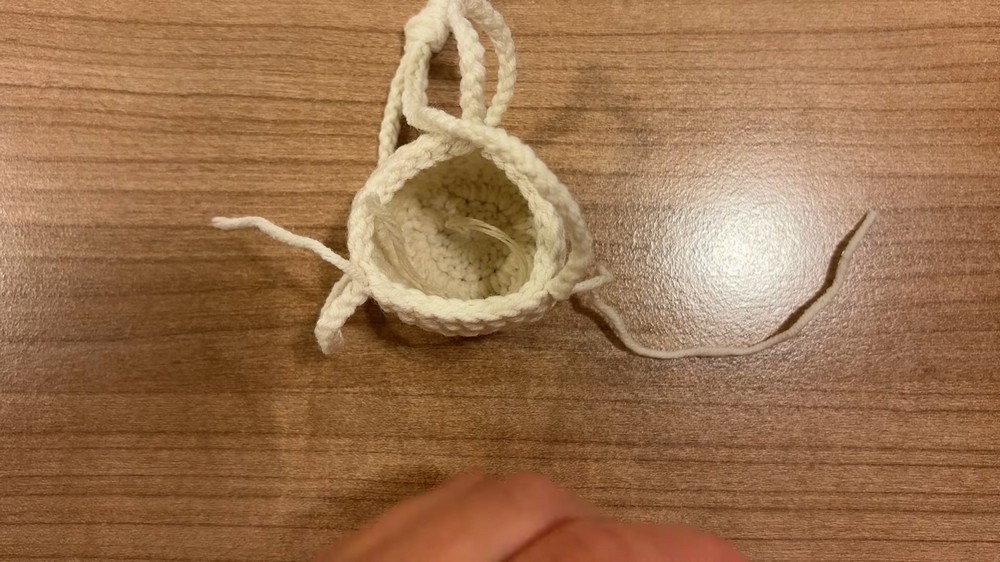
- The top of the planter is edged with slip stitches for a clean finish.
- Chains are created to form the hanging strings of the planter, which are secured using knots and neatly sewn together into a loop.
Making the Soil
- Brown yarn is used to crochet a circular piece representing the soil.
- Crocheting for the soil involves double crochets and increases to achieve the desired size.
- Once completed, the soil is cut and prepared for attachment to the planter.
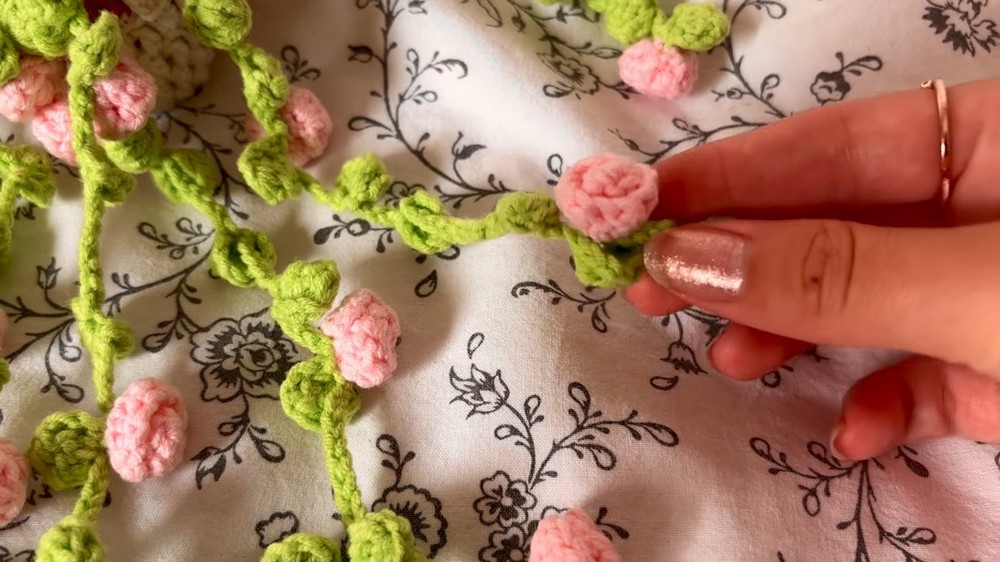
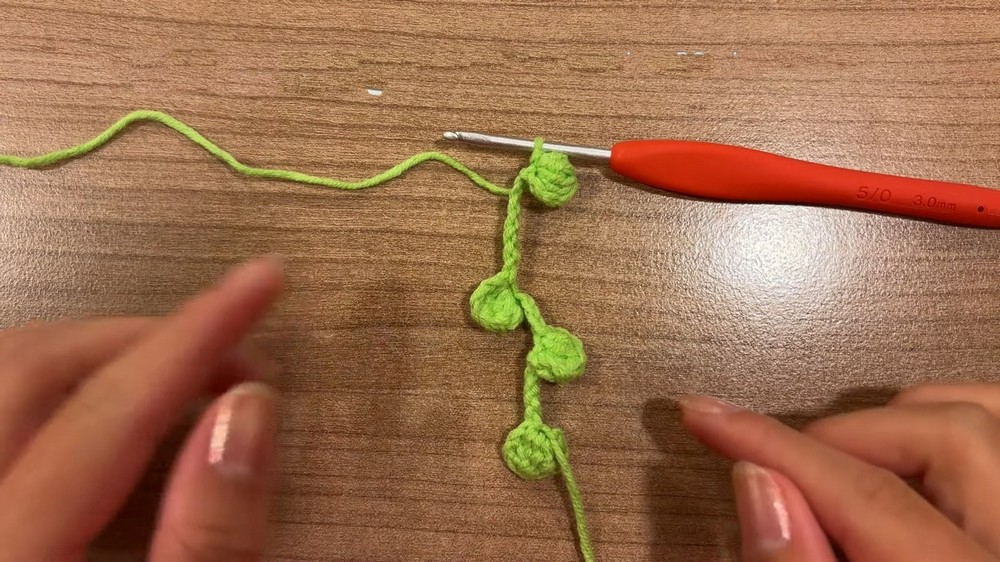
Creating the Green Vines
- Green yarn is used to crochet vines, which include leaf-like bubble stitches spaced out by chains.
- The bubbles serve as decorative leaves and are made by following a repeated pattern.
- The spacing between leaves varies to create a natural, uneven look.
- In total, nine vines are made in three lengths:
- Vines with 8, 9, and 10 leaves respectively.
- Leaves are distributed to ensure balance and aesthetic appeal.
- Loose yarn ends on vines are hidden by threading them neatly into the work.
Crocheting the Roses
- Colored yarn is used for the roses, with the demonstrated example using purple.
- Roses are created using chains, double crochets, and increases to give a spiral floral effect.
- After finishing each rose, the design is rolled inward to form its signature shape.
- Each rose is secured into shape by sewing and prepared for attachment to the vines.
Attaching Roses to Vines
- Roses are randomly attached to vines to achieve a natural aesthetic.
- The instructor demonstrates how to sew roses securely onto the vines.
- Placement varies: more roses are attached to longer vines and fewer to shorter vines.
Assembling the Hanging Plant
- The completed vines are pulled through the soil’s center using the magic circle.
- They are grouped and adjusted evenly to ensure balance before being knotted together at the base.
- The soil, with vines attached, is sewn securely into the planter using loops from the stitches.
- The vines are distributed evenly to create a realistic hanging effect.
Final Touches
- After adjusting the vines for proper placement, the hanging plant is complete.
- The instructor shows the final product and encourages viewers to experiment with their own variations, including adding or reducing vines and roses.