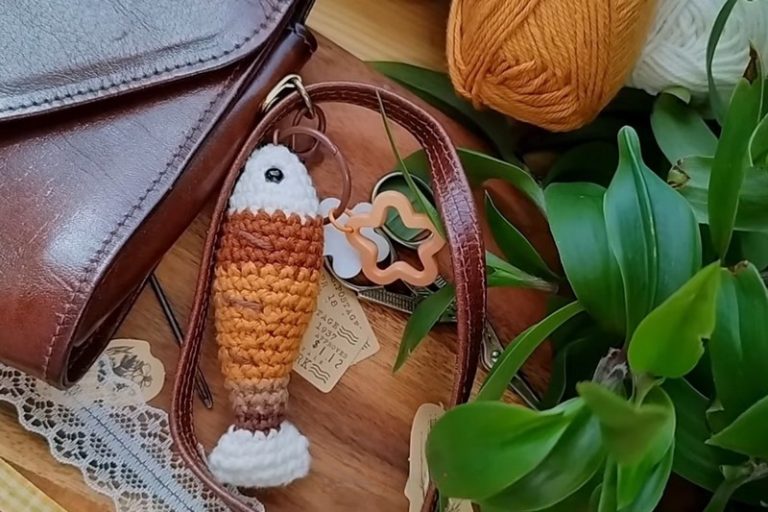
How to Crochet Happy Strawberry Keychains (Tutorial for Beginners)

Learn how to crochet cute and little happy strawberry keychains that you can sell at spring craft fairs with a step-by-step tutorial from Cute Crochet. The tutorial will crochet two versions of this strawberry: a simple strawberry and a chocolate-dipped version.
Both these crochet strawberry amigurumi take equal time though dipped strawberries will be a bit difficult for beginners as use color-changes. The complete video guide for crocheting this happy strawberry will be available at the end of this post. Make sure to check it!

Skills Used: Creating a magic ring, single crochet, increasing and decreasing stitches, back-loop crochet, invisible decreases, color changes, embroidery, and assembling keychain attachments. The use of stitch markers and embroidering seeds will also be used.
Guide Span: 30 Minutes Only
Personalization Tips: The happy strawberry amigurumi can be crocheted in large size increasing the yarn weight to get a playable plushie. The embroidered facial expression can be modified into a wink, a laughing face, or even sleepy eyes. You can also use white yarn instead of yellow to mimic the seeds.
Crochet Happy Strawberry Amigurumi Tutorial
This step-by-step tutorial provides a detailed guide to crocheting a strawberry amigurumi keychain, perfect for beginners. It explains each step clearly, from crocheting the body and leaves to adding safety eyes, stuffing, and embroidery details. The tutorial also includes a chocolate-dipped variation, demonstrating how to add color changes:
- Creating the Strawberry Body: The body starts with a magic ring and six single crochets, gradually increasing rounds to shape the strawberry. Back-loop stitches are used for texture, and color changes are made for the chocolate-dipped version.
- Adding Safety Eyes & Stuffing: The safety eyes are placed between rounds 6 and 7. The body is stuffed before beginning decrease rounds to ensure a firm and well-shaped amigurumi.
- Crocheting the Leaves: The leaves are made using a magic ring, chains, and slip stitches, forming a crown-like pattern. They are then sewn securely onto the top of the strawberry.
- Embroidering the Face & Seeds: A simple embroidered smile and blush using black and pink yarn gives the strawberry a happy expression. Yellow yarn is stitched randomly across the red body to resemble strawberry seeds.
- Attaching the Keychain: The final step involves sewing a keychain ring securely into place using the green yarn tail. The project is then completed with final adjustments and securing loose threads.

Stitches Used
Following are the crochet stitches that the tutor uses for crocheting happy strawberry amigurumi tutorial and quick guides for each:
- SC: Insert hook, yarn over, pull through, yarn over, pull through both loops.
- INC: Work two single crochets into the same stitch.
- DEC: Insert hook into the next two stitches, yarn over, pull through both, yarn over, pull through remaining loops.
- SL ST: Insert hook, yarn over, pull through both the stitch and the loop on your hook.
- BLO: Work the stitch in the back loop of the stitch only.
- HDC: Yarn over, insert hook, yarn over, pull through, yarn over, pull through all three loops.
- CH: Yarn over, pull through the loop on the hook.

Supplies Mentioned
Following are the supplies that the tutor uses for crocheting this amigurumi strawberry keychain:
- Yarn: Red (strawberry), Green (leaves), Yellow (seeds), Pink & Black (facial embroidery)
- Crochet Hook: 3mm
- Stitch Marker
- Yarn Needle
- Safety Eyes: 4mm
- Toy Stuffing/Pillow Fiber Fill
- Scissors
- Keychain Ring

Video Guide
https://youtu.be/lr10PyTrQu0