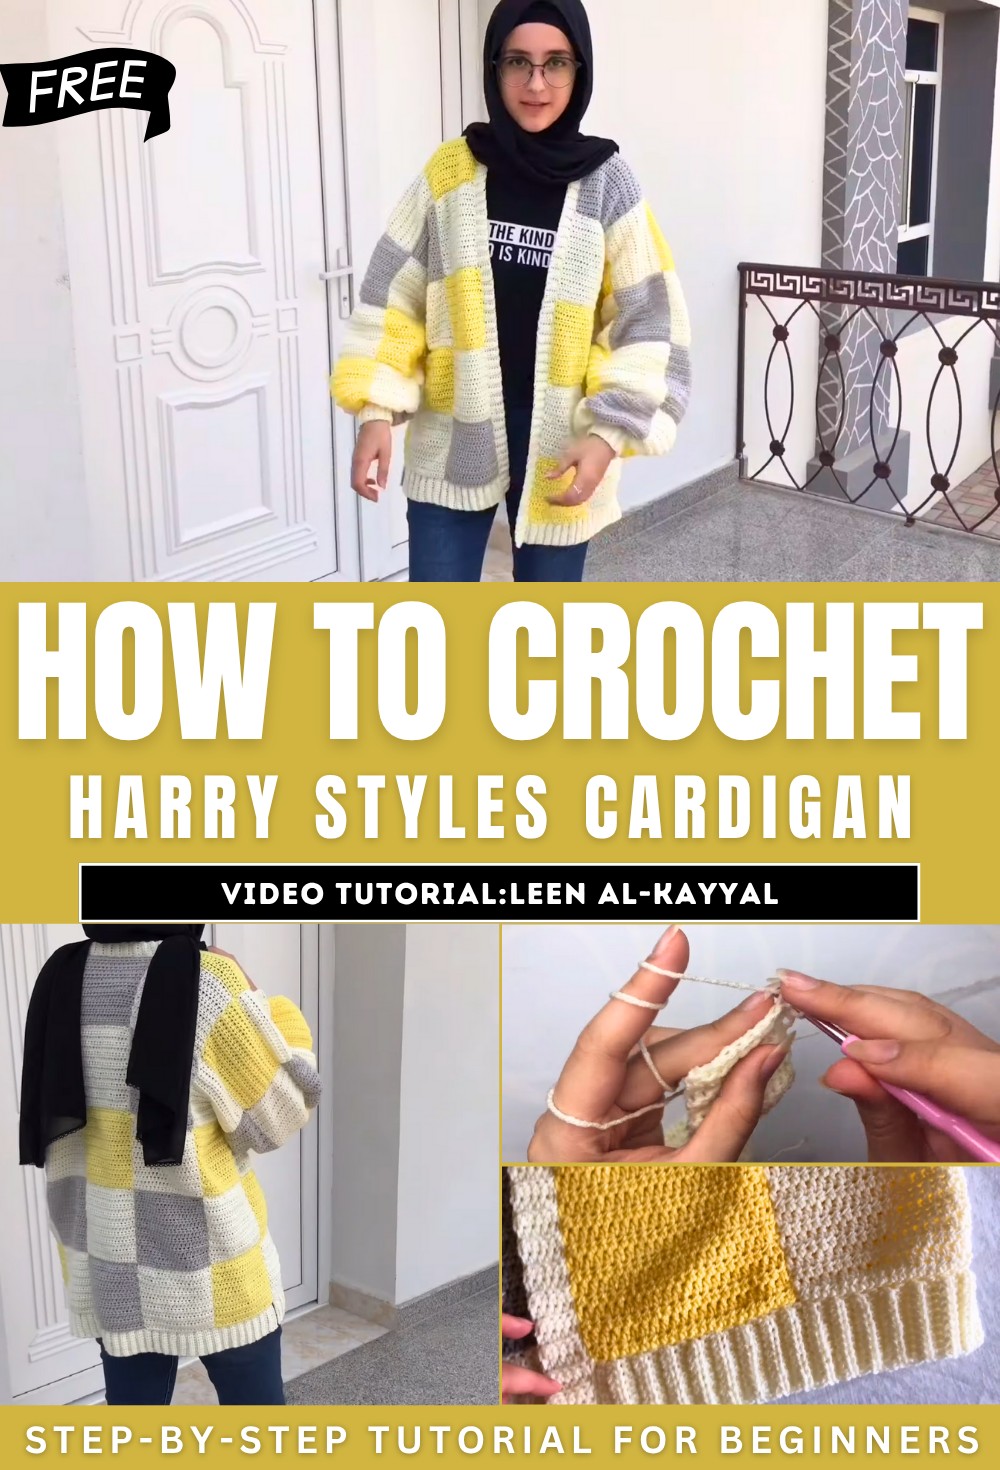
How to Crochet HARRY STYLES Cardigan (step by step)
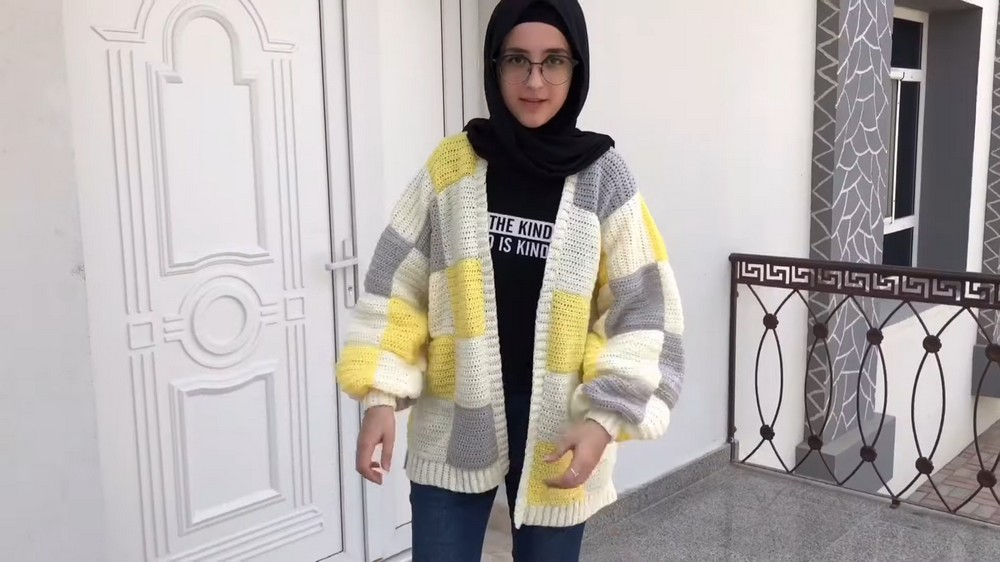
In this tutorial, how to make a beautiful cardigan step by step tutorial for beginners. She starts by creating 14×14 cm squares using half double crochet stitches and explains how to create ribbing for the front, back panels, edges, and sleeves. The tutorial covers attaching squares and ribbing using a yarn needle or hook, ensuring a neat finish.
Leen also shares tips for adjusting the sleeve size and offers guidance on securing and cleaning up yarn ends. The final cardigan is customizable with colors and sizes, making it a versatile project for all crochet enthusiasts. So, follow through with us for the complete tutorial.
Introduction
- In this tutorial, Leen demonstrates how to crochet the “famous cardigan,” providing easy-to-follow steps.
- The cardigan is made using 14×14 cm squares, ribbing for edges, and specific methods for assembly.
- Users are encouraged to choose their own color combinations to customize the design.
Materials Needed
- Yarn in the colors of your choice.
- Crochet hook.
- Yarn needle for assembling squares and ribbing.
- Scissors for cutting loose ends.
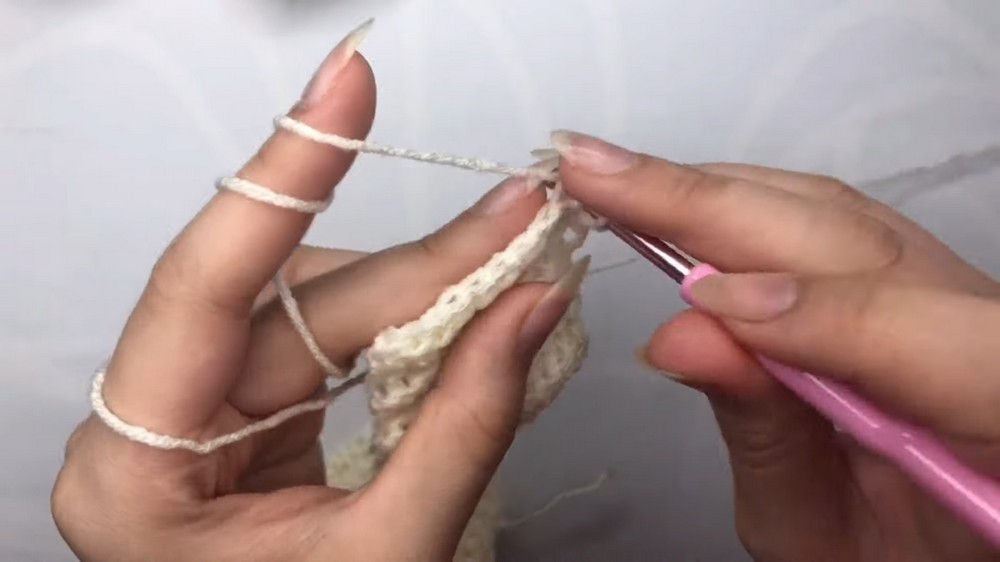
Creating the Squares
- Begin by making a slip knot and chains for the foundation row.
- Work the stitches across the row and flip the piece at the end to build rows.
- Repeat the pattern until the square reaches the desired size (14 x 14 cm in the tutorial).
- Make several squares according to the color combinations provided in the description or as preferred.
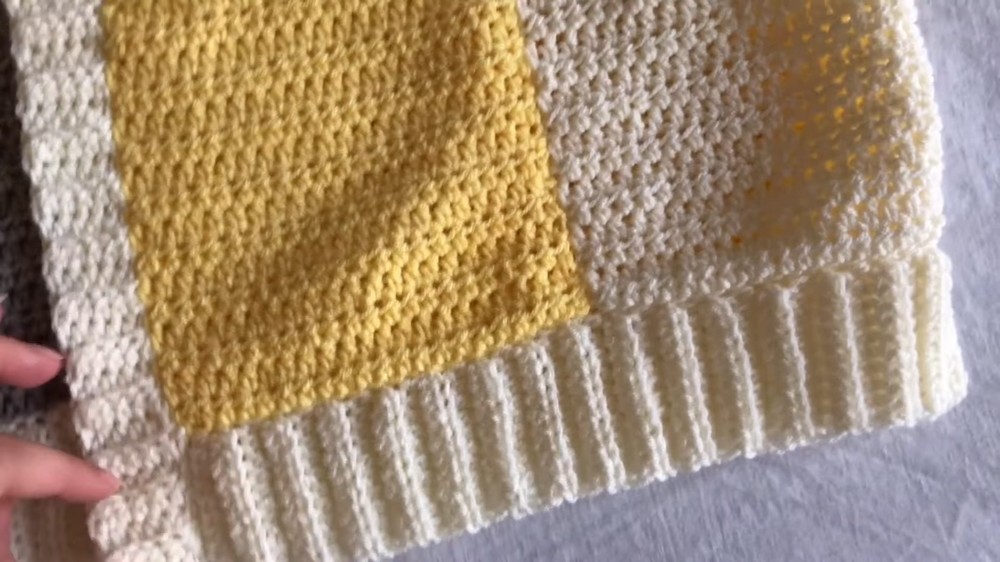
Making the Ribbing
- Ribbing is created for various parts of the cardigan, including:
- Front Panel Ribbing: Longer ribbing for the front section.
- Back Panel Ribbing: A wide piece used for the back.
- Edge Ribbing: A smaller piece for finishing touches around the cardigan’s edges.
- Sleeve Ribbing: Bracelet-like ribbing to attach to sleeves later.
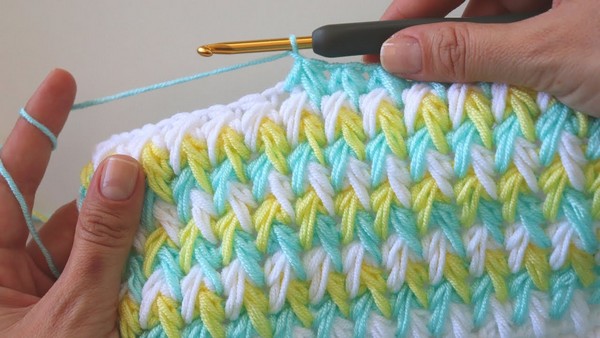
- The technique for ribbing involves stitching into the back loop only, giving it a textured appearance.
- Ribbing lengths vary based on personal preferences and yarn measurements.
Sealing the Ribbing
- Once the ribbing is complete, it needs to be sealed.
- There are two options for sealing:
- Using a crochet hook.
- Using a yarn needle.
- Whichever method is chosen, ensure the stitches are neat to avoid sloppiness.
- Tie off the yarn securely after sealing.
Assembling the Cardigan
Attaching Squares
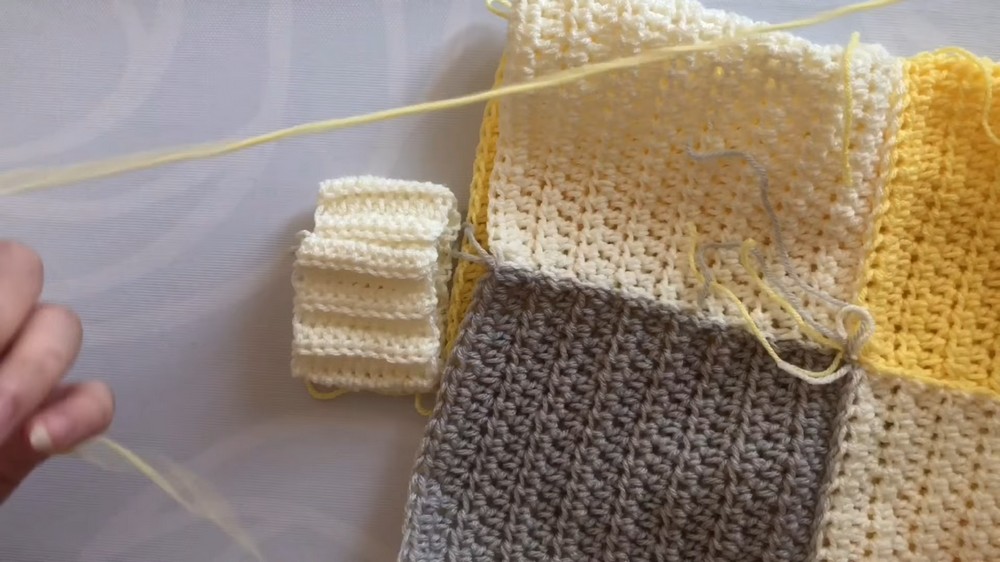
- Lay out the squares in the required arrangement:
- Back Panel: 5 x 5 squares.
- Front Panels: 2 x 5 squares per side.
- Sleeves: 3 x 4 squares (adjustable based on the desired sleeve length).
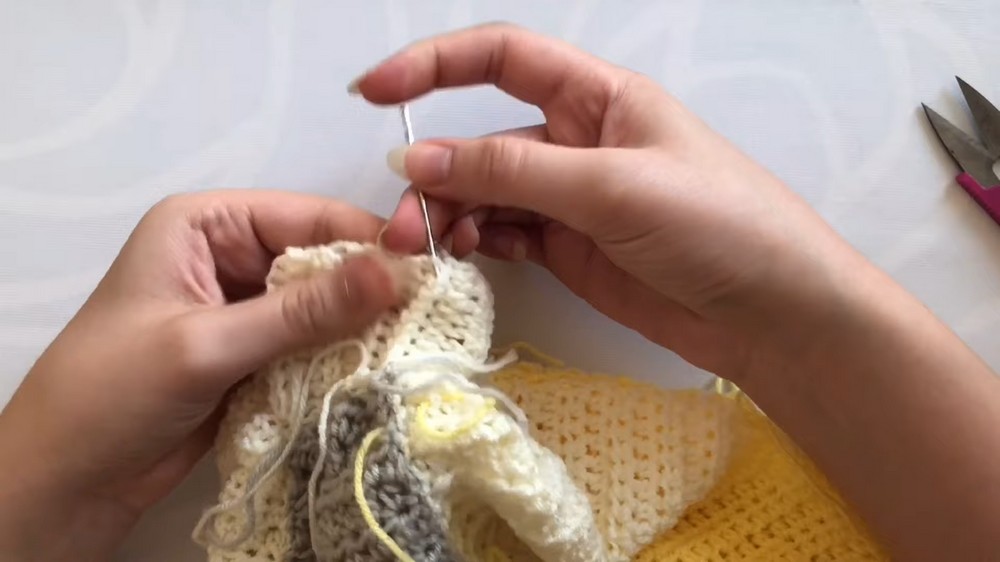
- Attach the squares using a yarn needle or hook, ensuring the back side is stitched to leave the front side clean.
- For secure connections, tighten and tie off the starting and ending yarn.
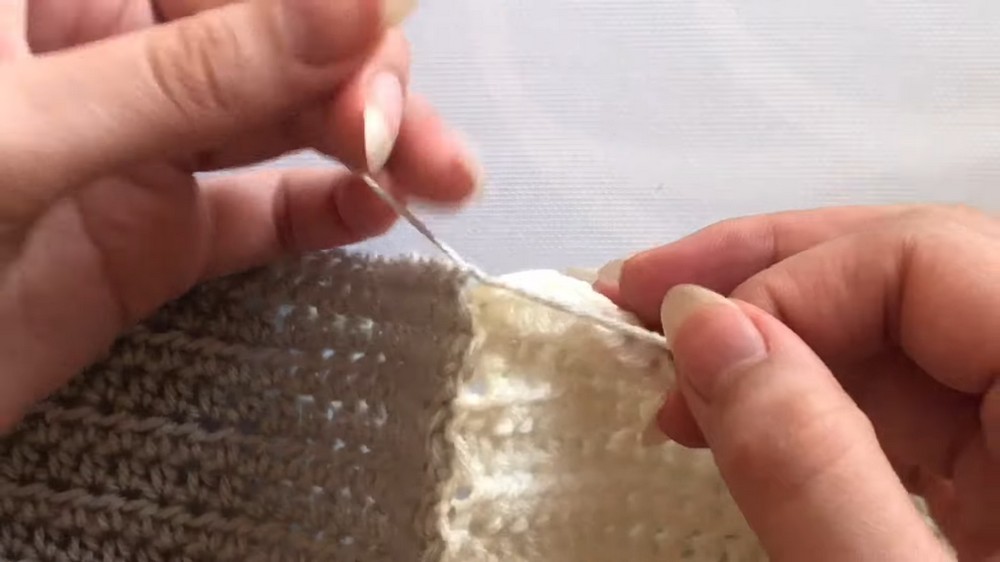
Attaching Ribbing
- Attach ribbing to the respective sections (edges, sleeves, etc.), ensuring alignment.
- To attach sleeve ribbing, adjust the disparity in size between the sleeve and the ribbing by gathering stitches to make a snug fit.
Finishing Touches
- Remove any temporary yarn used for adjustments.
- Secure and clean up loose yarn ends by weaving them into the stitches.
- Use appropriate techniques for short and long yarn ends to ensure neatness.
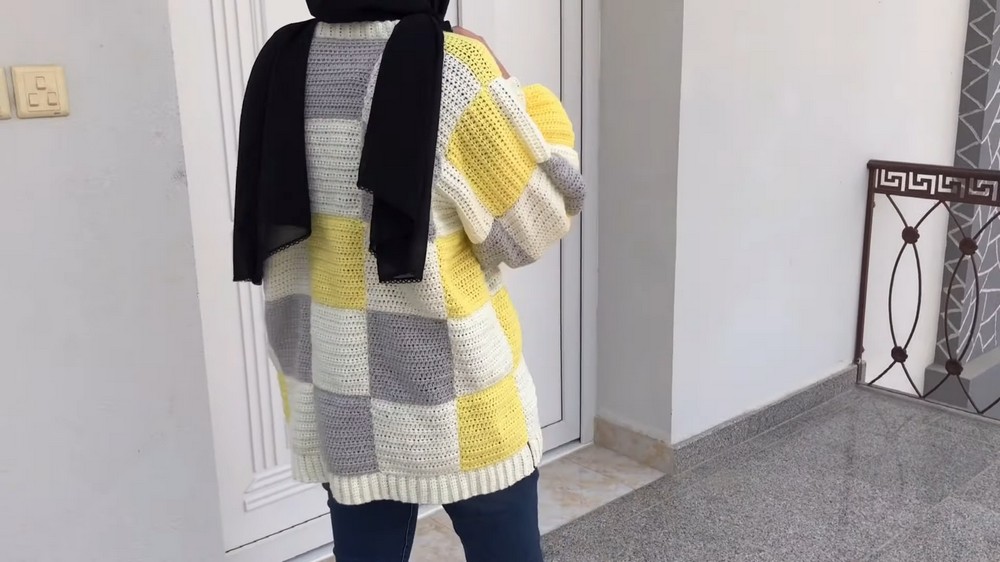
Final Look
- After assembling all parts, try on the cardigan to ensure it fits well.
- The completed cardigan features a stylish and textured design, with ribbing adding dimension and detail.
- Leen encourages viewers to share their creations and provide feedback on the tutorial.