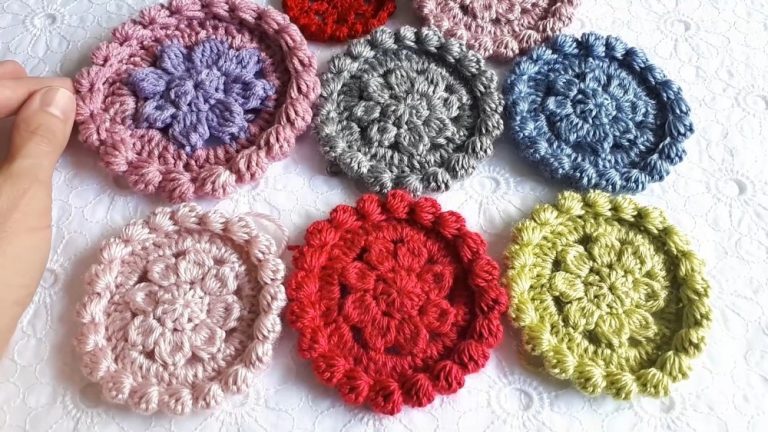
Learn How to Crochet Heart Basket for Small Items

Learn how to crochet a cute and simple heart basket with a step-by-step tutorial for all skill levels. Perfect for storing small items like stitch markers or needles, crochet it in detail from making the sides and finishing the basket! Let’s get started!

Crochet a Heart Basket Tutorial
The video demonstrates how to crochet a heart-shaped basket. The creator notes that this basket is often used for stitch markers and tapestry needles. The sides of the basket are worked using a unique single crochet technique.
Materials
To begin, you’ll need yarn of the same weight used for the basket and a 3.5 mm hook.
Starting the Base (Round 1)
The process starts with a slip knot, followed by chaining 14. You then turn the chain and work into the back bumps, specifically starting from the second bump.
-
First part of the round: Work three single crochets into the second bump, followed by four single crochets into the next four bumps. After that, decrease the next three single crochets into one. Then, make a single crochet into the next four stitches, and three single crochets into the last bump.

-
Second part of the round: Turn your work to crochet on the other side. Skip the stitch where you just made three single crochets and start in the following stitch. Do five single crochets, then three single crochets into the next stitch (which is an increase). Finish the round with five single crochets until the end, then slip stitch into the first stitch to complete.
Continuing the Base (Round 2)
Start Round 2 with a chain one.
-
Increases: Perform two single crochets into the first, second, and third stitches to go around the corner.
-
Single crochets and decrease: Single crochet in the next three stitches, then decrease the next three single crochets into one. After the decrease, make three single crochets.
-
More increases and single crochets: Do two single crochets into each of the next three stitches (increases). Then, work six single crochets.

-
Final increase and single crochets: Make three single crochets into the next stitch for an increase. Conclude the round with six single crochets and slip stitch into the first stitch.
Further Shaping the Base (Round 3)
Begin Round 3 with a chain one and a single crochet into the first stitch.
-
Patterned increases: Single crochet into the next stitch, then two single crochets into the following stitch. Repeat this pattern (single crochet, then two single crochets) two more times.
-
Middle section: Do two single crochets into the next two stitches. You should then be in the middle with three stitches for a decrease; decrease these three into one. Continue with two single crochets.
-
More patterned increases: Two single crochets into the next stitch, followed by one single crochet into the following stitch. Repeat this sequence two more times.
-
Final single crochets and increase: Single crochet into the next seven stitches. In the middle, perform an increase by making three single crochets into one stitch. Finish with seven single crochets and slip stitch into the first stitch.
Completing the Base (Round 4)
Start Round 4 with a chain one and a single crochet into the first stitch.
-
Initial increases: Two single crochets into the second stitch. Then, single crochet in the next two stitches, followed by two single crochets into the next. Repeat this pattern (single crochet in two stitches, then two single crochets in the third) one more time.
-
Middle decrease: Single crochet in the next two stitches, then decrease the next three single crochets into one.
-
Post-decrease pattern: Single crochet in the next two stitches, then two single crochets into the next stitch (increase). Single crochet in the next two stitches, followed by two single crochets into the next stitch (increase). Continue with single crochet in the next two stitches.
-
Final section: Make nine single crochets. Then, do three single crochets into the next stitch for an increase. Single crochet all the way back and slip stitch to join.

Working the Sides (Round 5)
This round starts forming the sides of the basket. Chain one. Insert your hook into the back loop only and also catch the base of that stitch. Perform a single crochet using this technique all the way around, then slip stitch into the first stitch.
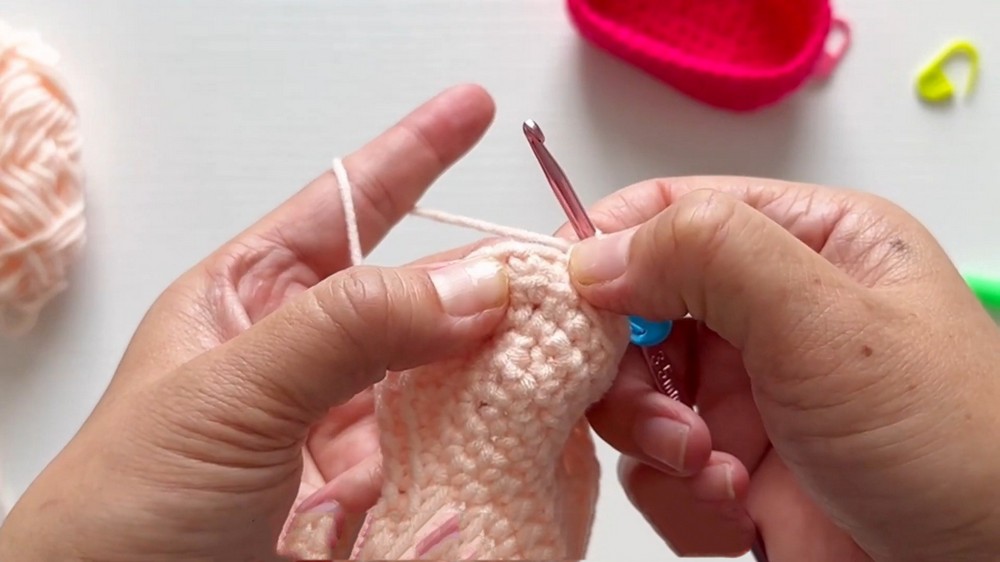
Continuing the Sides (Round 6 and onwards)
For Round 6, chain one. To create the unique single crochet pattern for the sides, insert your hook in between the “V” shape of the single crochet stitches from the previous row. This creates a tight stitch. Continue this pattern for subsequent rounds until the basket reaches your desired height.
Finishing
When you’re ready to finish, instead of a slip stitch, use an invisible join. Cut your yarn and thread it onto a tapestry needle. Insert the needle from front to back into the first stitch, then go into the back loop only of the last stitch, trying to catch some of the base stitch on the other side. Pull through to match the width of other stitches. Fasten off the stitch.
Tips
The creator notes that cotton yarn may not hold its shape well and suggests using starch spray to help it maintain form, or opting for acrylic yarn which generally holds shape better.