How to Crochet Leaves for Fruit Hats for Absolute Beginners
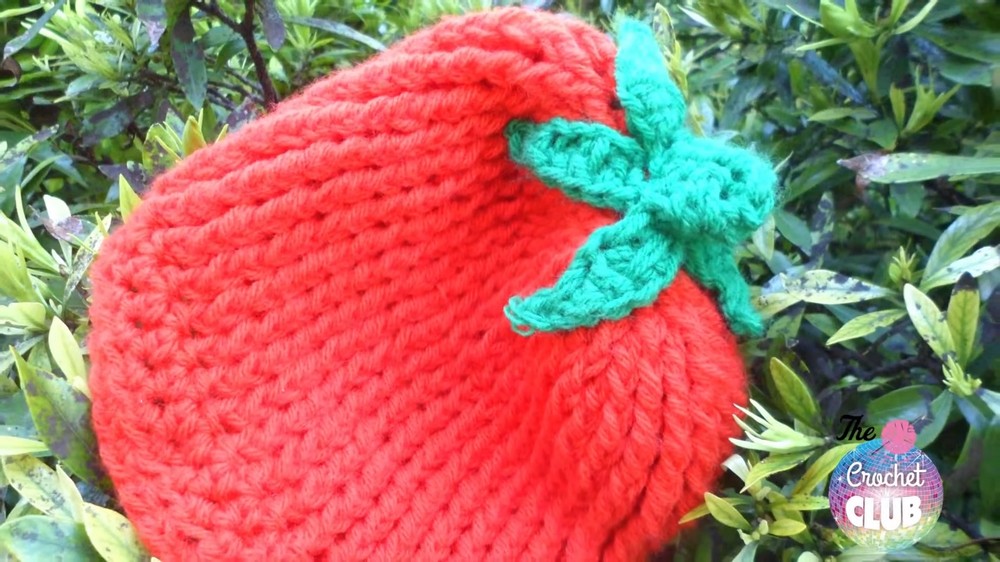
To bring your hats a fruity look, learn how to crochet leaves to decorate a hat, with a focus on a pumpkin design that’s easy and quick. The creator guides you through the process, which begins with creating a slip knot and a chain. The leaf shape is formed using a combination of slip stitches, half double crochets, and double crochets. You will also crochet a set together for easy sewing.
After making four leaves and joining them together, the video shows how to create a stem by chaining and then using a simple crochet. The tutorial concludes by demonstrating how to sew the finished leaf decoration onto a hat that can be adapted for strawberry and other designs also. So, follow through with us for the complete tutorial.

Crochet Leaves Tutorial
This tutorial guides viewers through the step-by-step process of crocheting decorative leaves for a “popping hat.” The finished design can be used to enhance hats, garments, or other crochet and fruit projects, with customization options for personal style or festivities like Halloween and the fall.
Materials Required
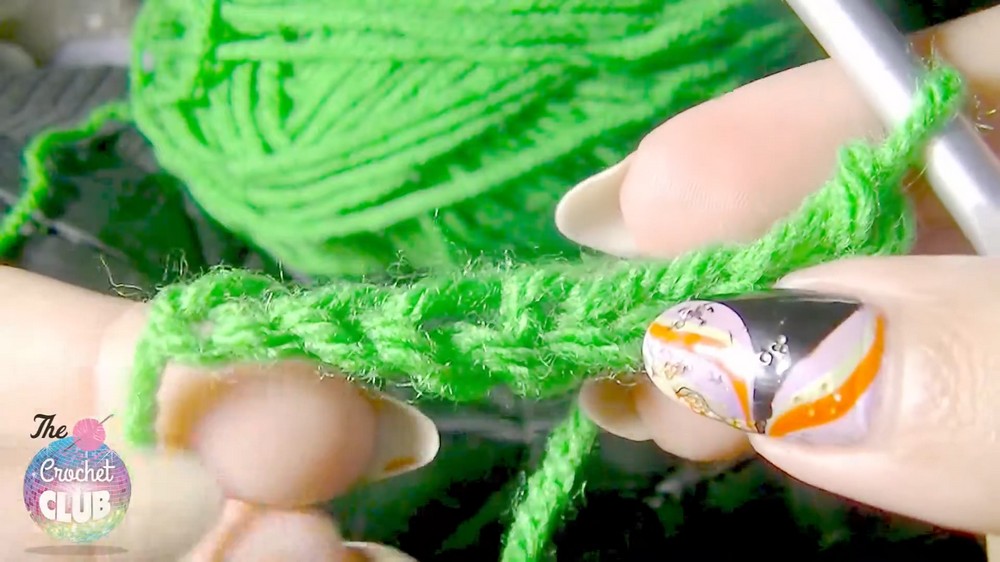
- Yarn: Green yarn is used for the leaves in the demonstration, but the color can be customized.
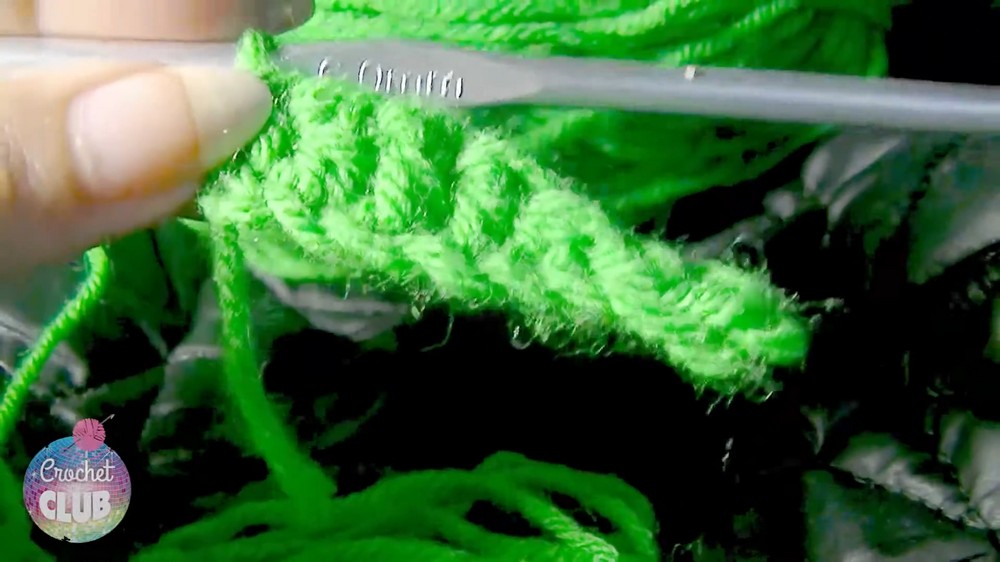
- Crochet Hook: A 6 mm crochet hook.
- Additional Tools: Scissors and a needle for attaching the leaves.
Steps to Crochet the Leaves
Starting the First Leaf
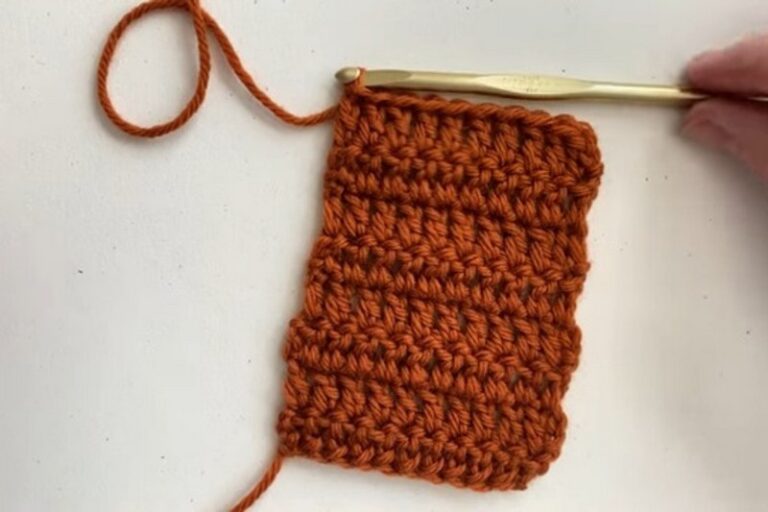
- Begin the project with a slip knot and chain a base length.
- Work slip stitches, half double crochets, and double crochets following the sequence to form the leaf shape.
- The instructor carefully explains how to work through the loops to create clean and consistent stitches.
- Complete the final stitch of the leaf and finish it off neatly.
Creating Additional Leaves
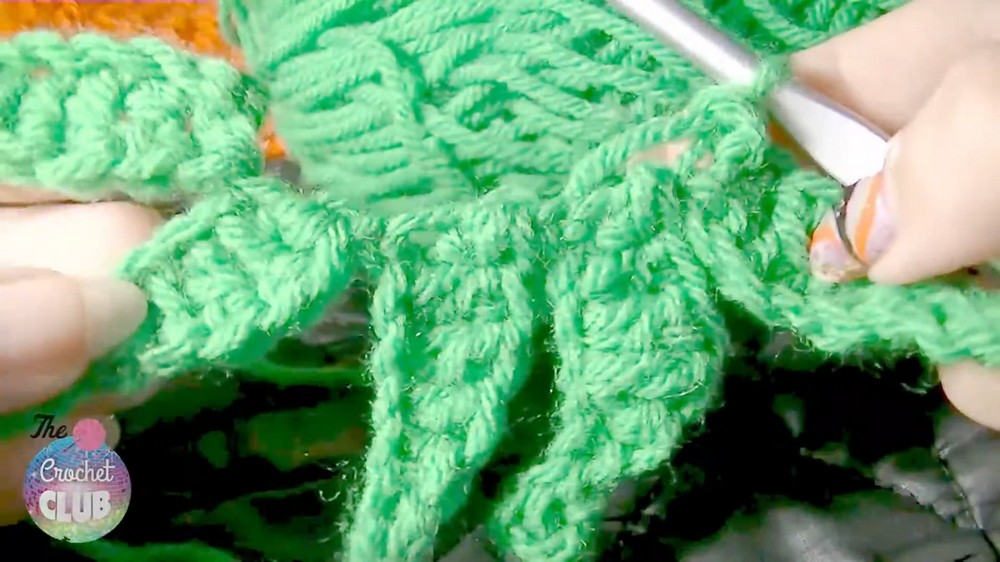
- Repeat the steps to crochet the desired number of leaves. In this tutorial, five leaves are created, but you can crochet even more as you need.
Joining the Leaves
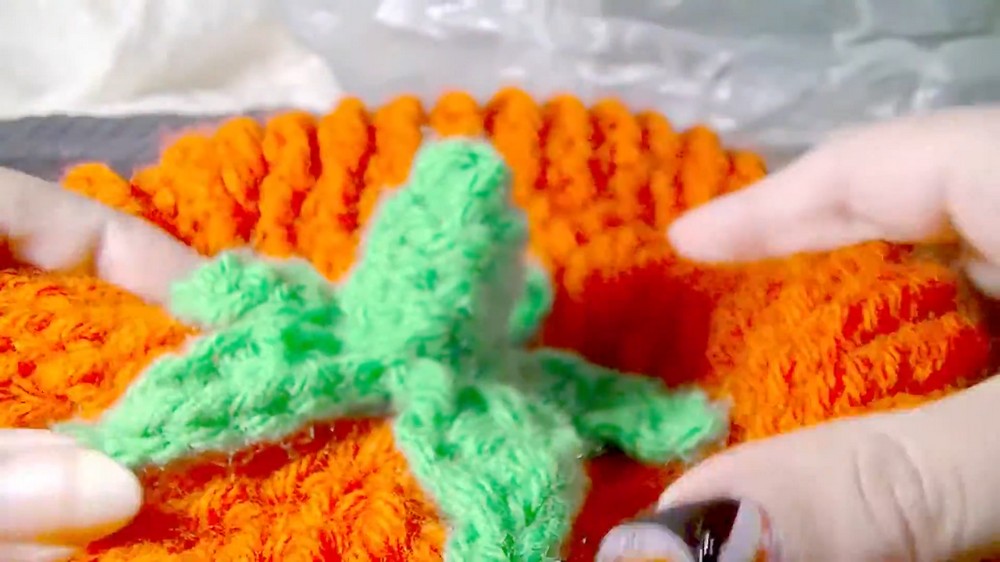
- After all the leaves are completed, they are joined together at the base using slip stitches. This creates a cluster of leaves.
Crocheting the Stem
- Once the leaves are joined, start creating the stem by working in the rounds.
- Begin with a chain and continue using simple stitches until the stem reaches the desired height.
- Close any remaining small gaps or holes by using stitches to secure the work.
Finishing and Assembly
- Cut the yarn and secure it with a slip stitch to finalize the decoration.
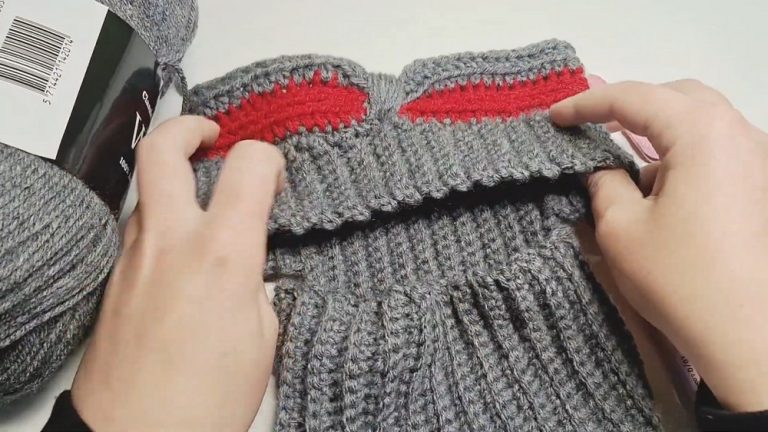
- Use a yarn needle to attach the completed leaf decoration to a hat or any other project. The tutorial demonstrates sewing the leaves under the hat brim to give a beautiful finished look.
Customization Options
- The instructor encourages viewers to experiment with different yarn colors to create designs suitable for various occasions. For example, the green leaves used in this tutorial work well for Halloween, but other colors can be used for any holiday or style.
- The tutorial ends with the instructor showing off the final look of the hat with the attached leaves. The end result is described as fun, versatile, and easy to adapt to personal preferences.