
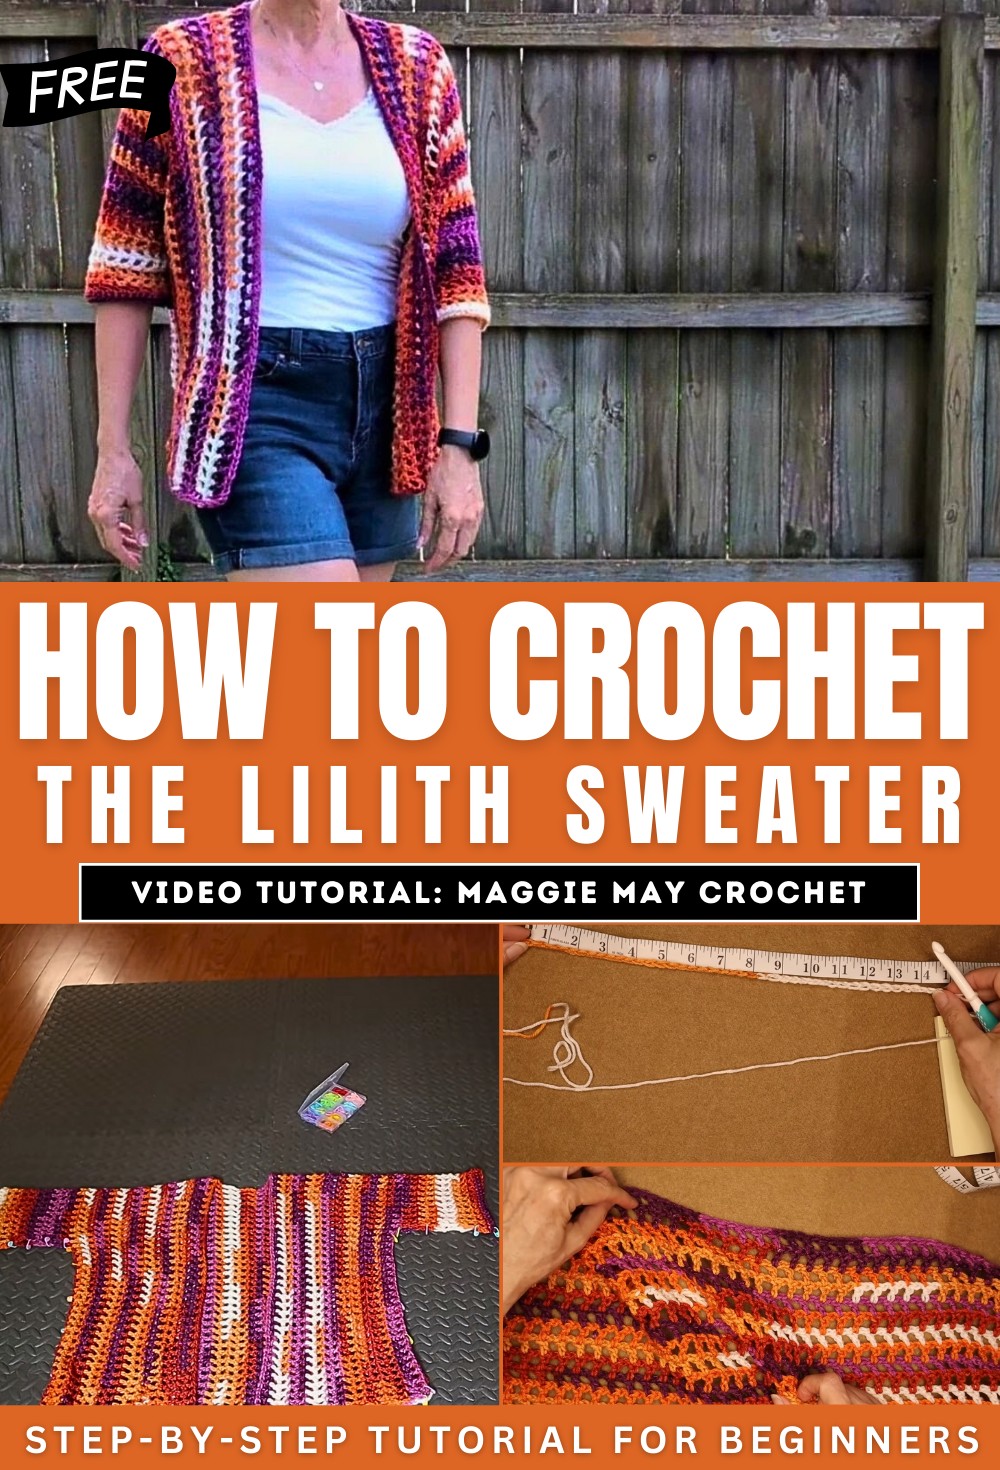
How to Crochet Lilith Sweater – Easy One-Piece Crochet Sweater
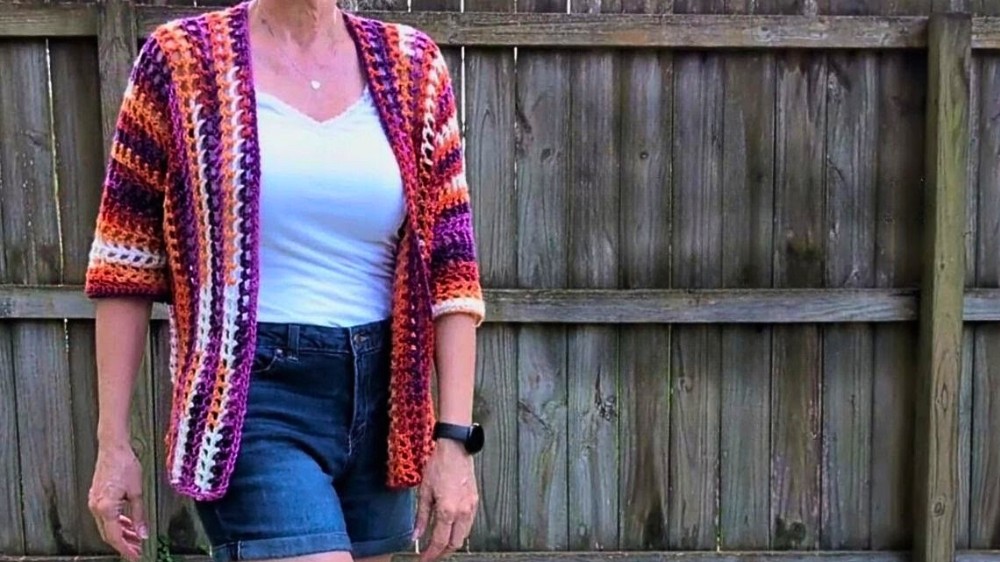
In this post, you’ll find a pattern and tutorial for crocheting a popular sweater named The Lilith Sweater, perfect for beginners and experts. Crocheted using Big Twist yarn in the spirit colorway, this medium-to-large sweater is easily customizable through segments involving simple stitches and repeats. Maggie provides detailed guidance on creating sleeves, panels, and neck shaping, emphasizing the importance of measurements over stitch counts for the best fit.
She also offers alternatives for the yarn and demonstrates how to join the sweater parts effectively. So, follow through with us for the complete tutorial.
Crochet Sweater Tutorial
In this video, Maggie from Maggie May Crochet provides an in-depth tutorial for creating a customizable crochet sweater pattern. This pattern is relatively simple, making it accessible to both beginners and experienced crocheters. Below is a structured summary of the instructions and highlights from the tutorial.
Introduction and Overview
- Maggie introduces a sweater pattern that gained attention from her followers.
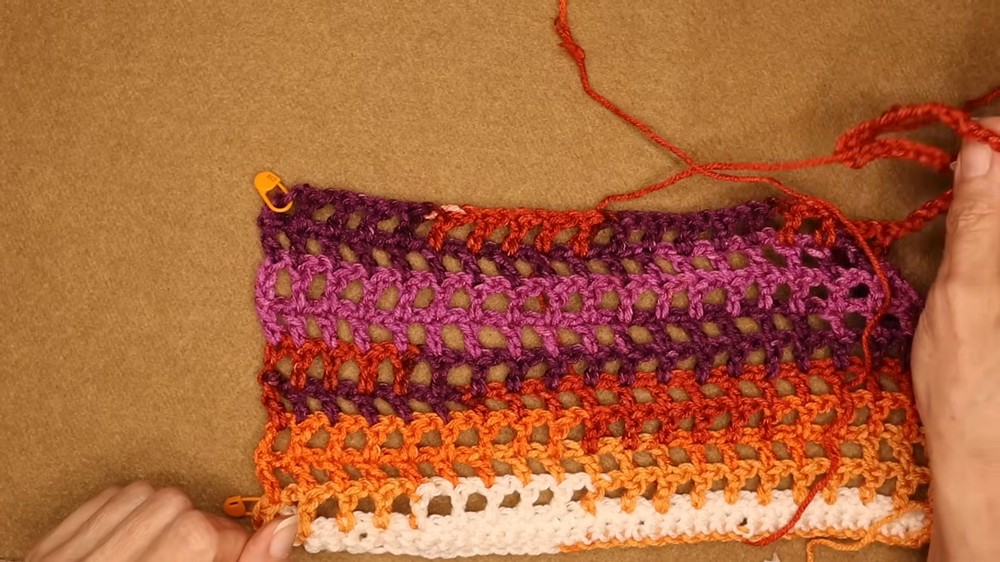
- The yarn used is Big Twist in the colorway Spirit (Joanne brand). Maggie also provides alternatives from Etsy, Hshner’s, and Lion Brand in case the original yarn is unavailable.
- The sweater is medium to large in size, but the pattern can easily be adapted to fit different sizes using measurements instead of specific stitch counts.
Materials Needed
- Big Twist medium-weight yarn (or your preferred equivalent).
- 8 mm crochet hook.
- Stitch markers.
- Measuring tape (recommended for custom fitting).
Basic Pattern Visualization
- Maggie begins by explaining how the sweater is constructed:
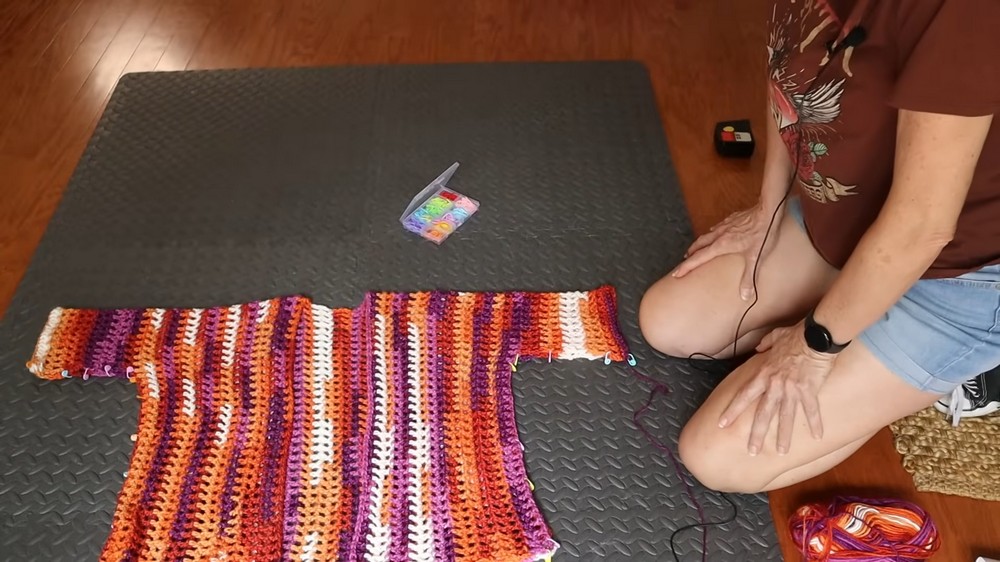
- Step 1: Start with the left sleeve and work in a repeating crochet pattern.
- Step 2: Build front and back panels to create the width and length of the sweater.
- Step 3: Create the neckline section to divide the front panel.
- Step 4: Assemble the panels by slip-stitching and single-crocheting along seams.
Step-by-Step Construction
Left Sleeve Construction
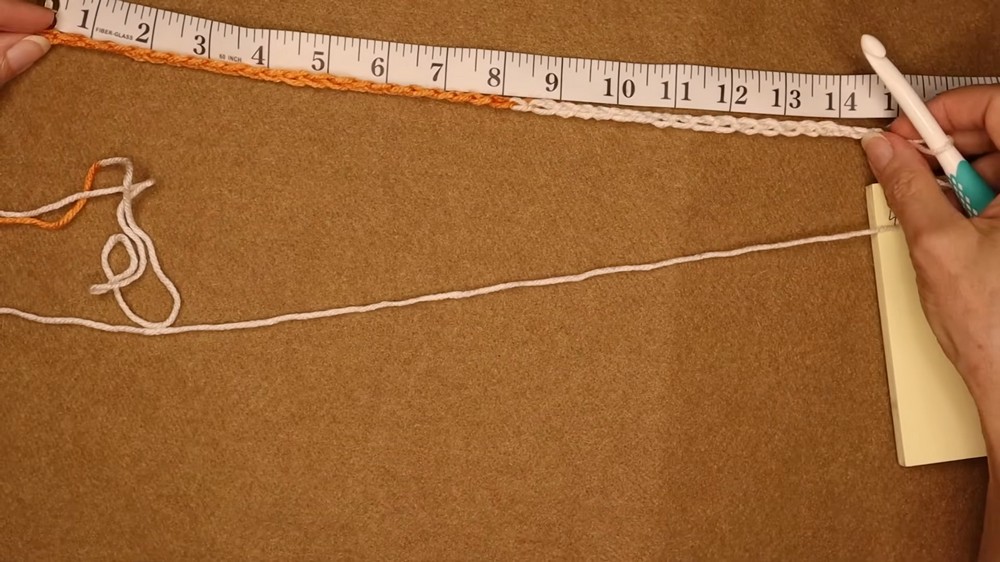
- Begin with a foundation chain measured to your desired width in inches.
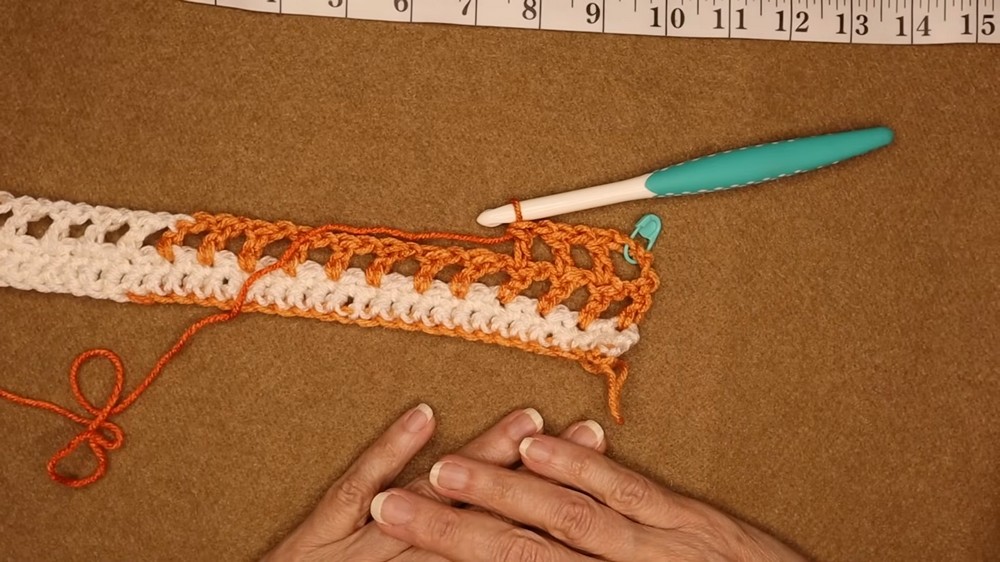
- Add two rows of single crochet stitches to form the cuff.
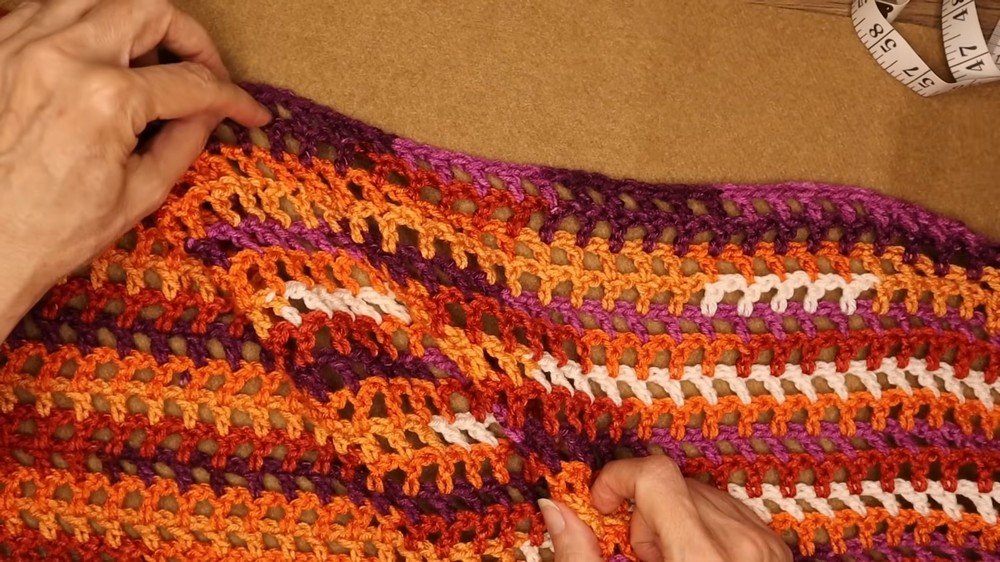
- The pattern repeat consists of alternating double crochets and chain spaces, creating a mesh-like texture.
Body Panels
- After completing the sleeve, chain additional stitches to extend the front and back panels.
- Work in the same pattern repeat (double crochet and chain spaces) to build the panels.
- Measure and adjust panel width and length based on your preferences.
Neckline Section
- Find the center of your work (halfway through the total panel width).
- Add a small panel of stitches to create the neckline. This separates the front panel into two halves.
Right Sleeve and Second Panel
- Mirror the instructions for the left sleeve and body panels to create the right side of the sweater, ensuring symmetry.
Assembly and Finishing
- Maggie demonstrates seam construction using slip stitches along the sleeve and side panels.
- Add rows of single crochet stitches to smooth edges, especially around the bottom of the sweater and neckline.
- Place two single crochets at sharp corners to round them for a clean finish.
Customization Tips
- Maggie emphasizes the importance of using your own measurements instead of relying on stitch counts for clothing projects.
- Adjust sleeve length, panel width, or sweater length as desired to create the perfect fit.
Conclusion
- Maggie completes the tutorial by showing assembly techniques and adding final touches to the sweater.
- She encourages viewers to get creative with yarn choices and sizing adjustments.


