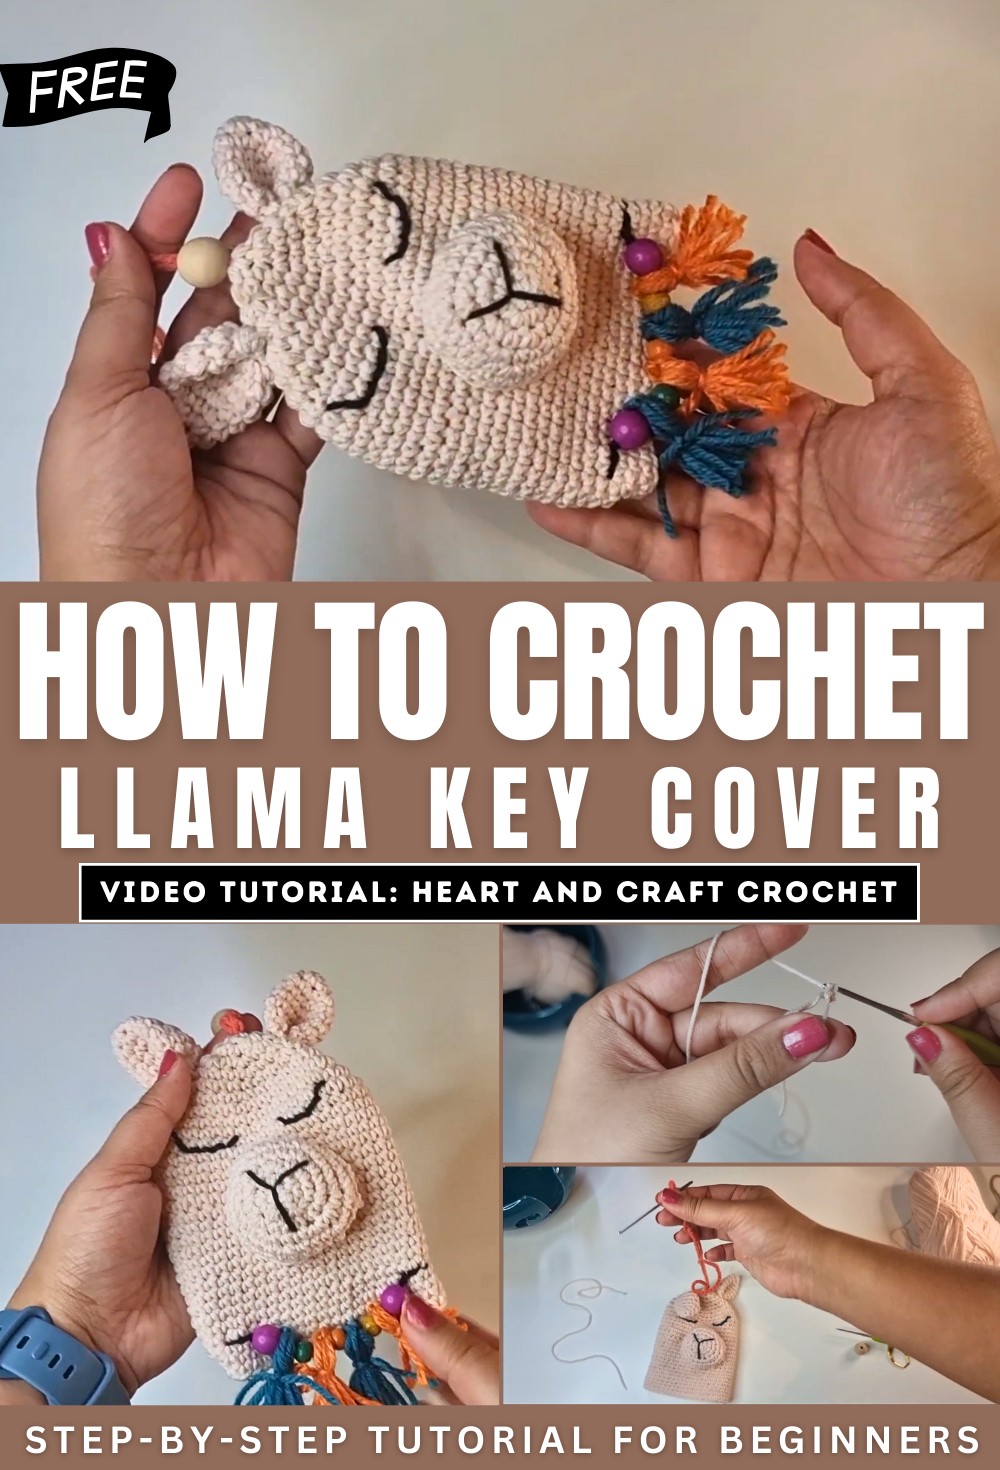
How to Crochet Llama Key Cover for Beginner-Friendly
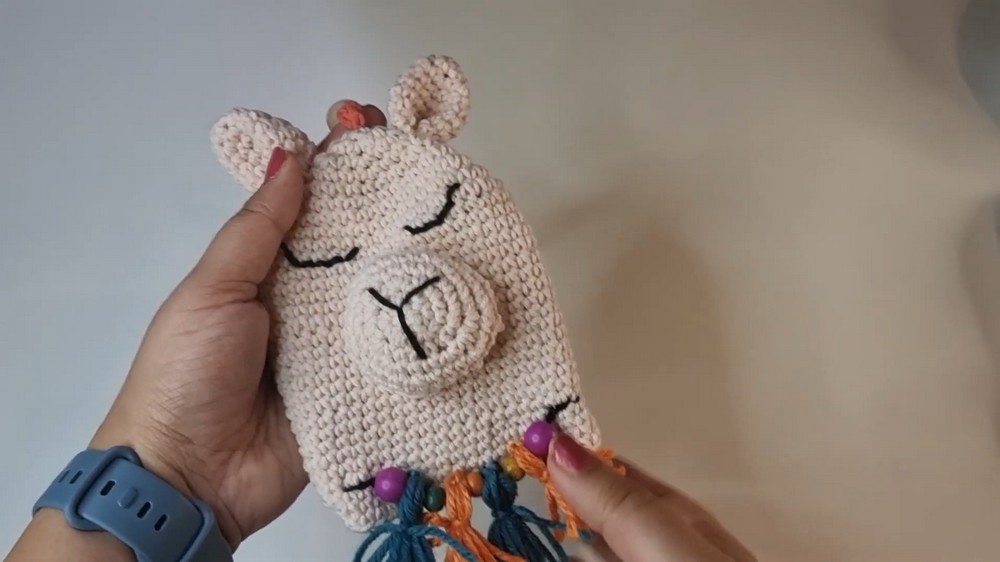
This tutorial demonstrates how to crochet an adorable llama key cover to protect your electronics, such as phones, from scratches caused by keys. The step-by-step process begins with creating a magic ring and building the basic structure, followed by adding features like a muzzle, ears, and embroidered details such as eyes and a nose. The project is customizable, allowing you to add decorations like beads or tassels to the keyring holder.
Clear instructions make this fun DIY ideal for beginners and experienced crocheters alike. Perfect for gifting, the video encourages creativity and personalization in crocheting. So, follow through with us for the complete tutorial.
How to Crochet an Adorable Llama Key Cover
This tutorial offers a fun and practical way to protect electronics from scratches by crocheting a charming llama key cover. The pattern is straightforward and adaptable, allowing for personalization into various animal shapes. The following sections summarize the tutorial’s steps and key components.
Introduction
- The instructor emphasizes the importance of protecting electronics, particularly phones, from scratches caused by keys in a bag.
- The tutorial aims to create a stylish llama key cover to prevent such damage.
- Viewers are encouraged to subscribe to the channel and share their finished projects via Instagram or email.
Supplies Needed
- Light or sport weight yarn in black and beige.
- 2 mm crochet hook.
- Stitch marker.
- Scissors.
- Yarn needle.
- Keyring.
- Bead (optional).
- Stuffing (polyfill or scrap yarn).
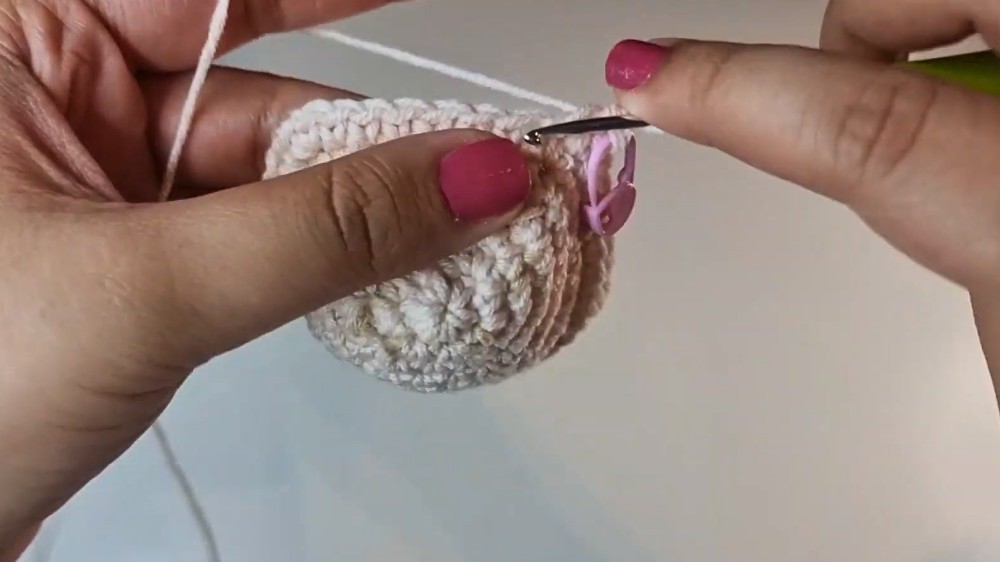
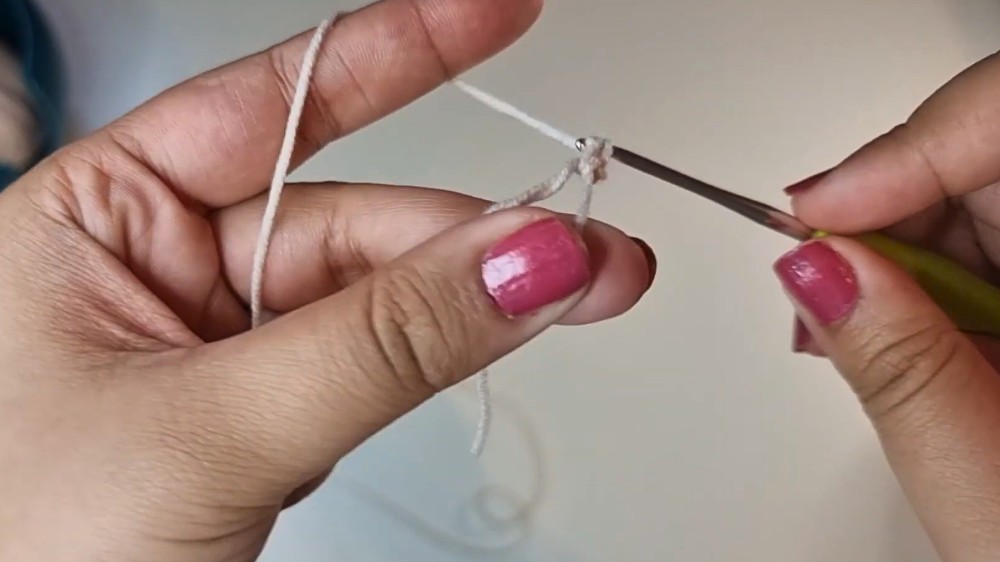
Creating the Base Structure
- Magic Ring
- Begin with a magic ring.
- This forms the foundation of the key cover.
- Increase Rows
- Multiple increase rows expand the base to the desired size.
- Specific patterns use single crochets and increases to shape the cover.
- Repeat Rows
- Once the base size is achieved, repeat rows maintain the form.
- This creates the main body of the key cover.
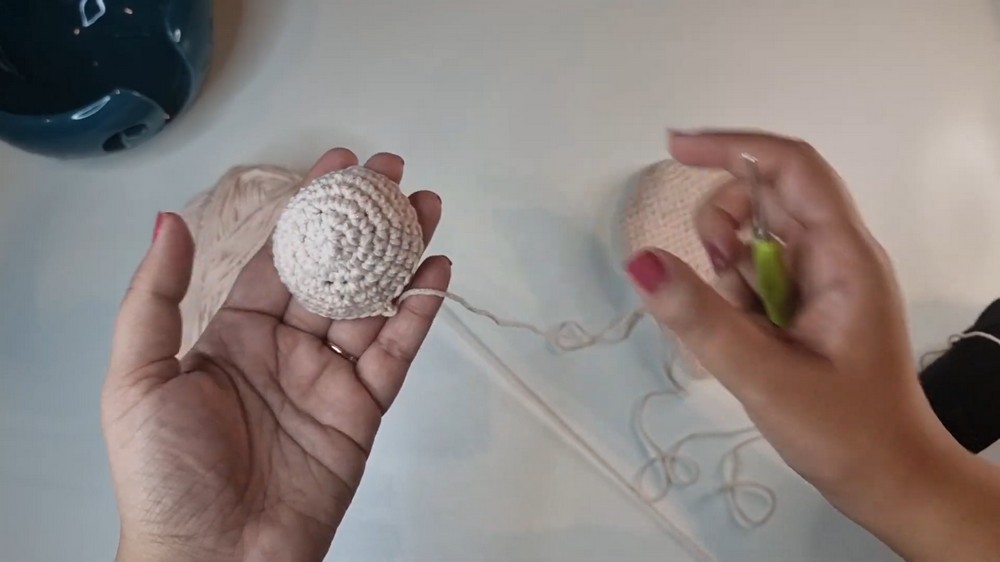
Creating the Muzzle
- Magic Ring and Increases
- Start with another magic ring for the muzzle.
- Subsequent rounds involve increases to shape it properly.
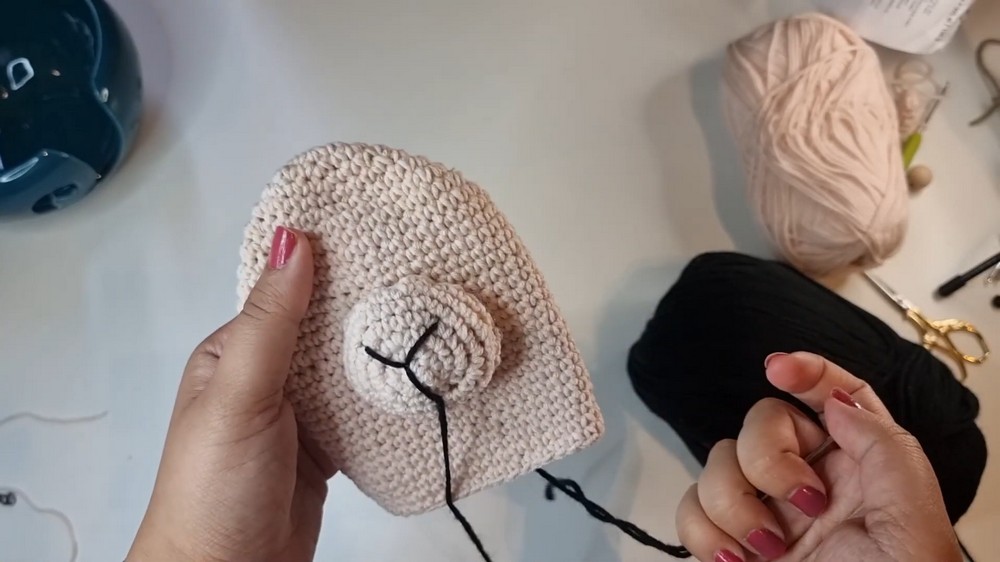
- Attaching the Muzzle
- Use a long tail to sew the muzzle onto the base.
- Ensure proper spacing and stuffing before completing the stitching.
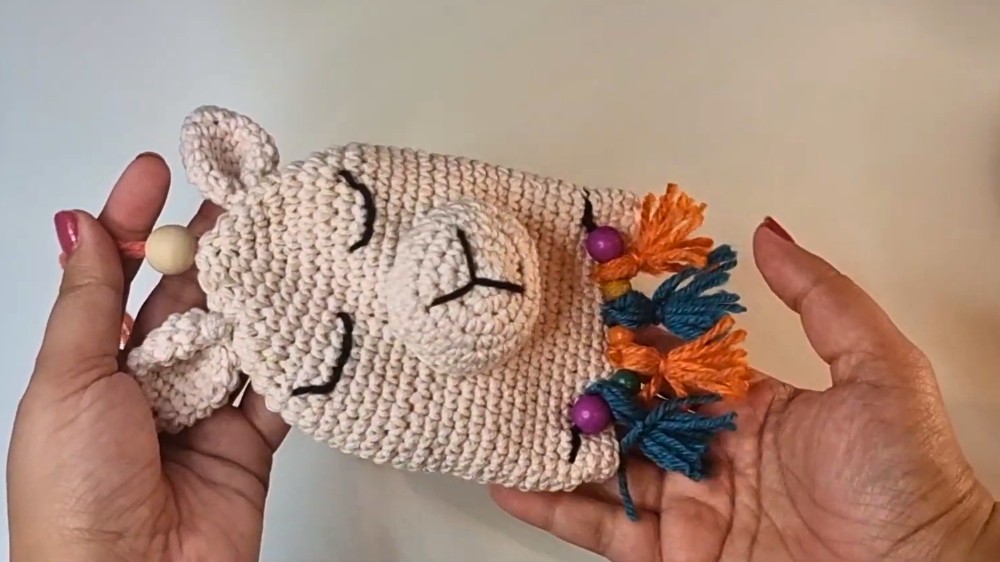
Embroidering the Features
- Nose
- Use black yarn to embroider a “Y” shaped nose.
- Ensure symmetry for a neat appearance.
- Eyes
- Create half-moon-shaped eyes with black yarn.
- Optionally, add eyelashes for extra detail.
Creating and Attaching the Ears
- Magic Ring and Rows
- Form each ear starting with a magic ring.
- Perform increases and repeat rows as necessary.
- Attaching the Ears
- Fold the bottom of each ear before sewing to the top side.
- Position symmetrically on both sides of the cover.
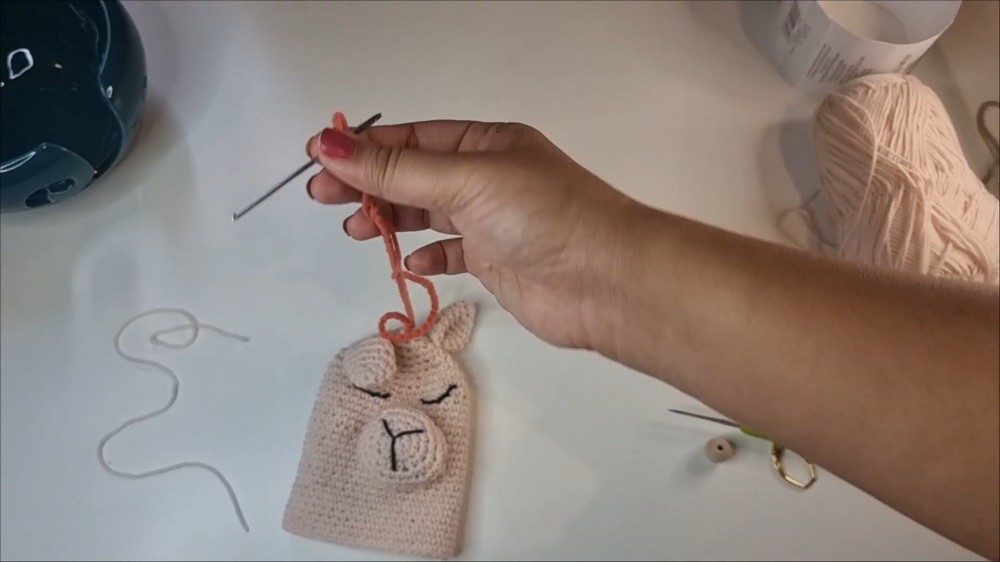
Adding Keyring Holders
- Crochet Chain
- Create a long crochet chain.
- Thread it through the initial magic ring at the base.
- Positioning
- Attach the keyring to the chain.
- Ensure that pulling the chain hides the keyring within the cover.
Optional Decorations
- Add beads or other decorations to personalize the key cover.
- Customize with flowers or tassels to enhance the look.
Finishing Touches
- Tie the ends of the yarn to secure the keychain.
- Tuck in any loose ends and ensure the key cover is neat.
Conclusion
The tutorial concludes with encouragement to share completed projects and to try personalizing the key cover further. The finished llama key cover is a practical and adorable way to protect electronics from scratches, combining functionality with a cute design.