How to Crochet Maple Leaf (Tutorial for Beginners)
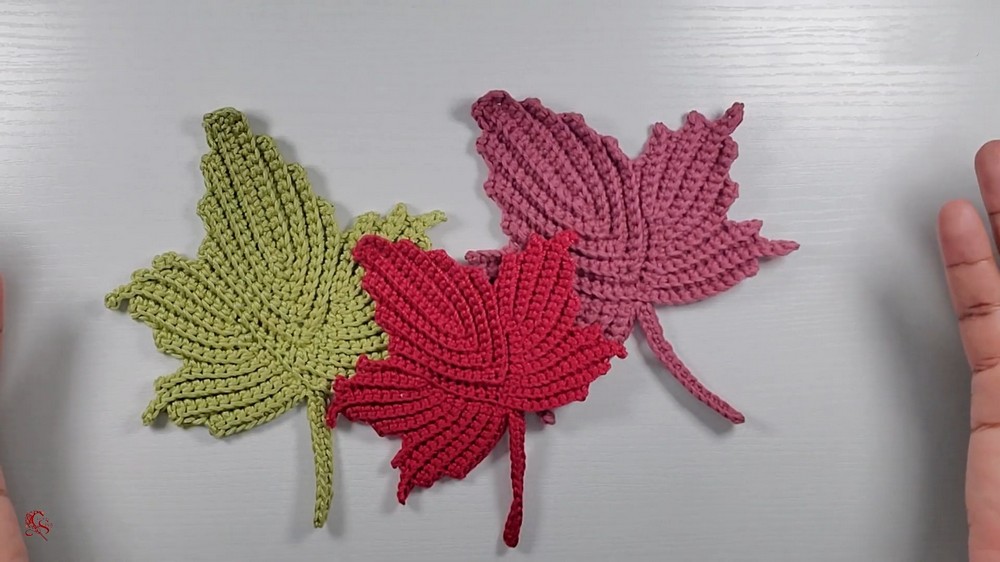
In this post, you will learn a beautiful crocheted maple leaf using a 3.0mm crochet hook and size 3 yarn. Shay thoughtfully revisits an earlier tutorial, improving clarity and addressing viewer feedback on video quality and missing clips.
With step-by-step instructions focusing on techniques like working back loops and adding delicate leaf details, this guide is perfect for both beginners and experienced crocheters. So, follow through with us for the complete tutorial.

Maple Leaf Crochet Tutorial
Welcome to another engaging tutorial on Creative Hands by Shay! This video focuses on crocheting a maple leaf—a project Shay initially presented over three years ago. She revisits this tutorial due to the feedback on missing clips and video quality in the original. This refreshed edition aims to offer a clear, step-by-step guide for new and returning viewers.
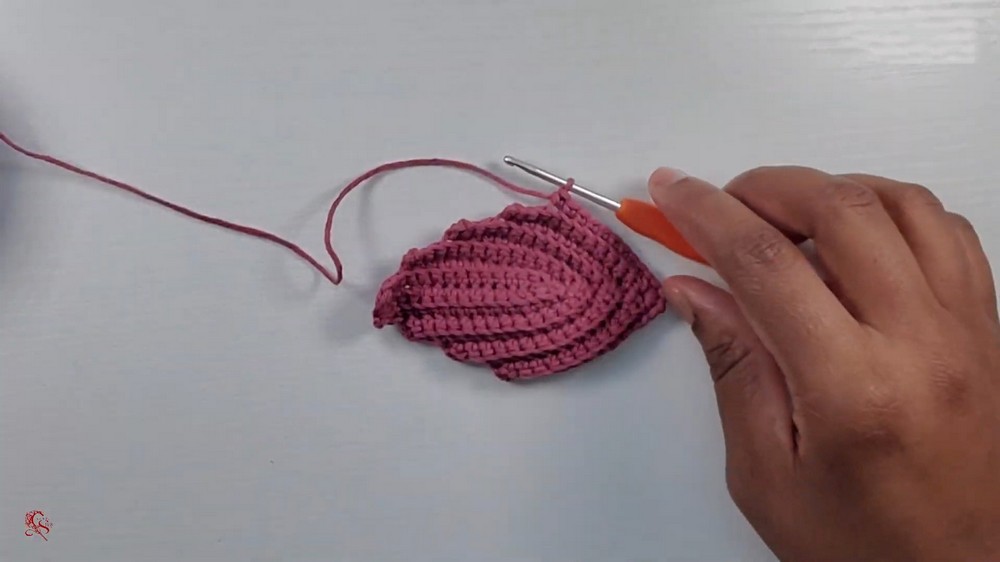
Materials Required
- Crochet Hook: 3.0 mm
- Yarn: Size 3 yarn
Creating the Leaf Foundation
- Slip Knot: Start by creating a slip knot using your preferred method.
- Chain: Form a chain of 16 stitches.
- Single Crochet:
- Firstly, make a single crochet into the second chain from the hook.
- Continue crocheting single stitches across the remaining chains till the second to last stitch.
- Curve Creation:
- Make three single crochets in the last stitch to create a curve.

Working the Leaf Couplets
- Back Loop Technique:
- Turn your work and focus on the back loops.
- Skip the first stitch and start single crocheting in the third back loop stitch.
- Middle Stitch Detailing:
- When reaching the middle stitch where three crochets were made earlier, work into both loops to add three single crochets.

Building Leaf Texture
- Alternating Rows:
- Work in alternating rows, constantly returning to back-loop crocheting until reaching the next middle stitch.
- After establishing the single-crochet count, crochet into both loops of the middle stitch again.
- Increasing and Decreasing Rows:
- Continuously alternate between increasing and decreasing stitches to shape the central part of the leaf and its edges.
Forming Leaf Points
- Side Edges:
- For the side portions of the leaf, begin by chaining.
- Skip stitches on the base row before crocheting into chosen stitches for desired height and width.
- Repeat Technique:
- Repeat the established technique for creating side points, ensuring symmetry across the leaf.
Completing the Maple Leaf
- Connect Points:
- Use slip stitches to connect leaf points to the central structure.
- Align Middle Stitches:
- Focus on ensuring all additional stitches align perfectly to centralize the structure.
- Final Slip Stitch:
- Once the leaf points align, slip stitch into the middle stitch and complete the leaf framework.

- Chain and Finish:
- Optionally add a chain for extension or detail; finish the piece by chaining and fastening off.
- Tail-End Weaving:
- Carefully weave the tail ends into the leaf or stem, ensuring durability and tidiness in the project.
Final Thoughts
This maple leaf project allows for texture exploration through strategic crocheting into front and back loops.
Shay emphasizes her commitment to clarity and completeness, contrasting her initial tutorial which faced technical drawbacks, offering viewers a streamlined experience.