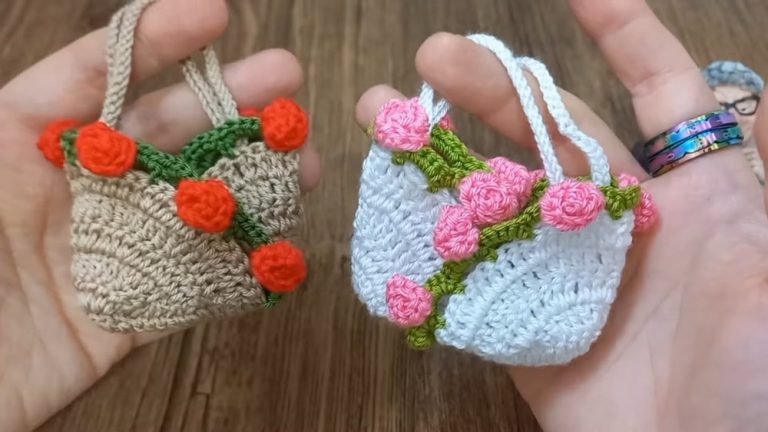
How to Crochet Mini Bag With Zipper And Lining (The Easiest Way)

Learn how to crochet a simple, lightweight mini bag using macrame cord and a 4mm crochet hook, perfect for beginners, as you will learn the easiest way. The step-by-step guide covers making the base with half-double and single crochet stitches, creating the sides, and assembling the bag with clean, professional finishes. The video also explains how to attach a zipper and line the bag, ensuring durability and style.
Ideal for beginners and experienced crocheters, this project is practical and versatile, perfect for carrying small items. The creator provides clear instructions and tips for achieving a sleek, polished look. So, follow us for the complete tutorial for beginners.

The Mini Bag Crochet Tutorial
This video tutorial demonstrates how to create a simple, lightweight mini bag using macrame cord and a crochet hook. The steps cover everything from constructing the bag’s base to assembling the sides, attaching a zipper, and sewing a lining. The creator provides a clear, detailed approach that makes it suitable for both beginners and experienced crocheters.

Materials Used
- Macrame Cord: 150 grams of cord.
- Crochet Hook: 4mm hook.
- Additional Items: A zipper approximately 4 cm longer than the bag’s width, lining fabric, sewing tools (e.g., needle, thread, clips, markers).

Steps to Create the Bag
Base Construction
- Begin by creating the initial foundation with chains for the intended width of the bag.
- Work through the base rows, gradually building the foundational piece using back-loop methods to achieve texture.
- The creator completes multiple rows to form a rectangular panel, adding edging with single crochet stitches to create clean and sturdy sides.

Sides of the Bag
- To form the sides of the bag, create two smaller rectangular pieces.
- Add texture and edges similar to the main panel by working on back loops and maintaining clean stitch transitions.
- The creator uses consistent assembly methods for both smaller panels, ensuring they align perfectly with the main panel during attachment.
Zipper Installation
- Cut the zipper slightly longer than the width of the bag and sew it onto the edge of the bag’s panels.
- Attach both ends of the zipper, ensuring it fits snugly and functions smoothly.
- The tutorial demonstrates how to conceal the zipper edges neatly under the lining during assembly.

Adding the Lining
- Using the lining material, sew the lining on all sides of the panels except for one edge.
- The lining is used to ensure the bag is not only stylish but also durable and practical for carrying small items.
- Clips are used to hold the lining securely in place during assembly, and markers are added to leave an appropriate stitch gap.
Bag Assembly
- The sides are joined using slip stitches for a neat, professional finish.
- After attaching the sides, the zipper pull is inserted on the wrong side, and the lining edges are sewed together.
- The creator ensures all stitches are smooth, clean, and centered for a polished final appearance.
Final Touches
- After all parts are joined, the bag is inspected to ensure durability and professional alignment.
- The end result is a lightweight, fashionable mini bag that can hold plenty of small essentials.