Useful Crochet Muji Tote Bag Pattern For Stylish Upgrade
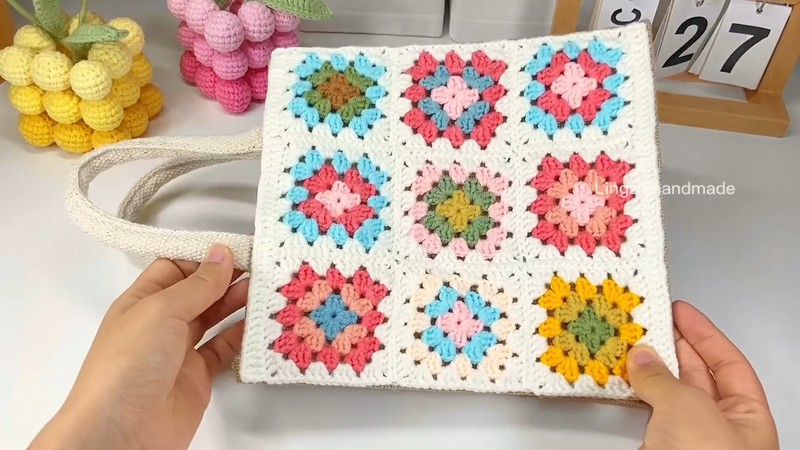
Making your own eye-catching Crochet Muji Tote Bag with our friendly guide! Weaving your favorite colors into a tote that’s not just practical, but a piece of wearable art. Our pattern is your first step to fashioning a bag that’s bound to get compliments wherever you go.
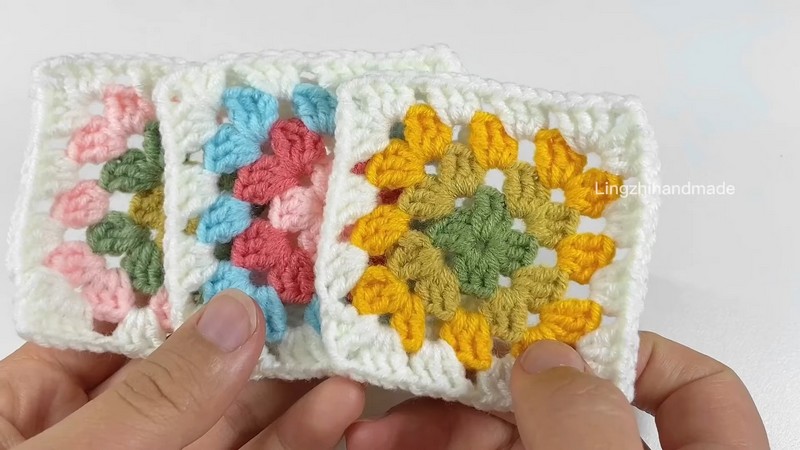
Our step-by-step guide is all you need to elevate a classic Muji tote into a cute, crochet masterpiece! With a simple pattern and your choice of colors, you’ll stitch personality and charm into every square.
Crochet Muji Tote Bag

Who knew a few yarns and hooks could lead to the perfect fashion statement? Perfect for beginners or seasoned crafters, this DIY project promises fun and a tote-ally amazing result.
Materials Needed:
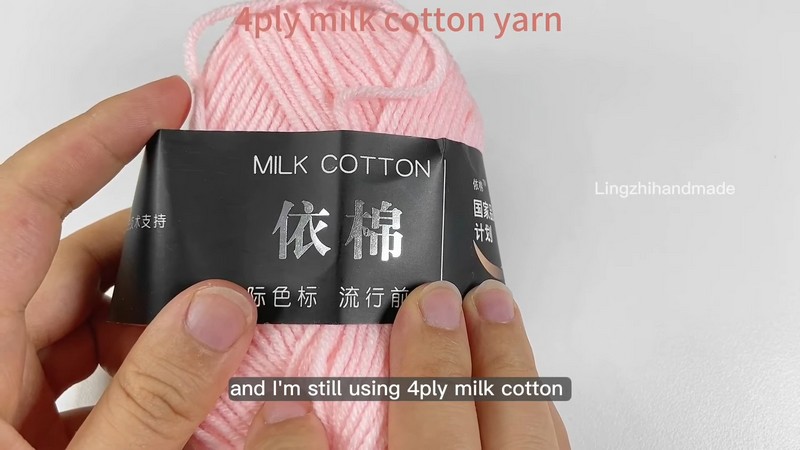
- 4-ply cotton yarn in various colors
- Crochet hook (size not specified, but typically a hook that matches the yarn weight is used)
Round 1:
Start with a slip knot.
- Chain (ch) 4 to form a ring.
- Slip stitch (sl st) to the first chain to connect into a ring.
- Chain 3 (counts as the first double crochet [dc]).
- Inside the ring, do 2 more double crochets. This forms your first “shell.”
- Chain 2.
- Still working in the ring, create 3 double crochets. The tail can be woven in as you work.
- Repeat step 6.
Continue this pattern until you have four groups of 3 double crochets separated by 2 chains.
- Join with a slip stitch to the first stitch to close the round.
- Cut off the yarn and tidy any loose ends.
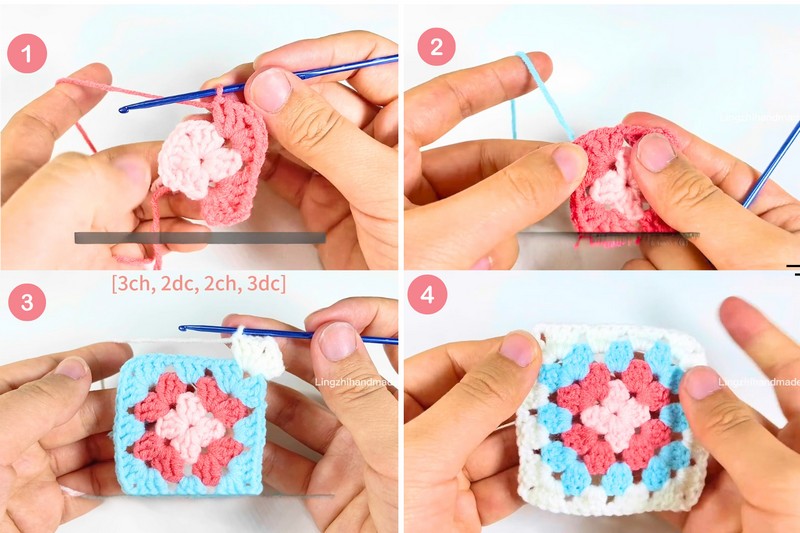
Round 2:
Join a new color yarn at any corner.
- Chain 3 (this counts as the first double crochet).
- In the same space, make 2 more double crochets, chain 2, and then 3 more double crochets to form the corner.
- Chain 1.
- Repeat this pattern (3 double crochets, 2 chains, 3 double crochets in the same corner space, then 1 chain) for each corner around the square.
- Join with a slip stitch to the first stitch to close the round.
- Cut off the yarn and tidy any loose ends, moving tails to the corners for easier weaving.
Round 3:

As before, join a new color yarn at any corner.
- Start with 3 chains (counts as 1 dc), then make 2 more dcs in the corner.
- Chain 2, and then make 3 more dcs in the same corner.
- Chain 1.
- Now, in the space between the corner “shells” from the previous round, make 3 dcs (not in a corner), then chain 1.
- In the next corner, follow the pattern: 3dcs, 2ch, 3dcs, then ch 1 after completing each corner.
- Repeat around the square.
- Join with a slip stitch to close the round, cut the yarn, and tidy loose ends.
Round 4:
- Repeat the pattern established in Round 3, adapting for the increase in the size of the square. Each side between corners will now have more spaces where you will do 3 double crochets and then chain 1, continuing the established pattern around.