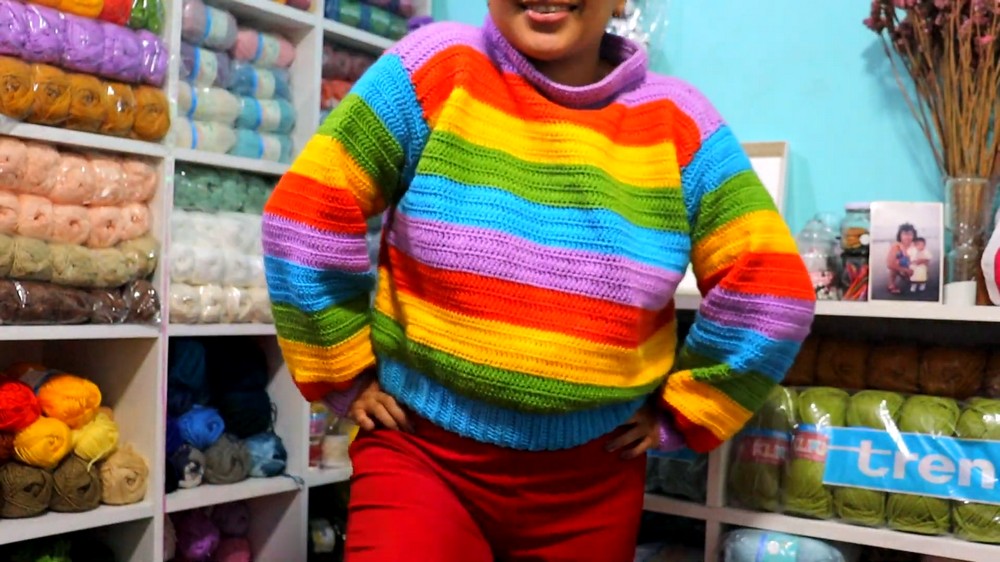
How to Crochet Oversized Rainbow Sweater for Beginners
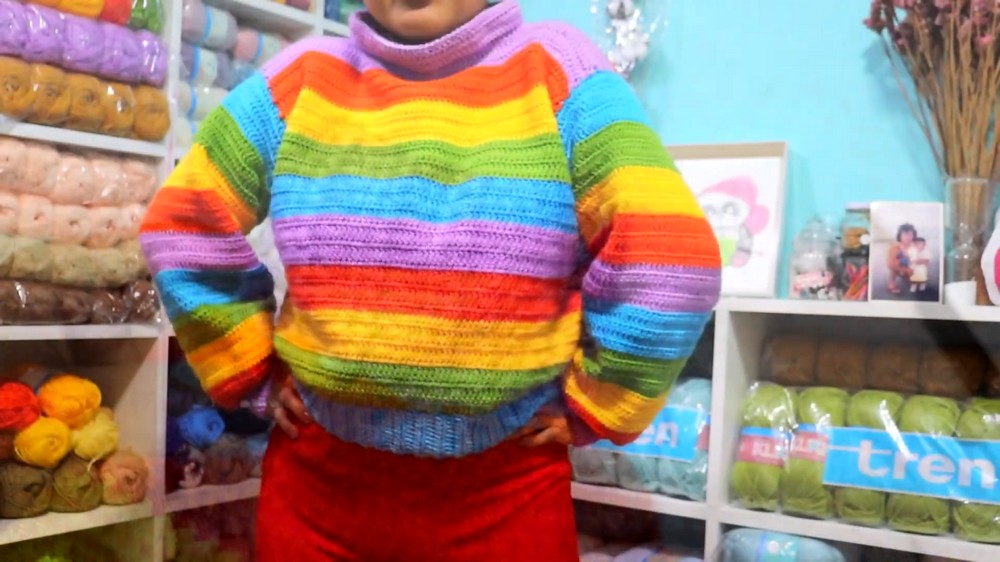
Learn how to crochet an oversized rainbow sweater that can be customized with colors of your choice and can be crocheted in any size. The tutorial covers the construction process from start to finish, beginning with the bottom ribbing and then joining the ends together with slip stitches. The torso is worked in the round using double crochet stitches.
The host also explains how to divide the torso for armholes, create the sleeves with decreases to shape them, and add a high collar. The video concludes with instructions on how to join the shoulder seams and weave in the loose ends for a clean finish. So, follow through with us for the complete tutorial.

This video is a comprehensive crochet tutorial on how to make an oversized rainbow sweater. The host, Lesly Vallejos, provides a detailed guide for creating a sweater that can be customized with colors of your choice.
Materials and Sizing
- The host used 10 balls of yarn, two for each of the five colors.
- The amount of yarn needed can vary depending on the number of colors and the size of the sweater.
- The sweater shown in the tutorial is a size M, with a width of 96 cm for the torso.
Construction Process
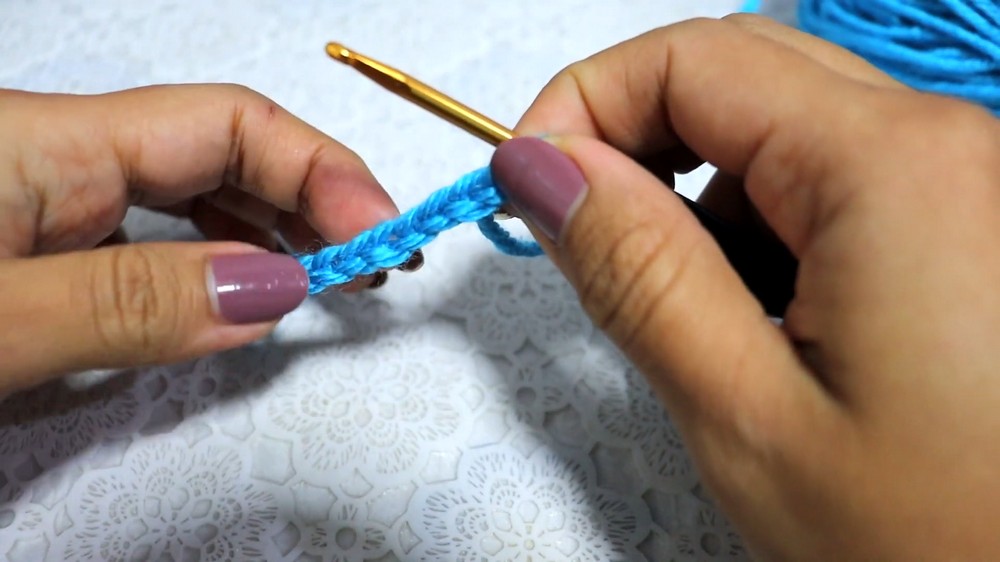
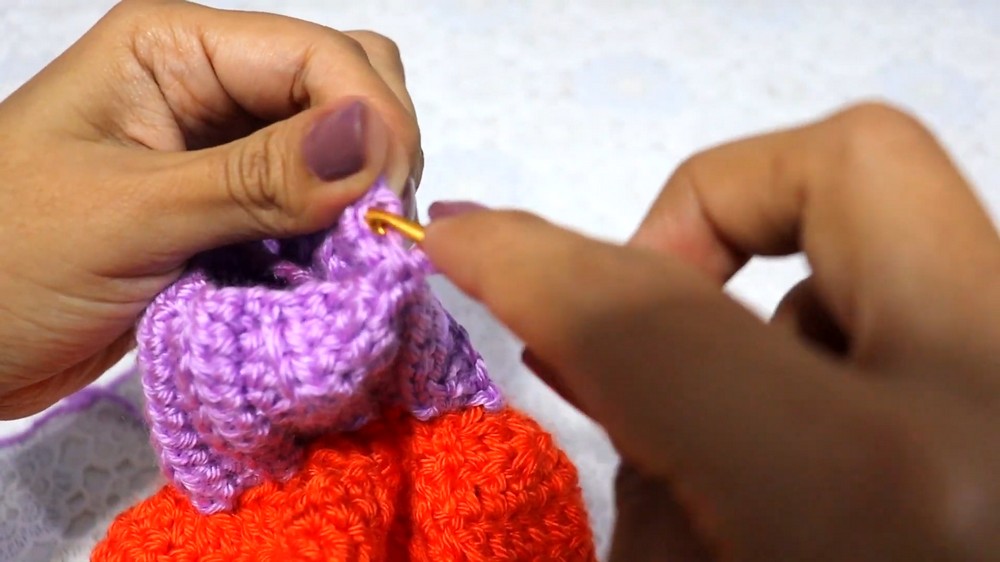
- The Bottom Ribbing: The tutorial begins with creating the bottom ribbing of the sweater, which is an elastic band made of half-double crochet stitches. Once the desired width is reached, the two ends are joined together using slip stitches on the wrong side of the fabric.
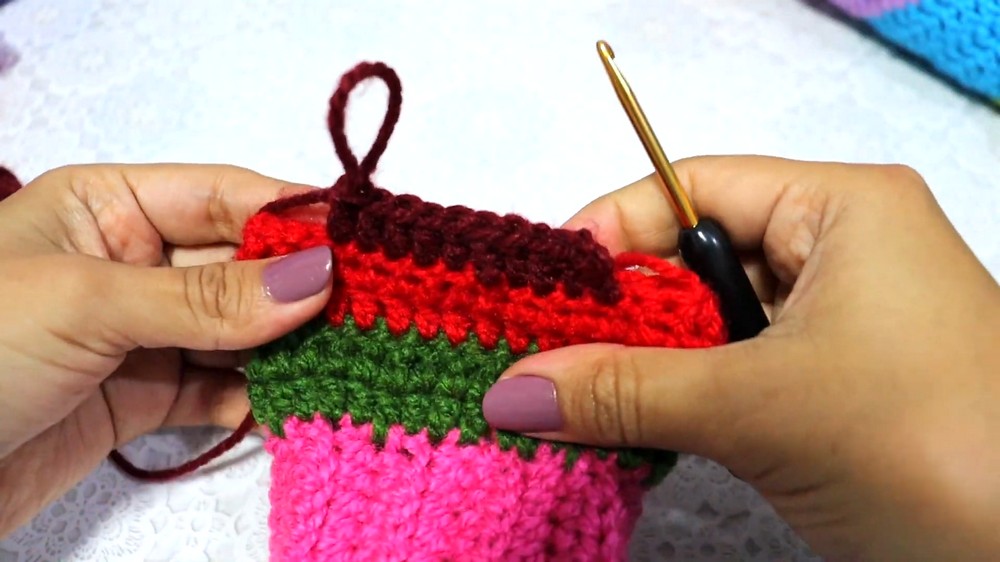
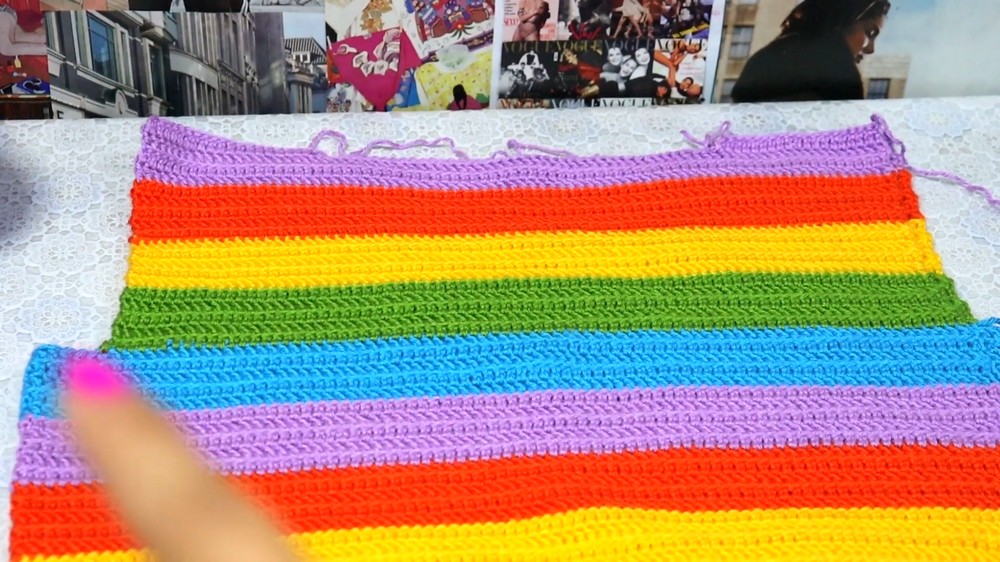
- The Torso: The body of the sweater is worked in the round using double crochet stitches. The host suggests using two double crochet stitches for each row to give the sweater an oversized look and advises changing colors every 5 cm, or every five rows. The work is rotated at the end of each round to maintain a clean seam.
- Dividing for Arms: The host explains how to divide the torso to create armholes by leaving a space on each side before continuing to crochet the front and back panels separately.
- The Shoulders and Collar: The front and back panels are joined at the shoulders using slip stitches on the inside of the sweater. The collar is created by working a base of single crochet stitches, followed by several rows of double crochet.
- The Sleeves: The sleeves are made by first creating a base of single crochet stitches around the armhole, and then working in rows of double crochet. Decreases are made in the last two rows to shape the sleeve before adding a small ribbed cuff.
The video concludes with a look at the finished sweater, which is a practical and comfortable garment. The host encourages viewers to practice and have patience, inviting them to reach out on social media if they have any questions.