How to Crochet Phone Bag With Puff Stitch Border
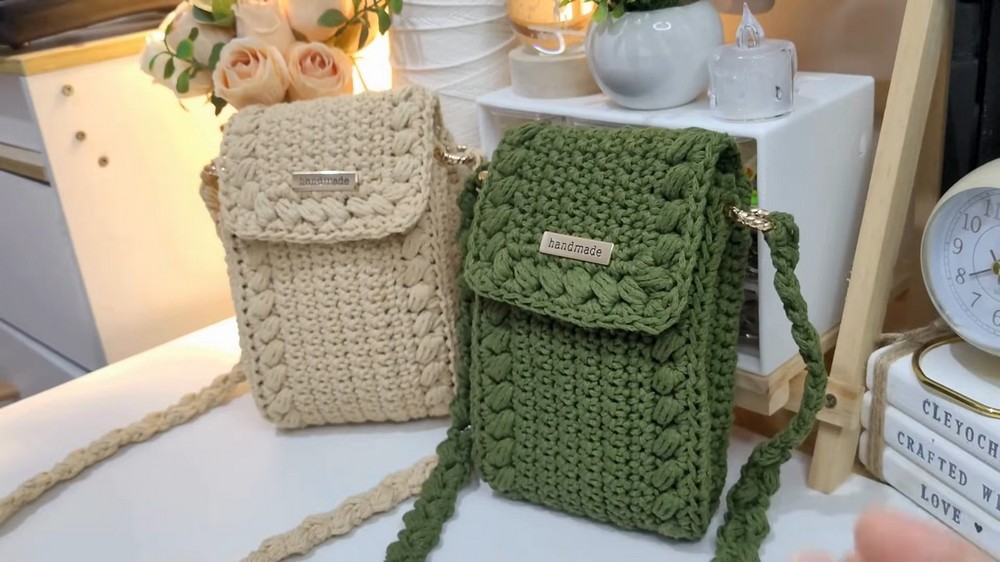
Learn how to crochet a stylish and functional phone bag in five simple steps with beautiful puff stitch border following this tutorial. Using cotton yarn and a combination of crochet techniques like cross puff stitches, you’ll create a bag with sleek borders, magnetic buttons, and a sturdy design. The video provides detailed instructions, including materials needed and stitch markers to guide you. It’s perfect for beginners!

The tutorial introduces a DIY project: creating a chic and functional phone bag. It’s designed to carry essentials such as a phone, a coin purse, and a card holder.
-
Yarn:
- Craft cotton braided yarn, specifically in an “armig green” shade, light or size 3 (DK weight).
- Composed of 65% cotton and 35% polyester for durability.
-
Tools and Supplies:
- Two crochet hooks (4 mm and 5 mm).
- Magnetic buttons (18 mm).
- Metal plate (embellishment) and spring links (19 mm).
- Stitch markers, sewing thread, needles, and scissors.
Step 1: Making the Foundation Chain
- Begin with a slip knot and create the foundation chain using the 5 mm hook.
- Switch to the 4 mm hook for constructing the base.
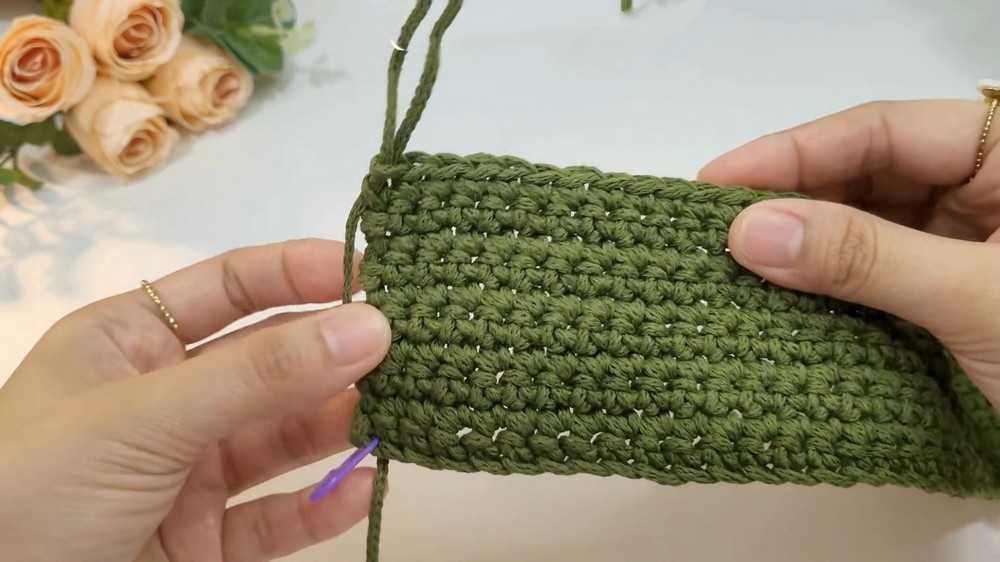
Step 2: Crocheting the Rectangular Base Panel
- Work single crochets across the chains to form the base panel.
- Use stitch markers to identify key stitches, particularly corner and edge points.
- Repeat rows until the central panel is complete.

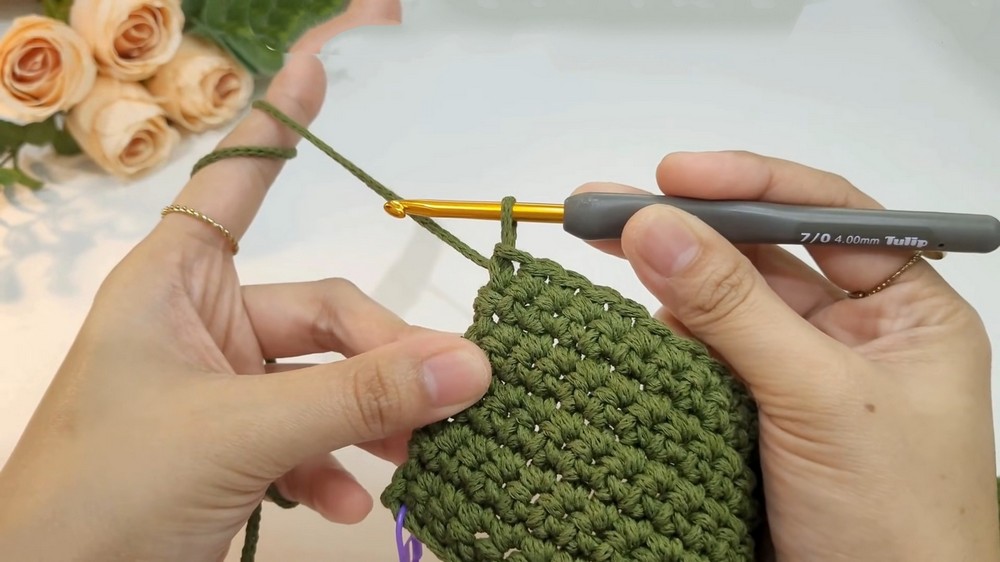
Step 3: Adding the Edging
- Work single crochets around the edges of the rectangular panel to begin shaping the phone bag.
- Stitch markers are used to define corners for proper alignment.
- “Increase” stitches are added at corners for rounded or expanded edges.
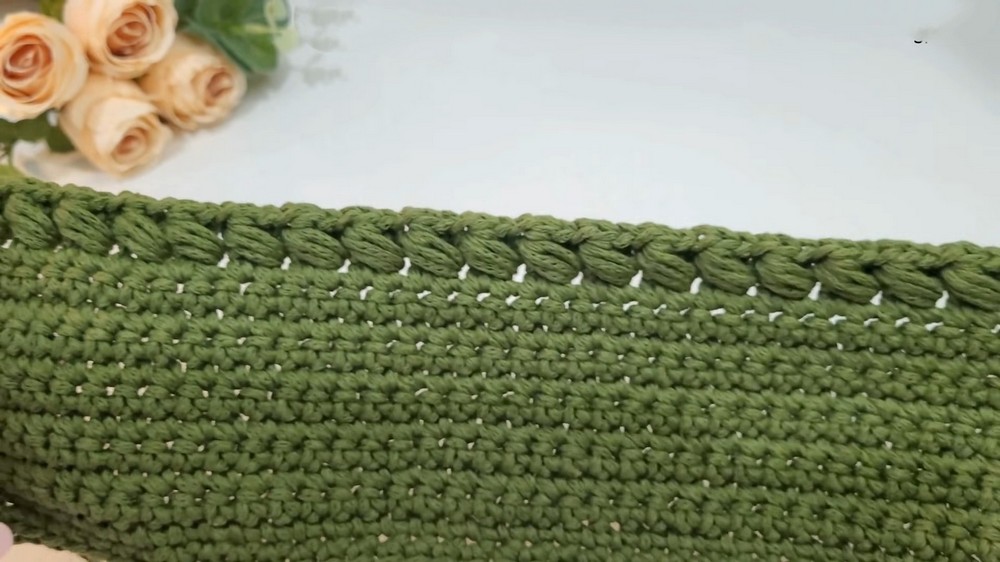
Step 4: Cross-Pop Stitch Border
- Introduce a decorative cross-pop stitch around the edge for a textured and stylish border.
- Skip specific stitches for the pattern, alternating between puff stitches and single crochets.
- This technique forms elegant details along the bag’s exterior.
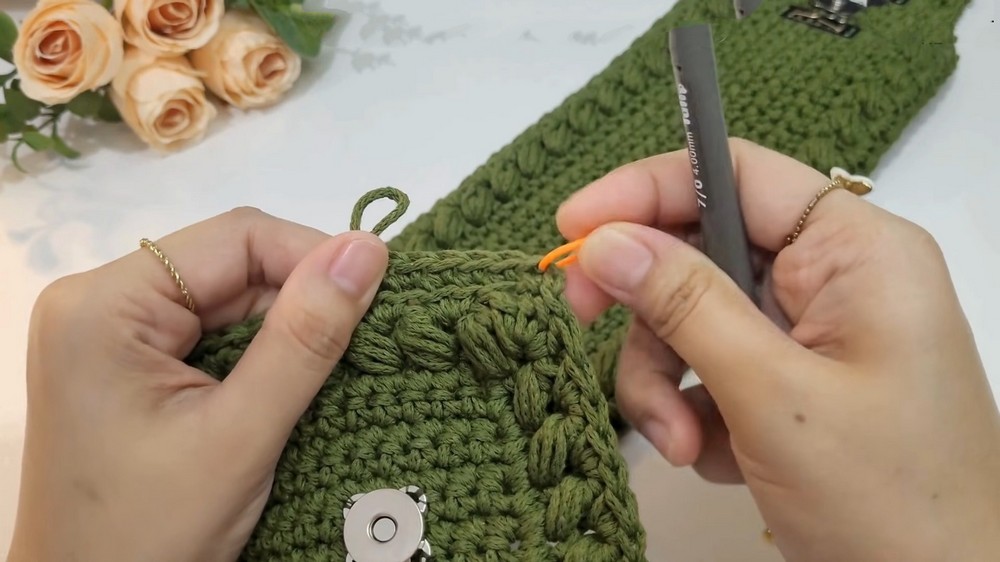
Step 5: Attaching Magnetic Buttons and Embellishments
- The magnetic buttons are sewn onto the center of the panel flap.
- Measurement ensures even placement of buttons; they align with the metal plate used for embellishment.
Step 6: Adding Side Panels
- Create side panels separately, ensuring they taper and fit snugly.
- Use a mirrored process for both left and right panels.
- Seam the side panels to the rectangular base with careful stitching for a clean finish.
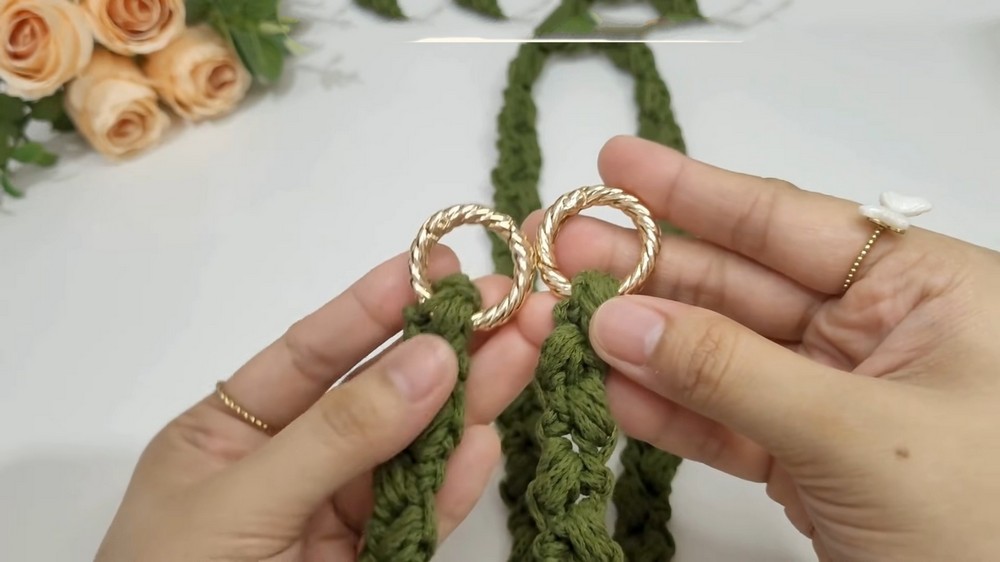
Step 7: Creating the Bag Strap
- The strap is created using the puff stitch technique for consistency with the bag’s design.
- Attach the strap to the bag using spring links for sturdiness.
- The strap is adjustable based on personal preferences.
Final Assembly and Finishing Touches
- Seam the edges of the side panels to the base and reshape the overall structure by folding or pressing.
- Hide any remaining yarn tails under stitches for a polished result.
- The phone bag is durable, stylish, and practical upon completion.
Outro and Closing Notes
- Claire concludes by showcasing the final product: a functional, elegant phone bag.