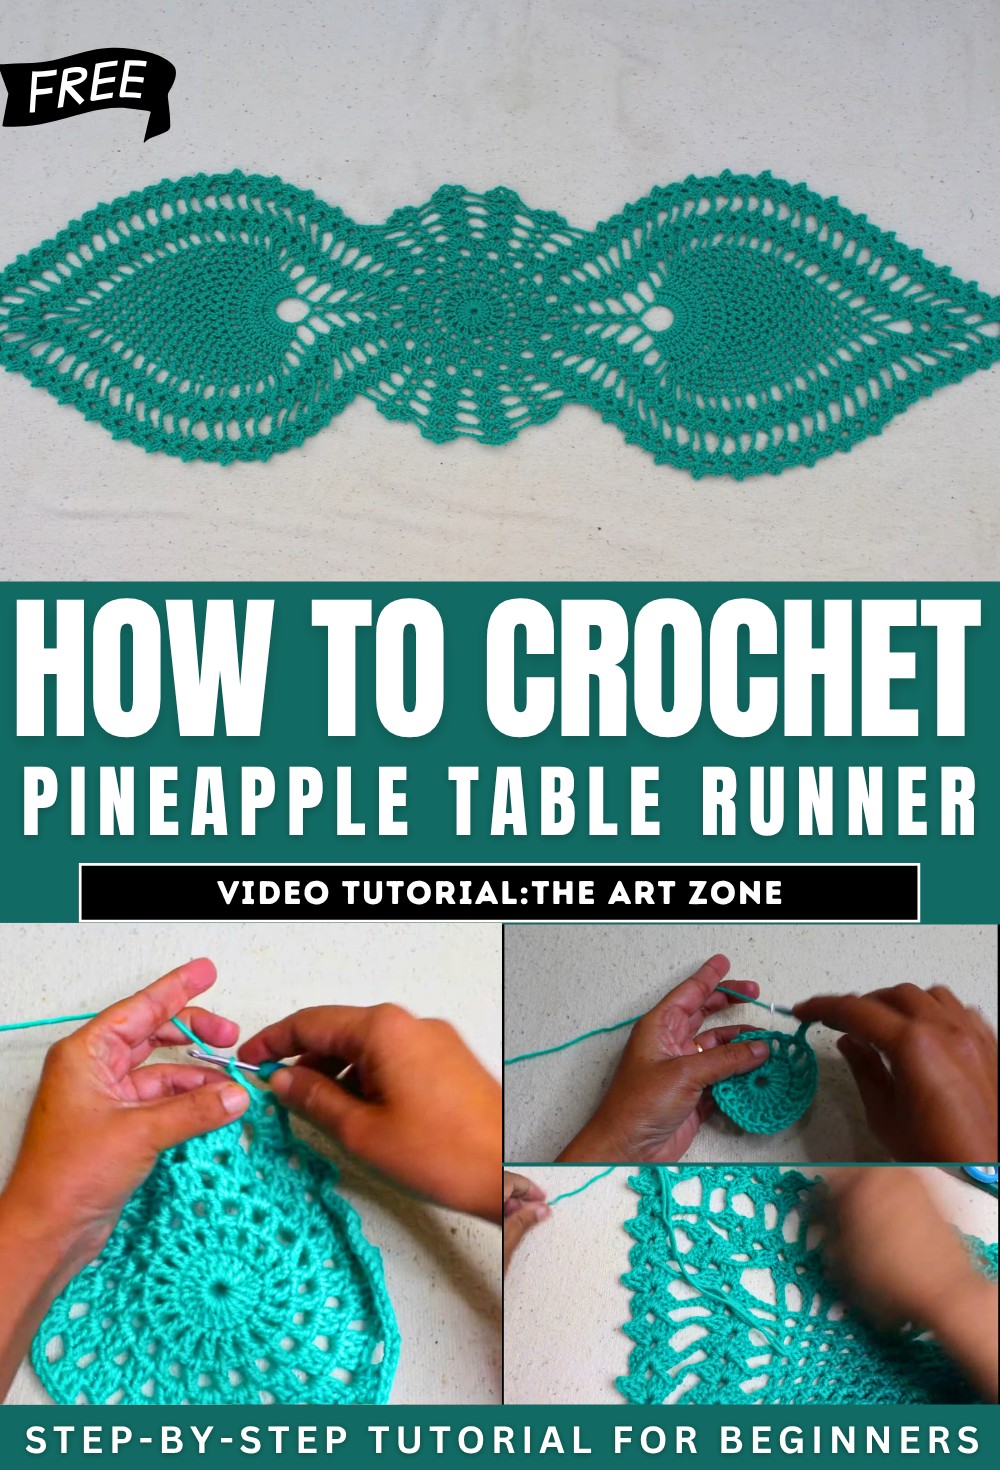
How to Crochet Pineapple Table Runner for Beginners

With a step-by-step tutorial, learn how to crochet a beautiful 50-inch leaf and pineapple table runner, ideal for beginners. The design uses medium-weight acrylic yarn and a 4mm crochet hook and begins with slip knots and chains, progressing to intricate rounds of double crochet, fan stitches, and pineapple patterns.
Detailed instructions guide viewers through each round, emphasizing precision and repeated patterns for clarity. Following along ensures a stunning, handmade runner perfect for enhancing any space. Let’s get started!
Crochet Table Runner Tutorial
This tutorial provides step-by-step instructions for creating a visually stunning crochet table runner using medium-weight acrylic yarn and a 4 mm crochet hook. The design incorporates repeating rounds and intricate stitch patterns to create a complex yet beginner-friendly table runner design approximately 50 inches long.
Materials Needed
- Yarn: Medium-weight acrylic, size #4.
- Hook: 4 mm crochet hook.
Initial Setup and Foundation
The tutorial begins with creating a slip knot and forming chains necessary for the foundation of the table runner. A ring is created from the chains to serve as the central base for subsequent rounds.
Building the Pattern
The project progresses through repeating rounds. Each round introduces new techniques to create the intricate table runner design:
1. Round One:
- Double crochet stitches are used to build the base pattern in the ring.
- Slip stitches close the round.

2. Round Two:
- Chains are introduced to form spaces between double crochet stitches.
- Slip stitches join each round to maintain the circular layout.
3. Round Three-Five:
- Further detailing is added through combinations of double crochet, chain spaces, and the gradual increase of stitches in each round.
- By this stage, the pattern begins taking shape with fan-like motifs.

6. Round Six-Seven:
- Fan stitches and V-stitches are introduced to diversify the texture and add intricate patterns.
- These stitches enhance the decorative appeal of the table runner while maintaining symmetry.
7. Round Eight-Ten:
- Chains are systematically increased across rounds to allow space for creating pineapple motifs and balancing the design.

Creating Pineapple Motifs
Starting at Round 11, pineapples form the focal decorative aspect of the table runner design. The tutorial explains how to divide the base into sections for creating symmetrical two-part motifs.
1. Initial Sections:
- Flowers and fan stitches are incorporated as anchors for the pineapple motif sections.
- Additional chains and slip stitches help achieve the layout.

2. Building the Pineapple Stitches:
- Each row gradually decreases spaces, forming the pyramid-like structure characteristic of pineapple stitches.
Completing the Runner
The tutorial moves into the final rows, where symmetrical edges are ensured by repeating steps for both halves of the runner. The fan stitches are consistently applied along the edges to provide a finished look.
1. Final Rows:
- Decreased chain spaces ensure tapering of the motifs.
- Slip stitches and cutting the yarn finalize the project.

2. Second Half:
- The tutorial revisits steps on the opposite side of the runner to match the completed section, ensuring symmetry.
Finishing Touches
Once both halves are complete, the video concludes with visual guidance on securing loose ends and showcasing the overall pattern of the finished table runner.
Conclusion
This crochet table runner project combines simple stitches like double crochets, slip stitches, fan stitches, and pineapples into a sophisticated yet beginner-friendly pattern. The tutorial’s detailed breakdown ensures clarity, helping you create a beautiful decorative piece for your table.