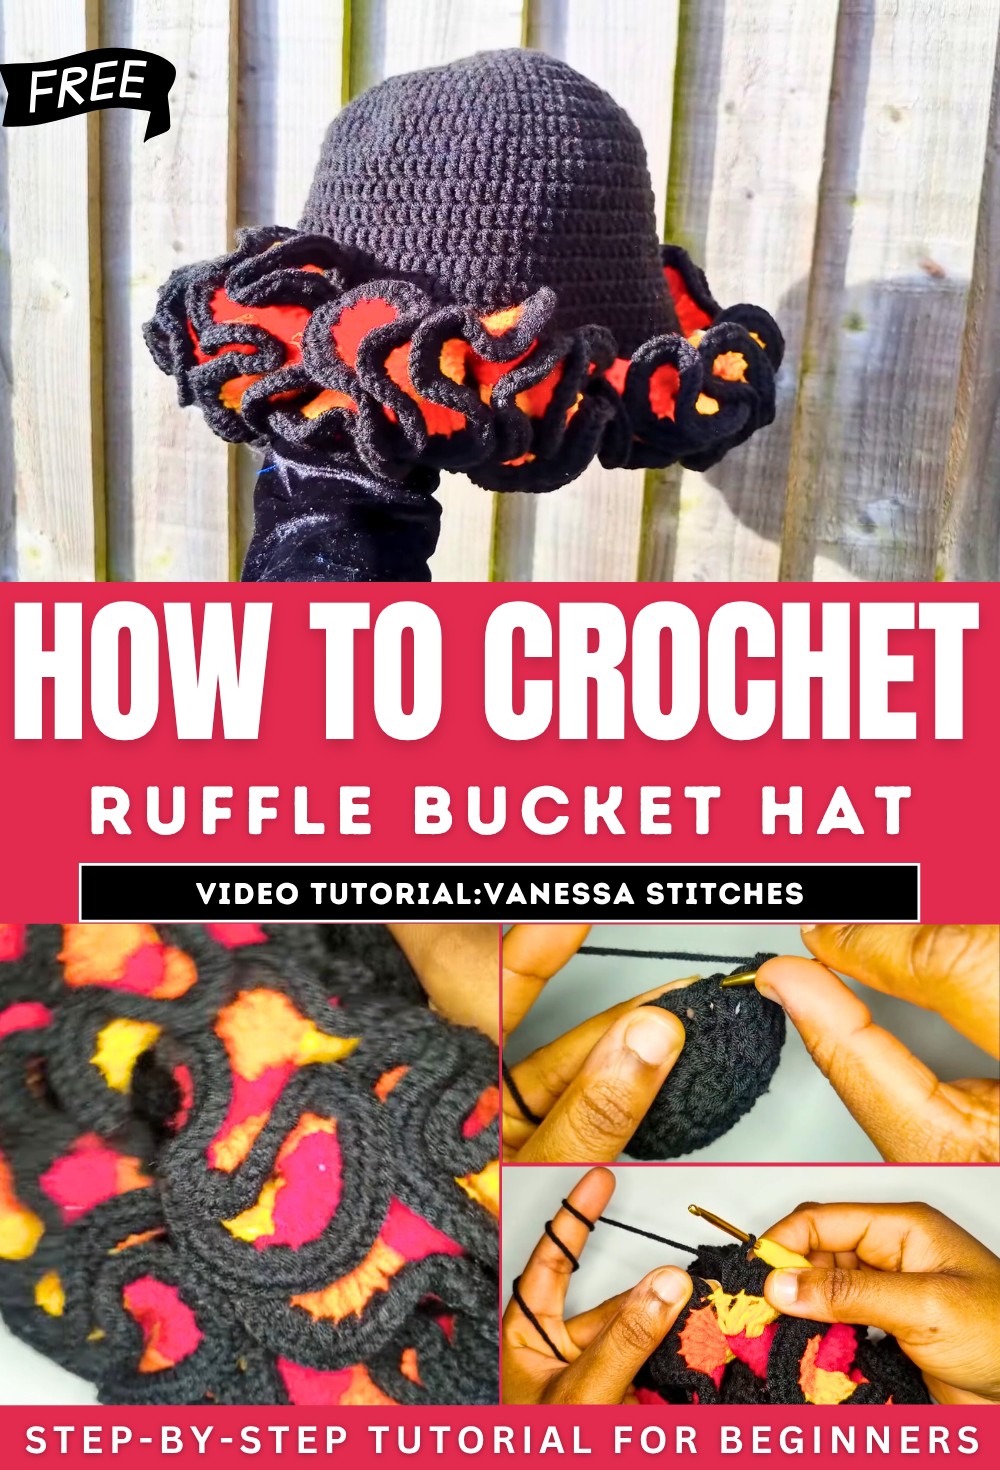
How to Crochet Ruffle Bucket Hat for Beginners

In this post, you’ll learn how to crochet a fiery, sunset-inspired ruffle hat for all skill levels. The tutor will break down the process step by step, starting with a magic ring and building the crown, body, and stunning ruffles. Using colorful yarns, the hat’s design can be tailored to any size or color preference.
With clear explanations, measurement tips, and a written pattern in the description, this guide is perfect for crocheters of all levels. Watch to create your own stylish, unique accessory! So, follow through with us for the complete tutorial.
Introduction
- Vanessa introduces the tutorial, explaining how to crochet a fiery/sunset ruffle bucket hat.
- The hat can be customized in various sizes and colors.
- Vanessa emphasizes that it’s beginner-friendly, and the written pattern is available in the description box.
Materials Needed
- Yarn (Vanessa uses four colors, but fewer can work).
- A measuring tape to size the hat.
- Crochet hook (Vanessa used a 2.5 mm hook, but measurements can be adjusted).
- A pair of scissors for trimming yarn.
Steps to Crochet the Hat
Starting the Crown
- Magic Ring and Circle Foundation: Begin with a magic ring and chain three. From there, introduce double crochet stitches to form the base circle.
- Incrementing Rows for the Crown: Add rows of double crochets while following an increasing pattern (increments vary row by row).

Building the Hat Body
- Transitioning to Straight Rows: After achieving desired crown diameter, shift to regular double crochets without increases.
- Customization Through Measurements: Vanessa suggests calculating your crown diameter based on your head circumference, dividing it by four, and adding extra width for braids or locks if needed.

Adding the Ruffles
Row 1: Front Loop Extended Double Crochets
- Use extended double crochets in front loops only to create ruffles.
- Alternate colors every two clusters to achieve a fiery sunset effect.
- Vanessa recommends carrying yarn rather than cutting to avoid too many ends to tuck in later.

Row 2: Treble Crochet
- Incorporate treble crochet stitches into the ruffle rows.
- Work into the full stitch (not front loops).
- Alternate colors every two clusters, staying consistent with the previous row to create harmony between ruffles.

Row 3: Black Half Double Crochet Border
- Add a final layer using a single color (black in this case).
- Use half double crochets across the entire row to create a polished border that ties the design together.
Finishing Touches
- Tuck in all loose yarn ends, especially the tail from the magic ring at the start.
- Double-check all stitches to ensure durability.
- Admire the completed hat and personalize colors further based on preference.

Final Notes
- Vanessa shares her enthusiasm for the hat’s fiery color combination and encourages viewers to experiment with their choices.
- Suggests using variegated yarn for effortless color transitions or sticking to single-color schemes for simplicity.
- The hat is suitable for gifts and summer fashion.