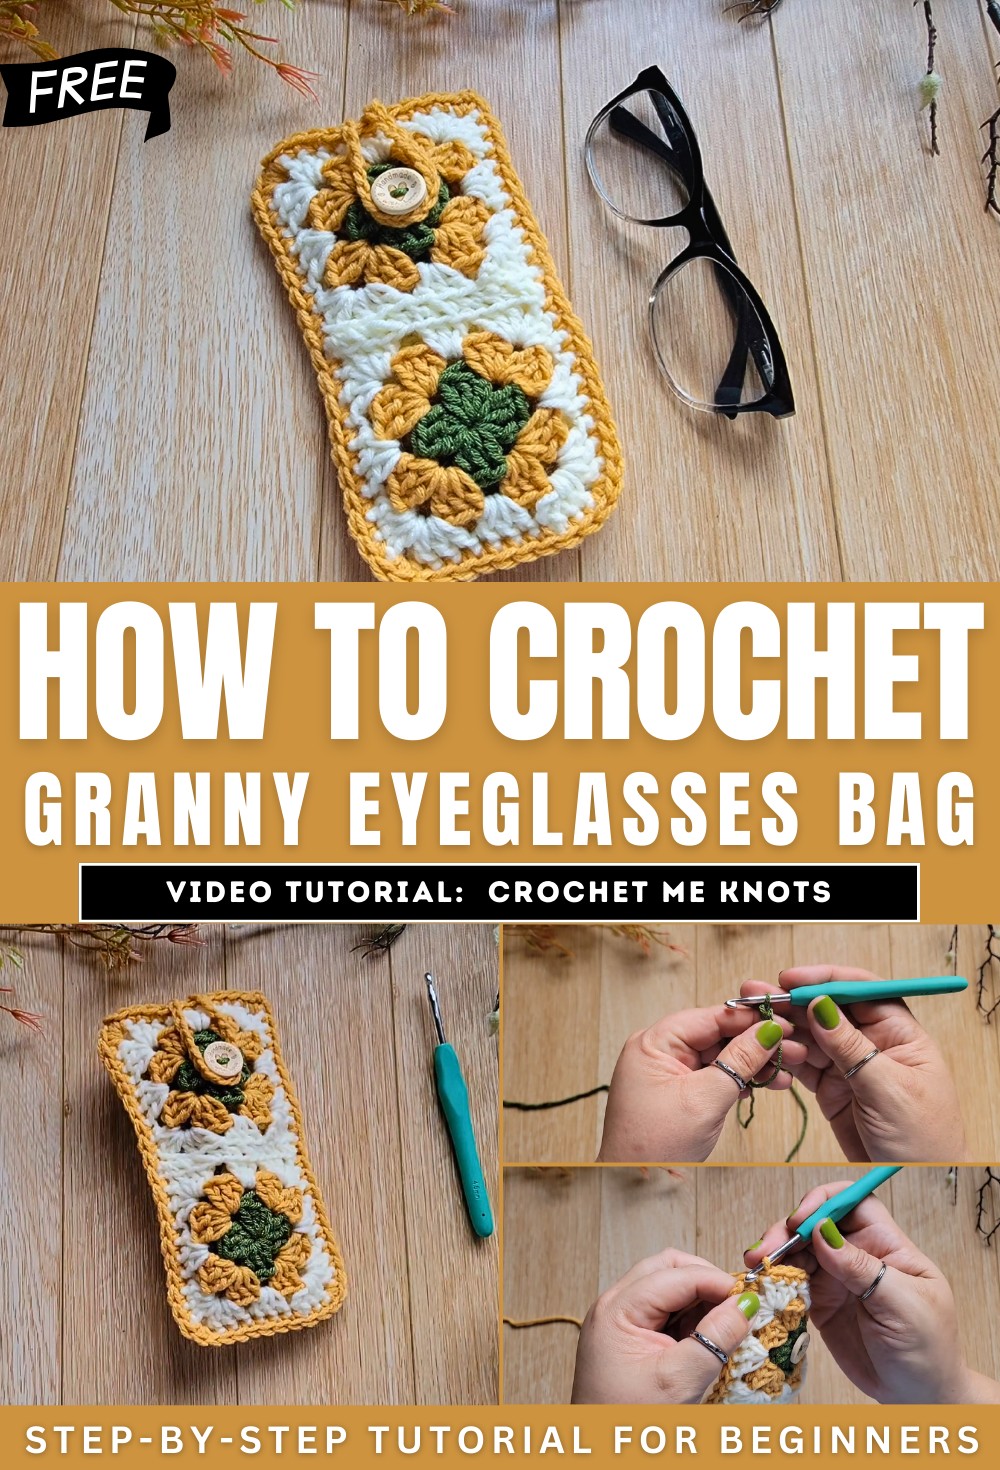
How to Crochet Simple Granny Eyeglasses Bag for Beginners
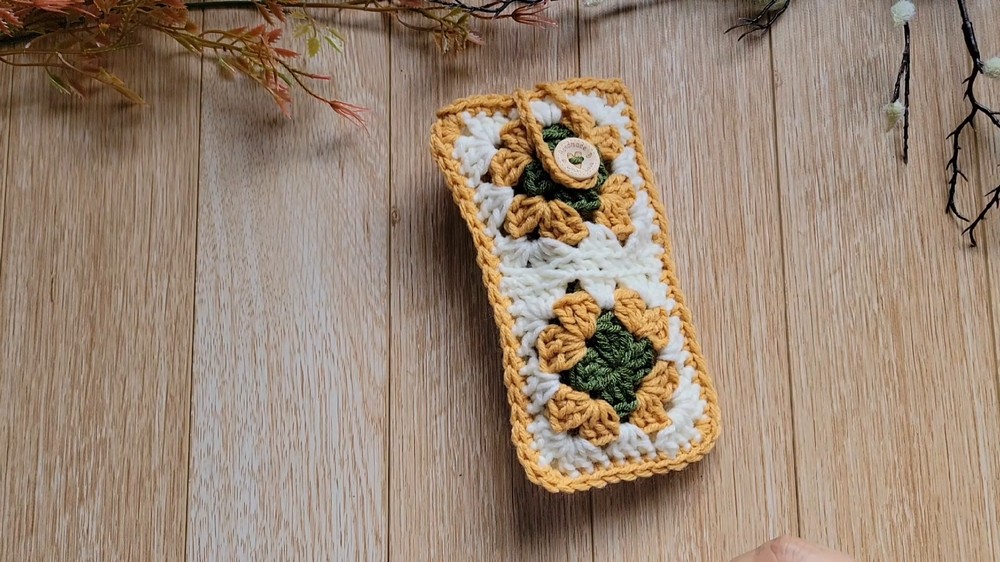
Learn how to knit a charming Granny-style glasses bag step-by-step tutorial for beginners and experts. Using three different yarn colors, a 4mm crochet hook, and a button, they guide viewers through creating the bag using Granny Square techniques. The process includes forming magic rings, crocheting double crochets, and crafting corners. The tutorial emphasizes tips like sewing buttons early for ease, hiding strands efficiently, and assembling panels seamlessly.
Finally, the bag is completed with a crocheted chain loop for closure. This practical and elegant DIY project is perfect for keeping your glasses safe and stylish! So, follow through with us for the complete tutorial for beginners!
Simple Crochet Granny Eyeglasses Bag Tutorial
The tutorial demonstrates how to knit a Granny Square-style bag to store glasses.
- Materials needed:
- Three balls of yarn: Select three different colors.
- Button: Approximately 20mm in size, though you can use any size.
- Crochet hook: 4mm and 5mm sizes suggested.
- Needles and scissors: Includes a yarn needle for sewing strands and a needle for attaching the button.
Creating the First Granny Square
Materials
- Use medium-weight yarn (number 4 recommended).
- You may adjust the size of the square depending on the yarn used (e.g., 8cm square for finer yarn).
Steps to Begin
- Start with the smallest ball of yarn.
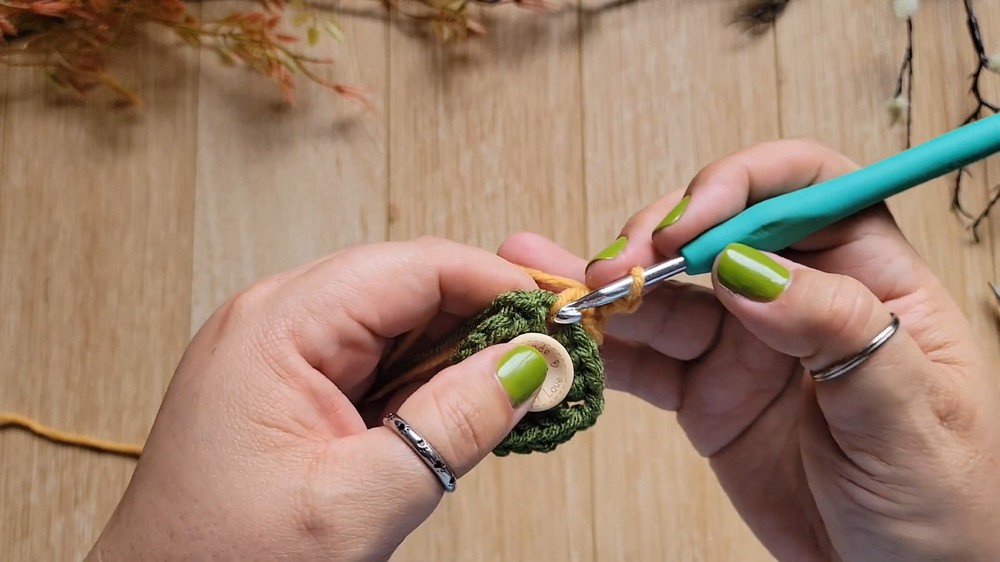
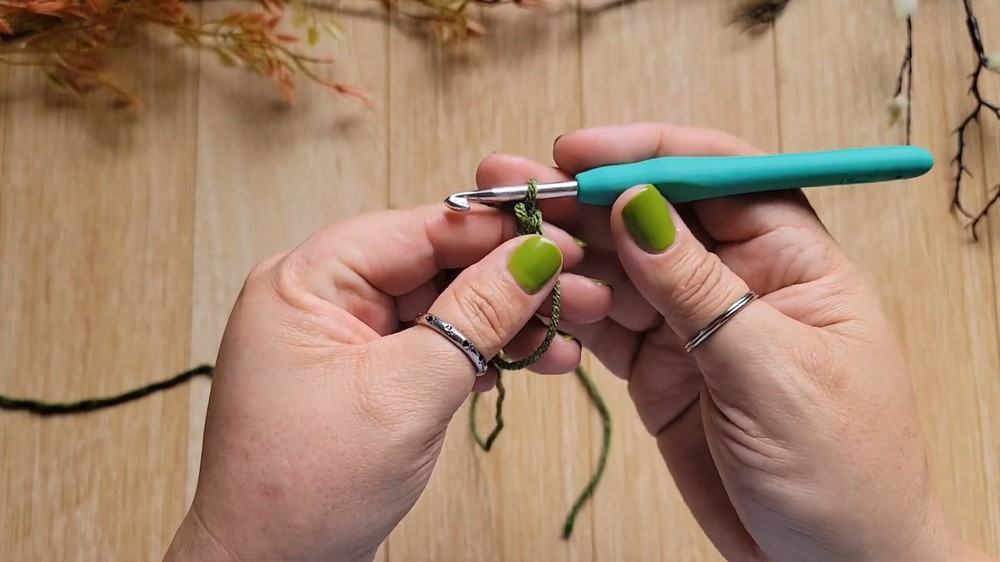
- Create a magic ring or a chain ring as the foundation for the square.
- Crochet inside this ring to build the square using rows of double crochets and chains.
- Form four corners for the square by repeating double crochets and chain stitches.
- Close the first round by joining the last stitch using a slip stitch.
Sewing the Button
- Before adding more rows, sew the button onto the square’s center.
- This is easier to accomplish at this stage rather than after completing the bag.
- Use a needle and the strand from the magic ring to attach the button securely.
- Hide excess threads after sewing.
Creating Additional Granny Square Rounds
Adding Different Colors
- Introduce new yarn colors for subsequent rounds, starting in corner spaces.
- Crochet double crochets and chains to extend the square while forming new corners.
- As the square grows, additional spaces appear between groups of stitches, filled with double crochets.
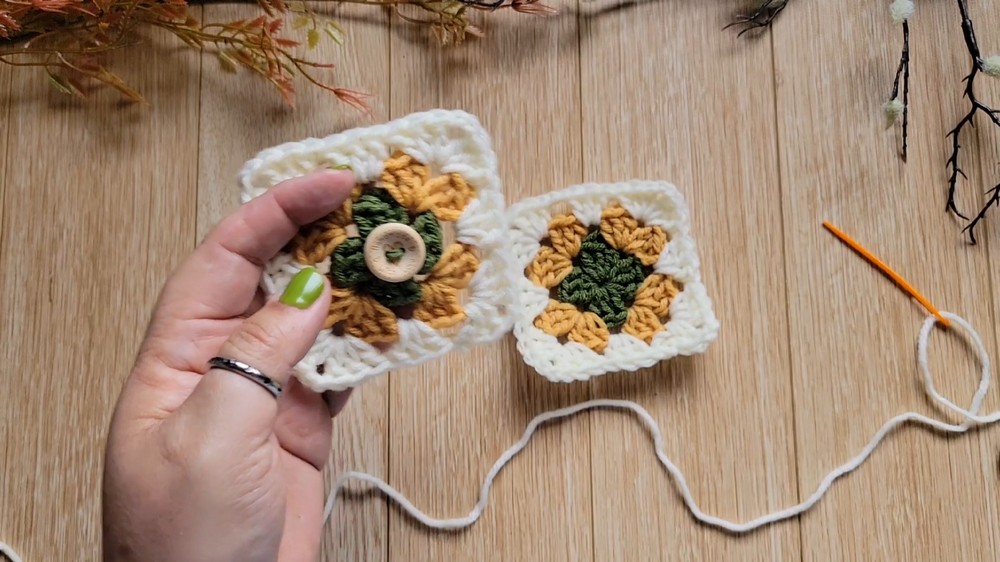
- Complete three separate squares, using consistent steps and hiding excess threads as you go.
Assembling the Panels
Preparing Panels
- Create a total of four Granny Squares.
- Hide all strands in the squares before sewing them together.
- Arrange two squares for the front panel and two for the back panel.
Sewing Panels
- Use matching yarn and a needle to stitch two squares together along one edge.
- Sew by taking the center strands of each stitch for a clean, seamless look.
- Repeat for the remaining two squares to form two panels.
Closing and Finishing the Bag
Joining the Panels
- Align the two panels with the wrong sides facing inward.
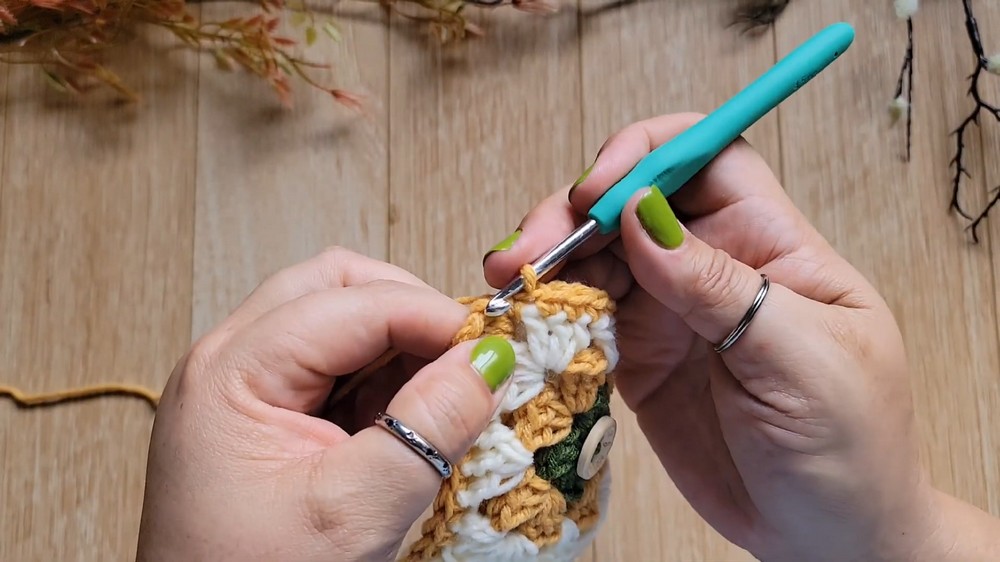
- Crochet single stitches through all four layers (front and back strands of both panels) to join the bag.
- Continue crocheting along the edges, adding two single crochets in each corner space.
Adding the Closure Loop
- Separate the bag’s edges and crochet a chain to form a closure loop for the button.
- Measure the button to determine the chain’s length (e.g., 20 chains for a 20mm button).
- Attach the chain to the bag using a single crochet stitch.
Final Touches
- Hide loose strands and trim excess yarn.
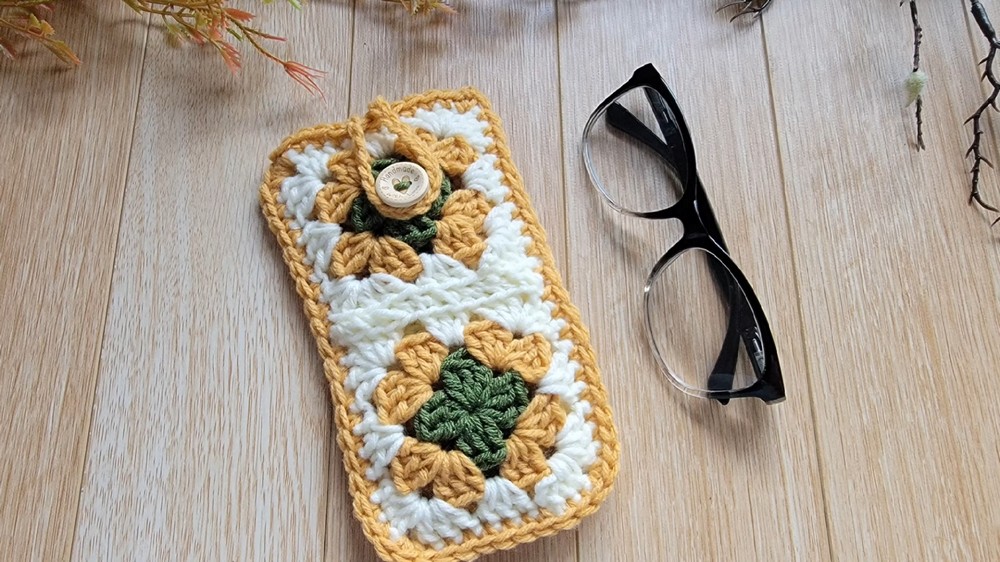
- The bag is now ready for use, ideal for sunglasses or reading glasses.
Conclusion
- The video teaches a practical Granny Square technique to create a stylish, functional bag.