How to Crochet Slouchy Beanie | Quick & Easy

In this tutorial, you’ll learn how to crochet a stylish and versatile slouchy beanie—perfect for beginners. Using simple materials like double-knit yarn, a 4mm crochet hook, the tutor demonstrates step-by-step how to crochet this unisex accessory. The tutorial also covers the process from forming the magic circle to adding rows of double crochets and incorporating color changes for design.
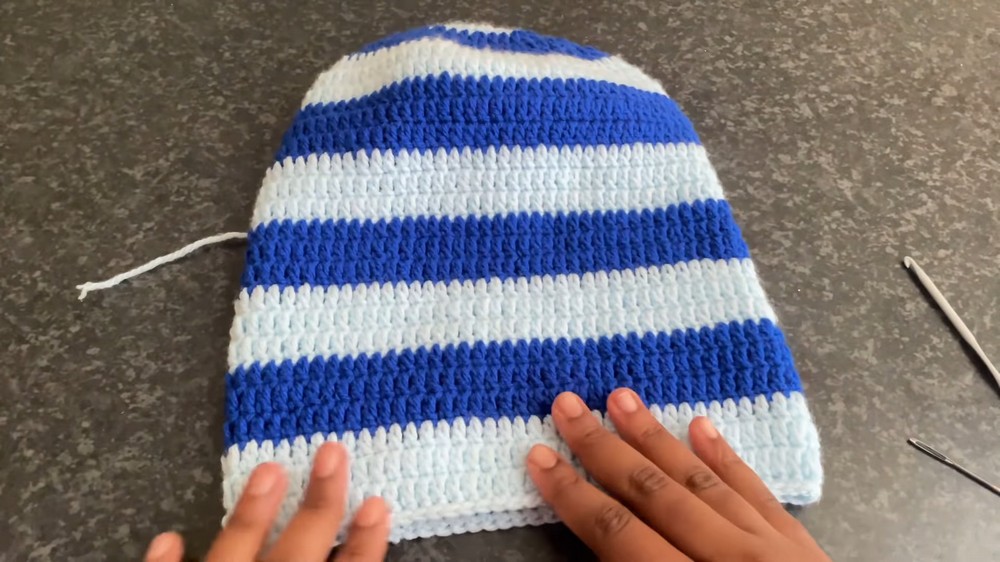
With 27 total rows (7 with increases, 20 without), the beanie offers flexibility in length customization. Honey also shares tips for finishing touches, like weaving in loose ends for a polished look. Ideal for both newbies and enthusiasts! So, follow through with us for the complete tutorial.

Crochet Slouchy Beanie Tutorial
In this YouTube tutorial, Honey provides a beginner-friendly guide on how to crochet a unisex slouchy beanie. The step-by-step instructions include materials needed, techniques, and helpful tips. Below is a structured summary of the tutorial:
Introduction
- Honey introduces herself and explains that the crochet slouchy beanie is simple to create, suitable for beginners, and unisex in design.
- The pattern uses multiple colors, offering the option to customize with any colors of your choice.
Materials Needed
- Yarn: Two shades of blue (double-knit charity yarn). Any color and type of yarn can work as long as it’s suitable for a 4 mm hook.
- Crochet Hook: 4 mm crochet hook.
- Darning Needle: To weave in loose ends for a neat finish.
- Scissors: To cut yarn when changing colors or finishing.
Instructions
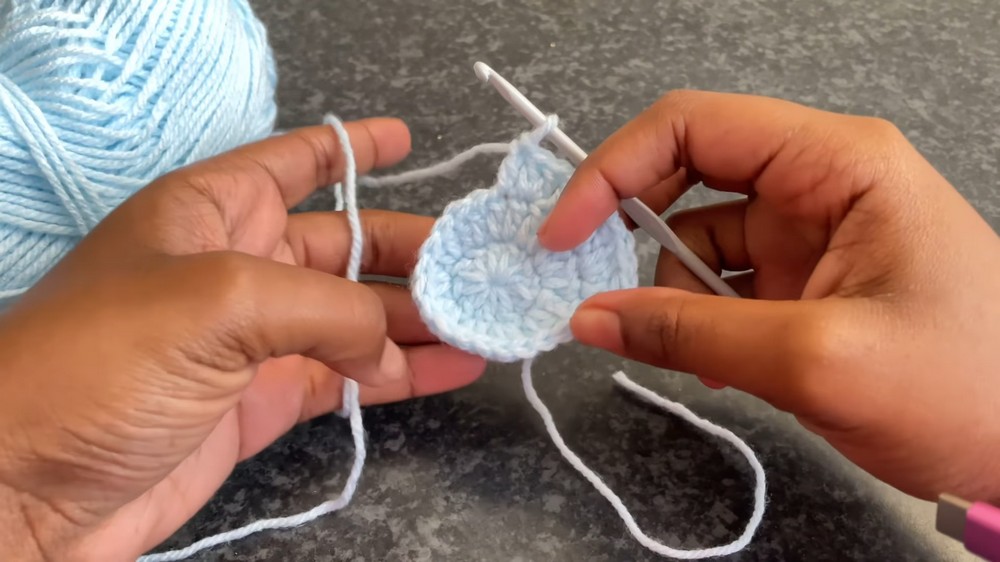
Starting the Beanie: Magic Circle
- Begin with a magic circle and two chain stitches (counts as the first double crochet).
- Complete the first round with a series of double crochets inside the circle.
- End by pulling the center circle tight and finishing with a slip stitch.
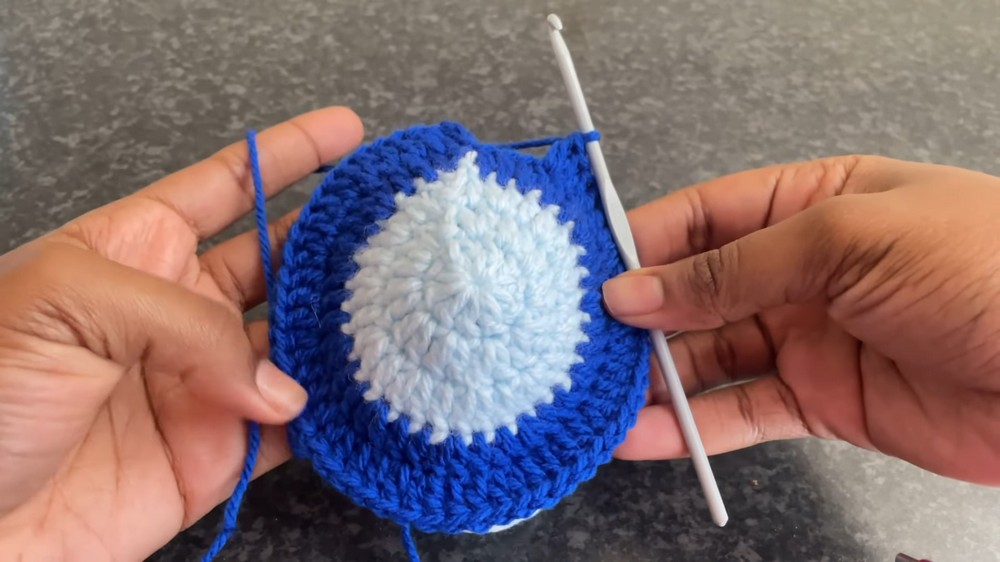
Increasing Rounds
- Round 2: Increase in every stitch to expand the circumference.
- Round 3–7: Gradually alternate between regular double crochets and increases, with the number of stitches between increases growing in each round.
- Follow a consistent pattern to ensure the circle’s shape remains intact.
Switching Colors
- To create alternating stripes, switch colors every three rounds.
- Fasten off the old color and attach the new color with a slip stitch.
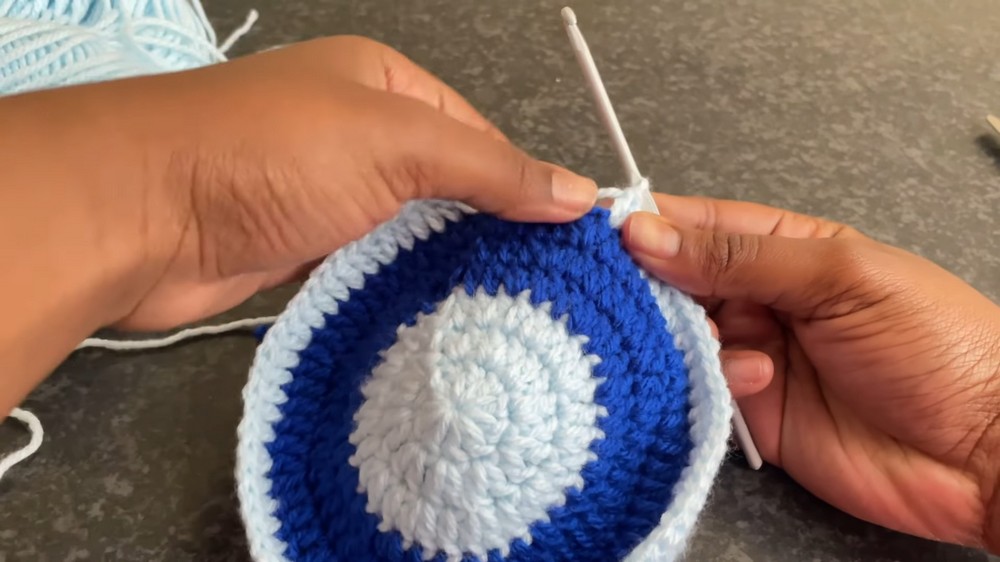
- Continue working double crochets without making an increase once the base of the beanie is completed.
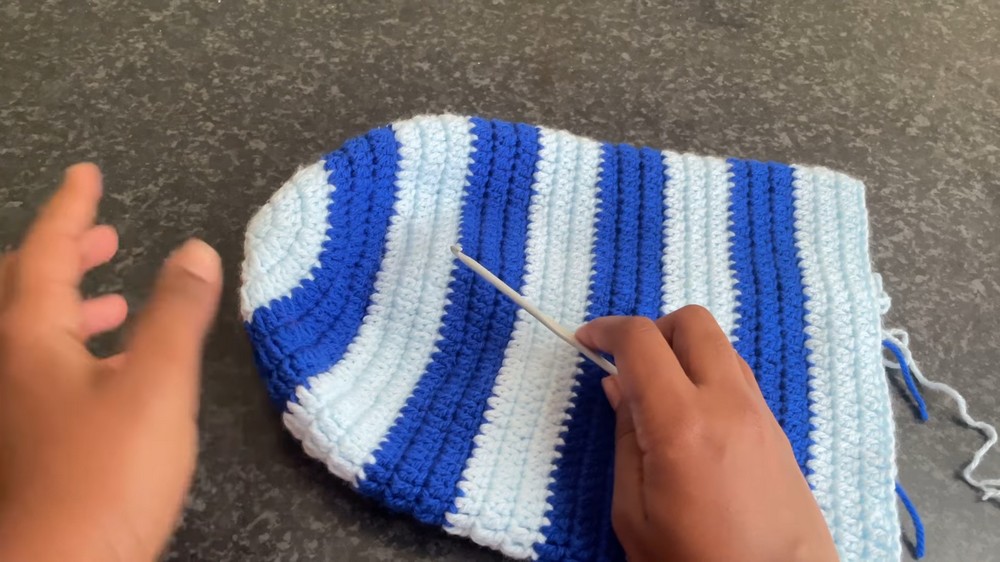
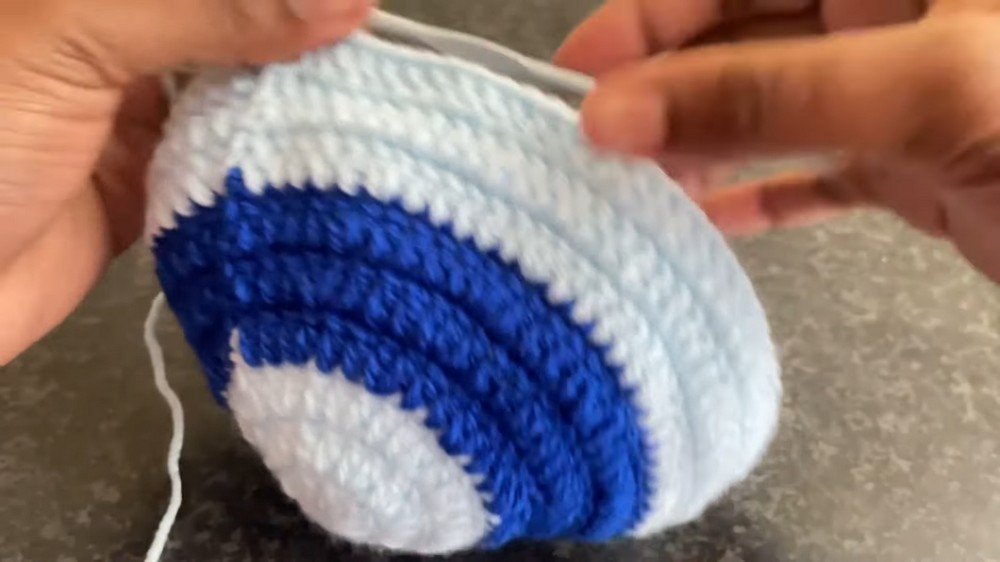
Main Body of the Beanie
- Once all increases are done (up to Round 7), work rows of double crochets without increasing.
- Maintain the alternating color pattern, usually three rows per color.
- Adjust the length of the beanie based on preference. For the tutorial, a total of 27 rows were made (7 rounds with increases followed by 20 rounds without increases).
Finishing the Beanie
-
Single Crochet Finishing Edge:
Add a single crochet row along the final edge to give the beanie a snug and polished look. Adjust the tension to keep it tighter, and optionally use a smaller hook size. -
Weaving in Loose Ends: Use a darning needle to weave in any leftover yarn strands from color changes or the starting magic circle. Honey advises weaving through multiple passes for security.
Adjustments and Variations
- If the length desired is shorter or longer, adjust the number of rows without increases.
- Experiment with other color combinations to customize the look of the beanie.
Final Thoughts
- Honey ends the tutorial by showcasing previously made beanies in different colors.
This comprehensive tutorial enables beginners to create a crochet slouchy beanie with step-by-step guidance on everything from materials to finishing techniques.