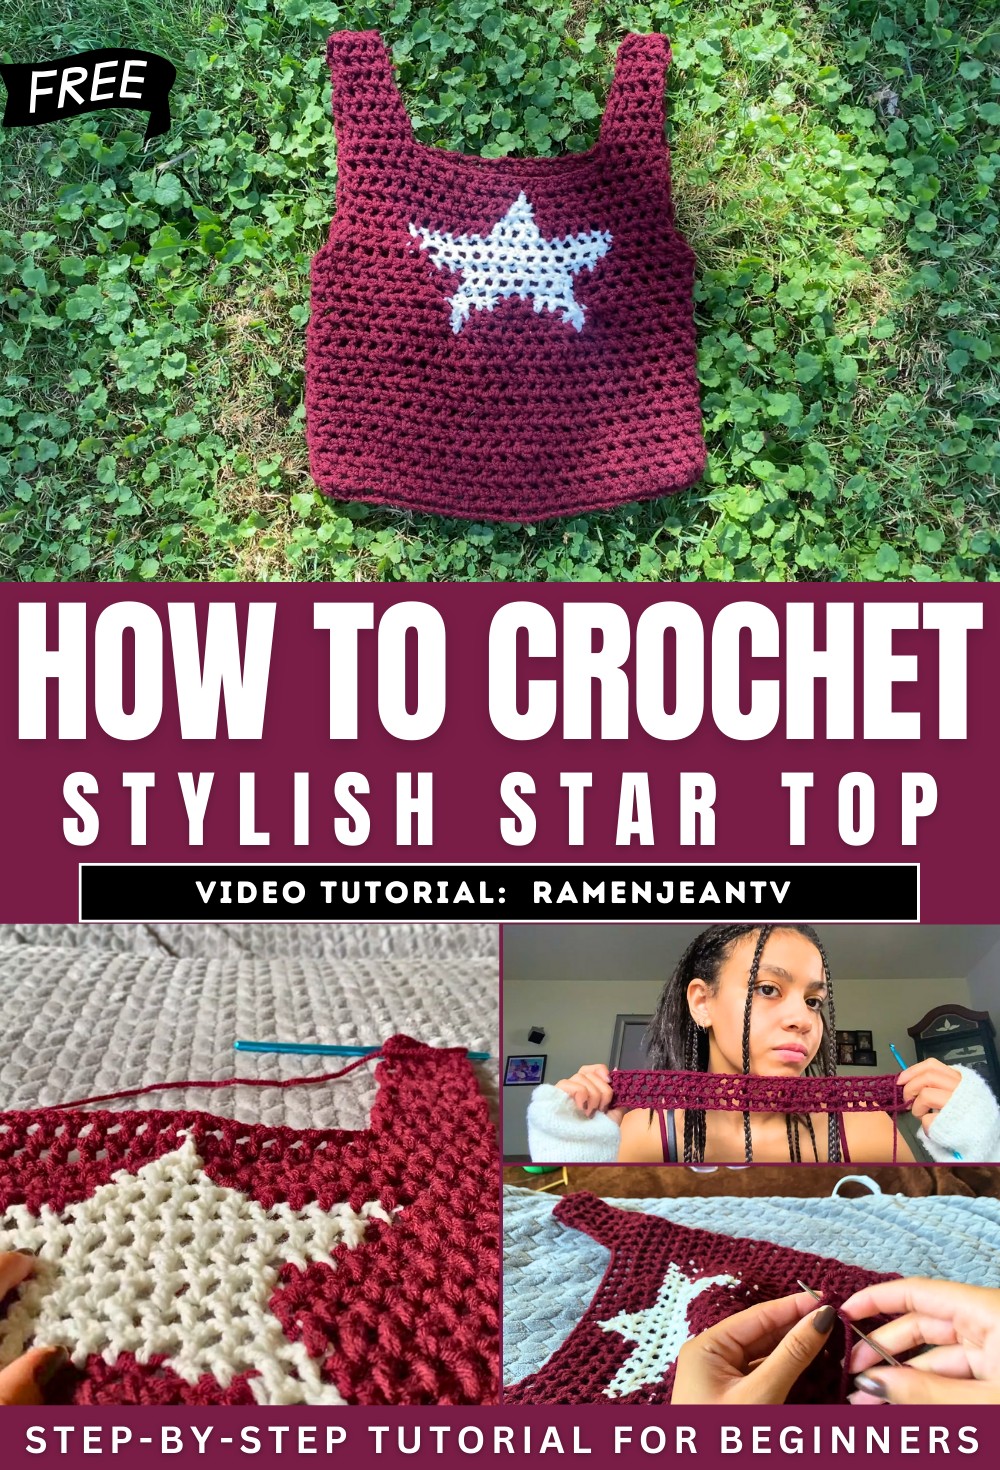
How to A Crochet Star Crop Top for Tapestry Lovers
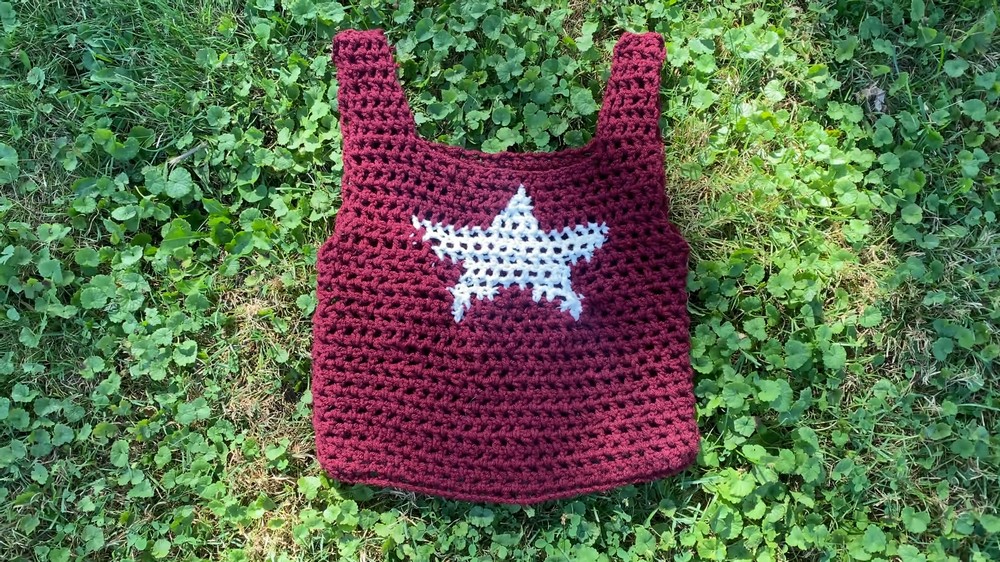
For all girls, learn how to crochet this stylish burgundy crop top featuring a star design using the tapestry crochet techniques and following a chart pattern. Using affordable yarn and a step-by-step approach, the project begins with chaining and moves into creating rows with a textured star pattern. The tutorial emphasizes customizing the fit and includes tips for creating straps and a basic back panel without the star design. The creator acknowledges the original pattern’s designer and encourages viewers to explore their work. So, you can find a lot more things like that.
The finished product is a grungy, fun, and wearable top, with the creator describing the process as enjoyable, beginner-friendly, and confidence-boosting for pattern work.
Crocheting a Star Crop Top
In this tutorial, the creator walks viewers through crocheting a stylish burgundy crop top with a star design at the center. It’s the creator’s first time working with a pattern for a design element, and they enthusiastically share their experience, tips, and the steps needed to complete the project. The tutorial covers the creation of the body, straps, and back panel of the crop top, making it beginner-friendly with customization options.
Acknowledgment and Materials
- Acknowledgment: The creator emphasizes that the star pattern is not their own and credits the original designer of the tutorial. Links to the designer’s content are provided for viewers to explore further.
- Materials Used:
- Burgundy yarn (affordable yarn purchased from Dollar Tree).
- Optional secondary color for the star design. Use the white for better contrast.
- Crochet hook suited to the yarn.
- Stitch markers to mark key sections like the star pattern points.
- Scissors and yarn needle for finishing touches.
Steps to Crochet the Crop Top
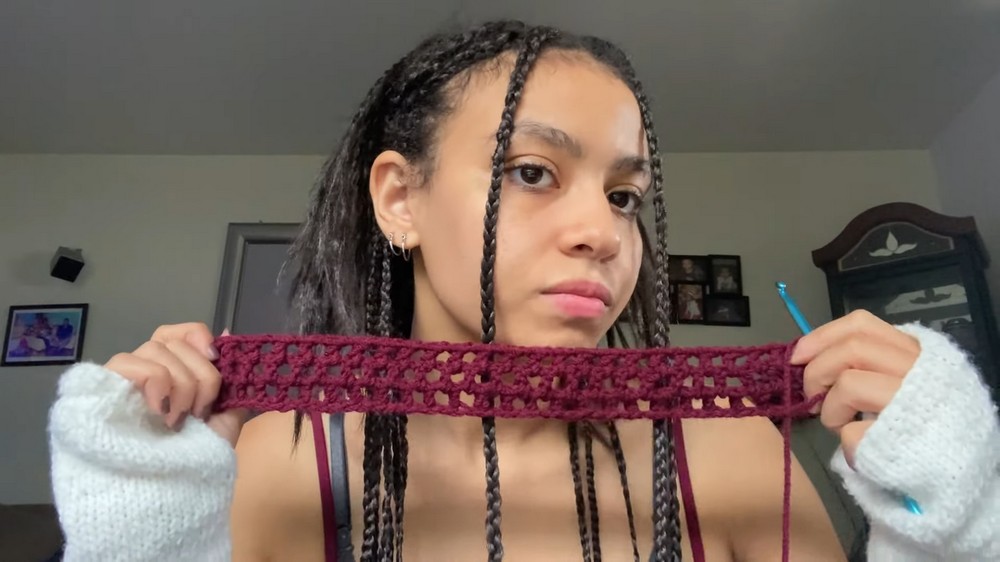
1. Starting the Body
- The project begins with chaining stitches to fit the desired width across your body. Adjust the number of chains based on your fit preferences (tight or slightly loose).
- Rows are worked using basic crochet techniques to form the body of the crop top. The creator demonstrates how to work gaps between stitches for texture.
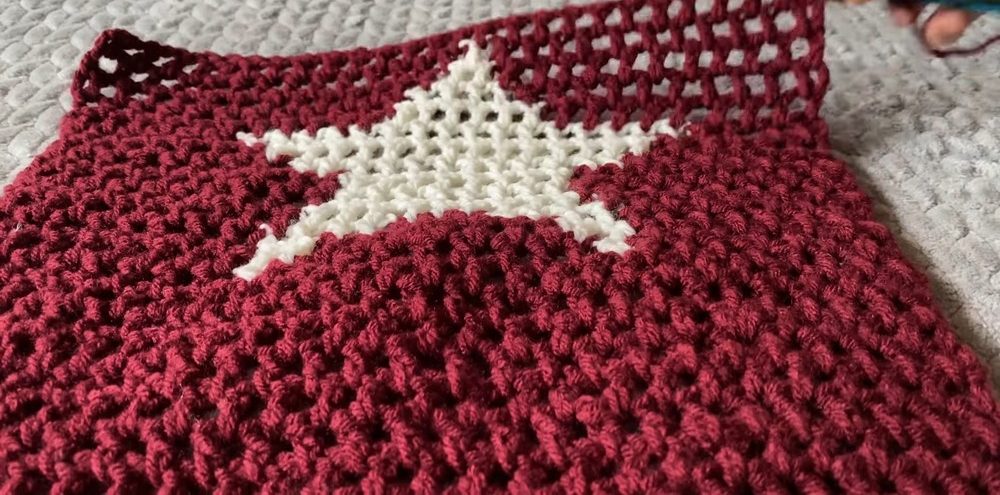
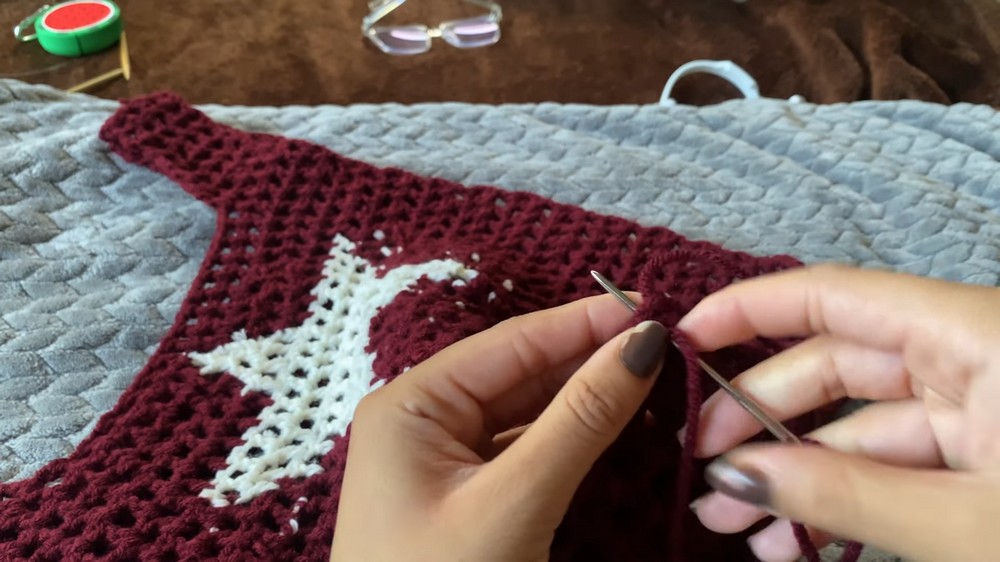
2. Creating the Star Design
- To incorporate the star design, identify the middle of the project and mark specific points with stitch markers.
- Use a second yarn color for the star pattern, following the provided chart or guidance.
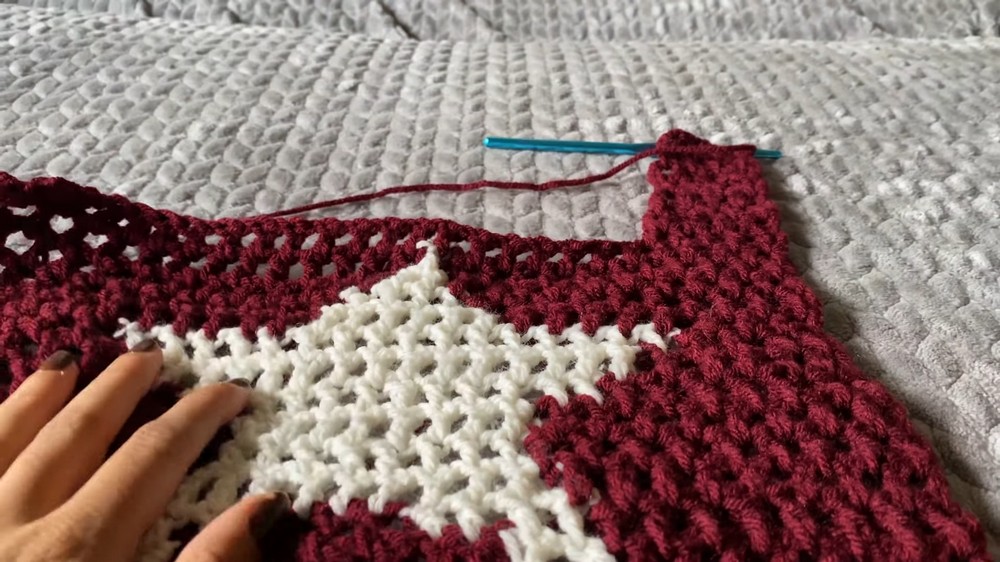
- For certain sections (like the tip of the star), switch to crocheting into spaces between stitches to achieve the stacking effect. The creator mentions key tips on how to make the star design stand out.
Adding Straps
- The straps are crocheted individually by decreasing stitches in consecutive rows to create long, narrow straps.
- Once completed, repeat the same process for the second strap to ensure symmetry.
Creating the Back Panel
- The back panel is crocheted similarly to the front but omits the star design. The creator notes that this part is quicker and simpler, as it doesn’t require design work.
Final Assembly
- The front panel, back panel, and straps are sewn together using a yarn needle.
- Ensure everything is aligned properly for a clean finish. The creator mentions that this part brings the project together seamlessly.
Final Thoughts
- Completed Top: The finished crop top appears stylish, grungy, and well-fitted. The creator expresses enthusiasm about how it turned out.
- Experience and Encouragement: This project helped the creator gain confidence in working with patterns. They suggest it’s beginner-friendly for those with basic crochet knowledge.
Conclusion
The creator closes by encouraging viewers to support the original designer of the pattern and to subscribe to more content. The crop top is described as a fun and satisfying project that can be completed relatively quickly. It’s a wearable piece perfect for personal use or gifting, with room for creativity and customization.